Combloc
Stop Negassing me!!!!!
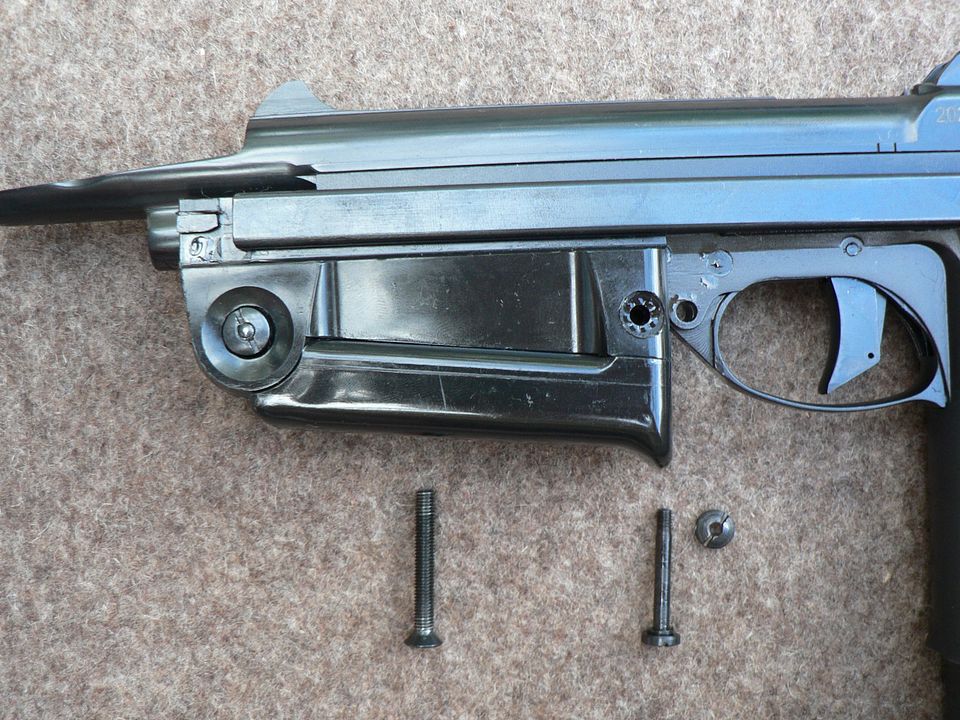
Magazines were produced in both 15 round and 25 round capacities and were generally serial numbered to the weapon with an electro pencil. Each original PM-63 appears to have been issued with one 15rd and three 25 rd magazines. Pioneer includes one of each variety but didn't bother to reserialize them so the ones you get will have random numbers. Both that came with mine were in excellent used condition. I also bought a few extra 25 round jobbers and the parts kit I bought came with one 15 rounder.
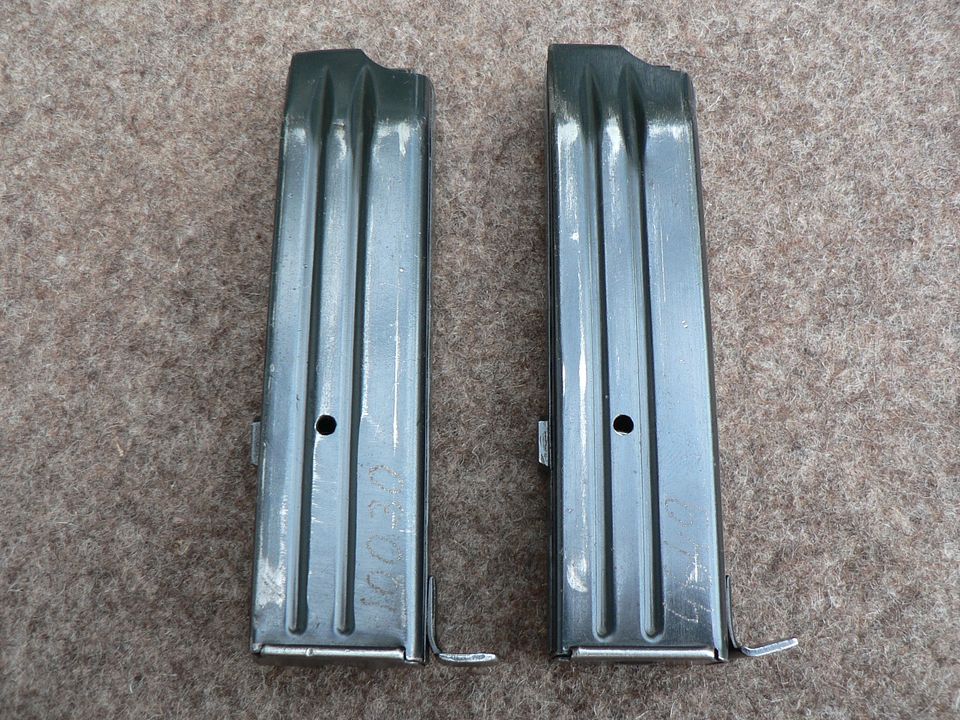
Here is an assortment of 25 round magazines:

I've placed these in order of finish condition with the best on the left and the worst on the right. All appear to be perfectly functional but you are buying decades old surplus so you have to understand that you're most likely NOT going to get unissued stuff. Having said that, the one on the extreme left has no serial number and appears NOS so that means there ARE still unissued examples out there but they are probably scarce. The next one in is the one that came with my pistol. The only one that showed any corrosion at all it the one on the extreme right and it's minimal freckling:


Earlier I said the magazines were "generally serial numbered to the weapon" but as always, there are going to be exceptions. One of the magazines I bought has clearly seen a fair amount of use yet has no serial number. Others show evidence of an earlier number being blued over and a new one applied. All I've seen have the number applied on the right front side but....well, I'm sure there are exceptions to this as well.
This picture shows you what I'm talking about:

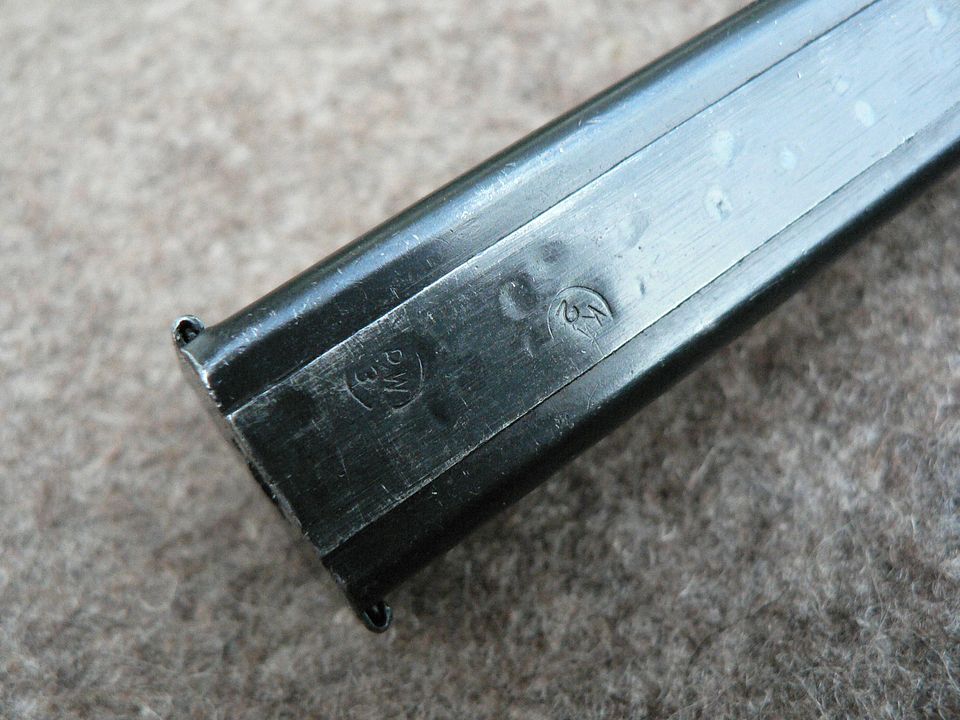
The NOS is on the left. Next is "08612" but you can see an old number underneath ending in a "9". The one on the right is faintly marked "103290" and doesn't appear to have ever been renumbered.
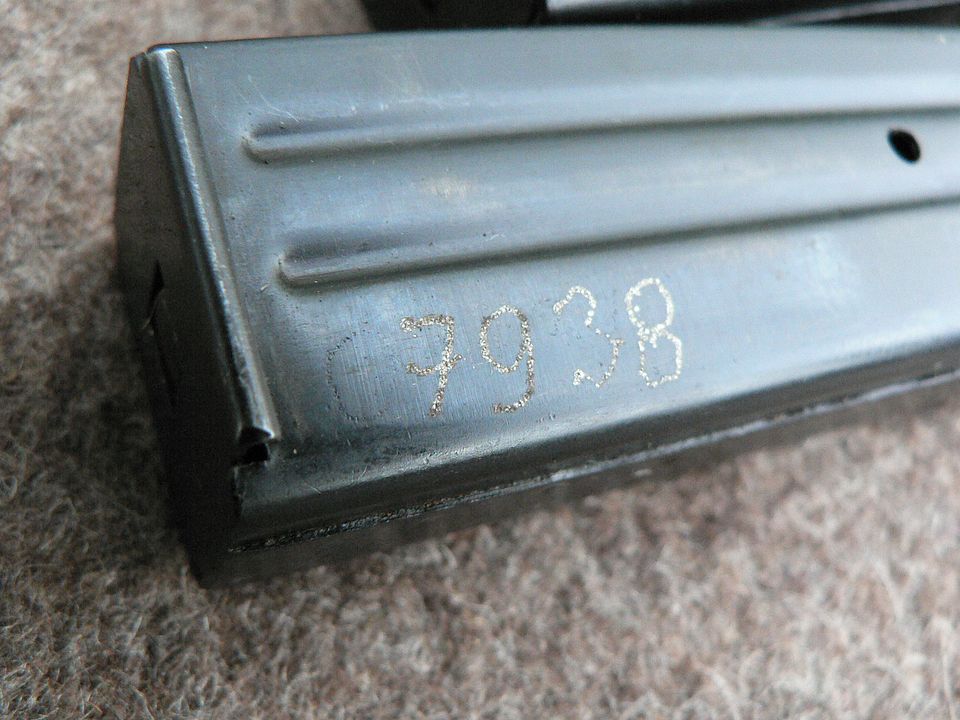
Another on numbered "7938" but you can still see the stylus marks in front of the "7" from an old number which has been blued over:

The point here is that you're going to see the gamut on these things. Numbered, not numbered, renumbered, new, worn, a little rusty, you're going to see it all. BUT they are cheap at the moment. Buy a bunch and you're covered.
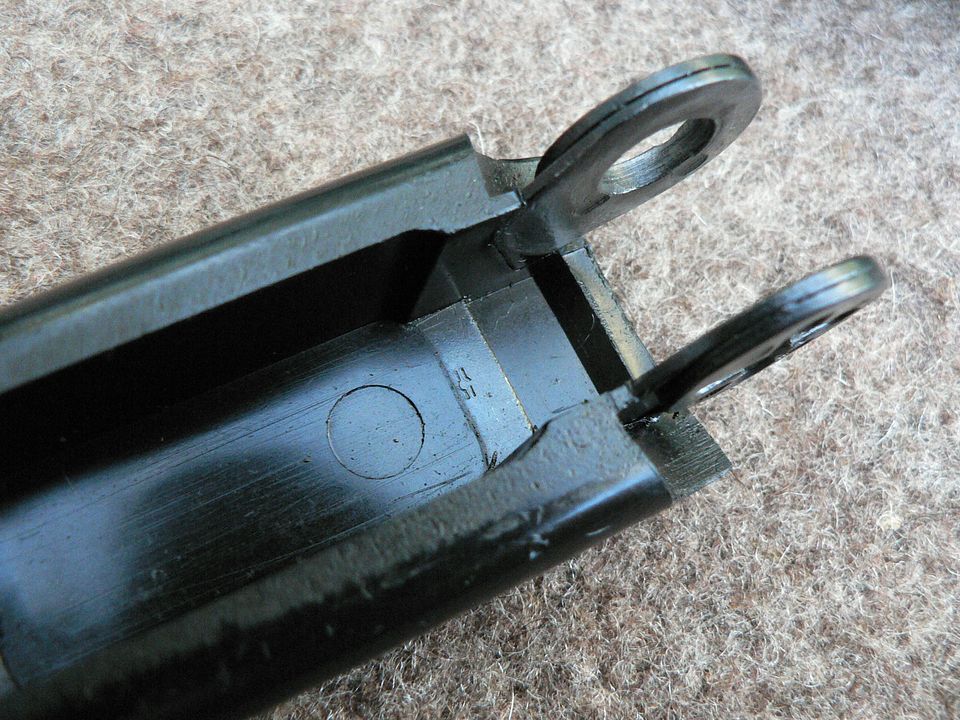
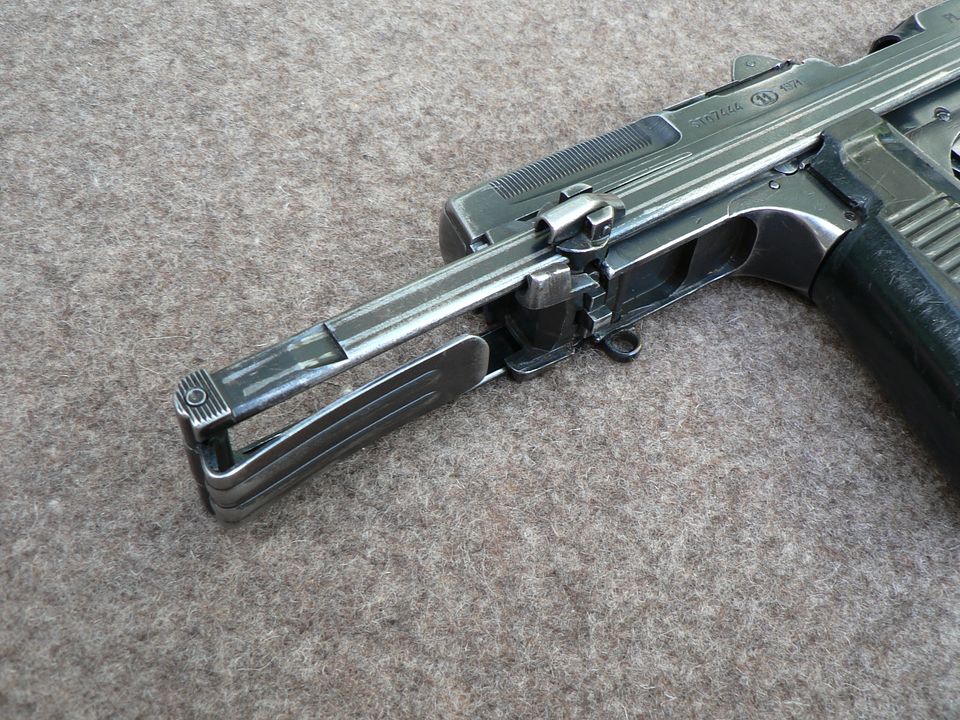
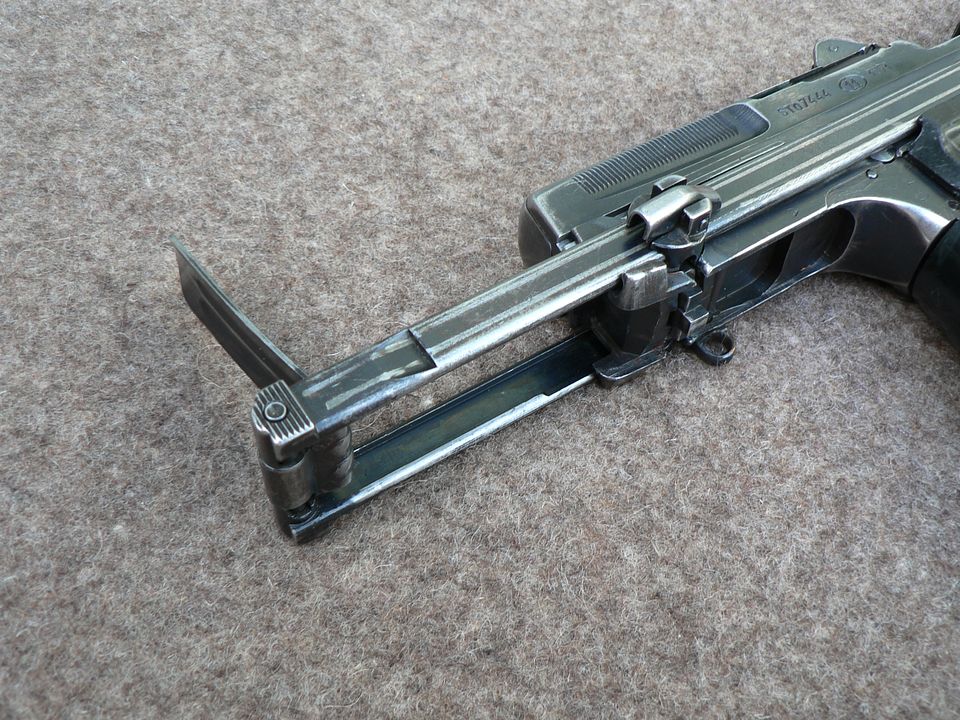
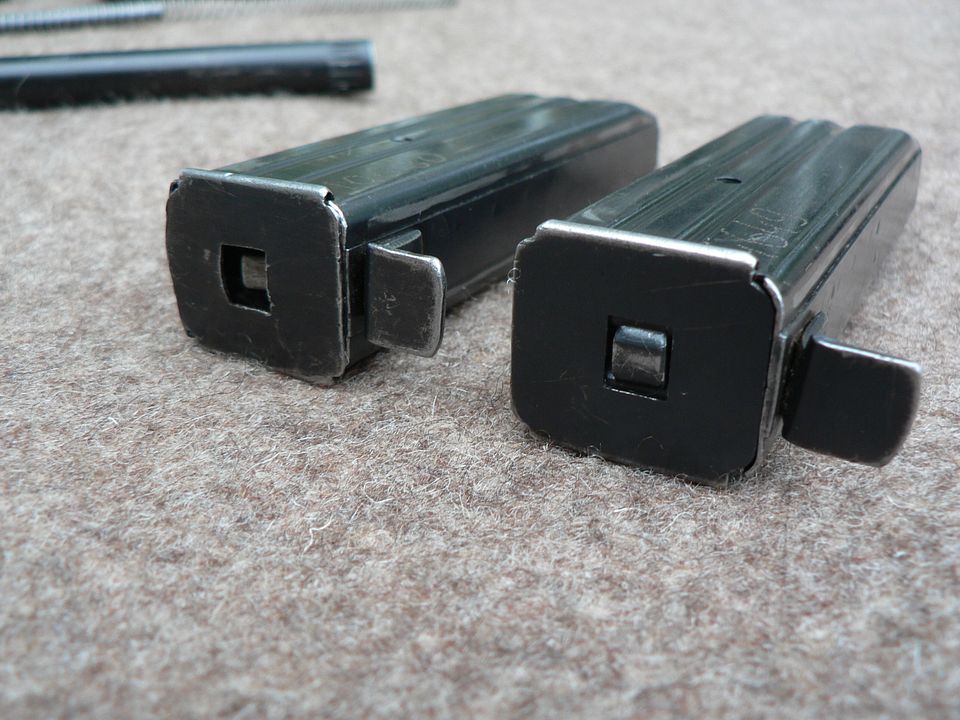
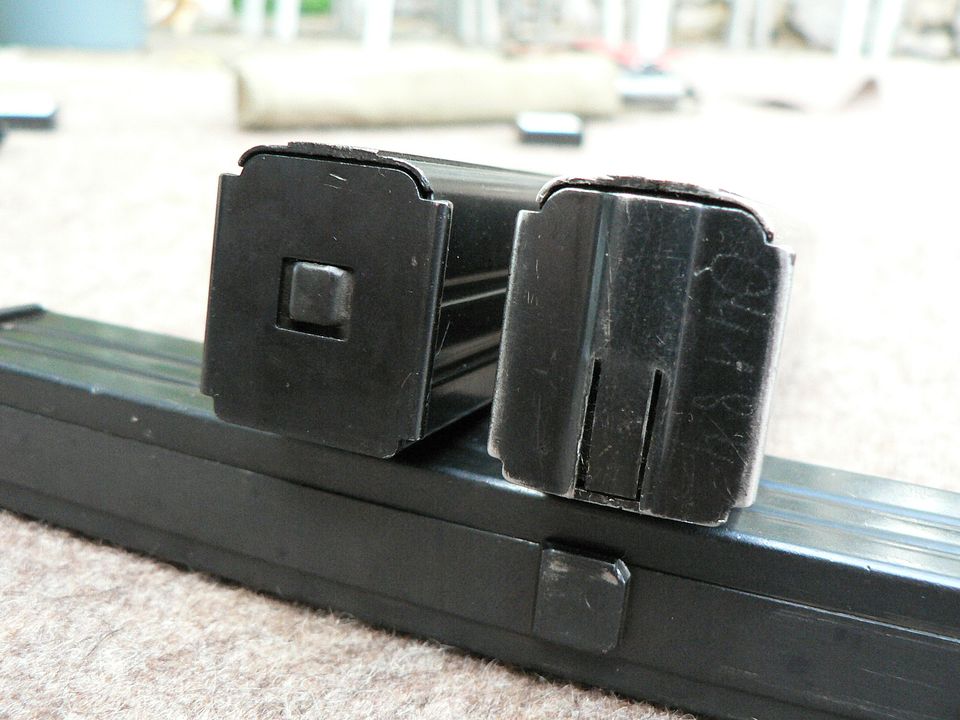
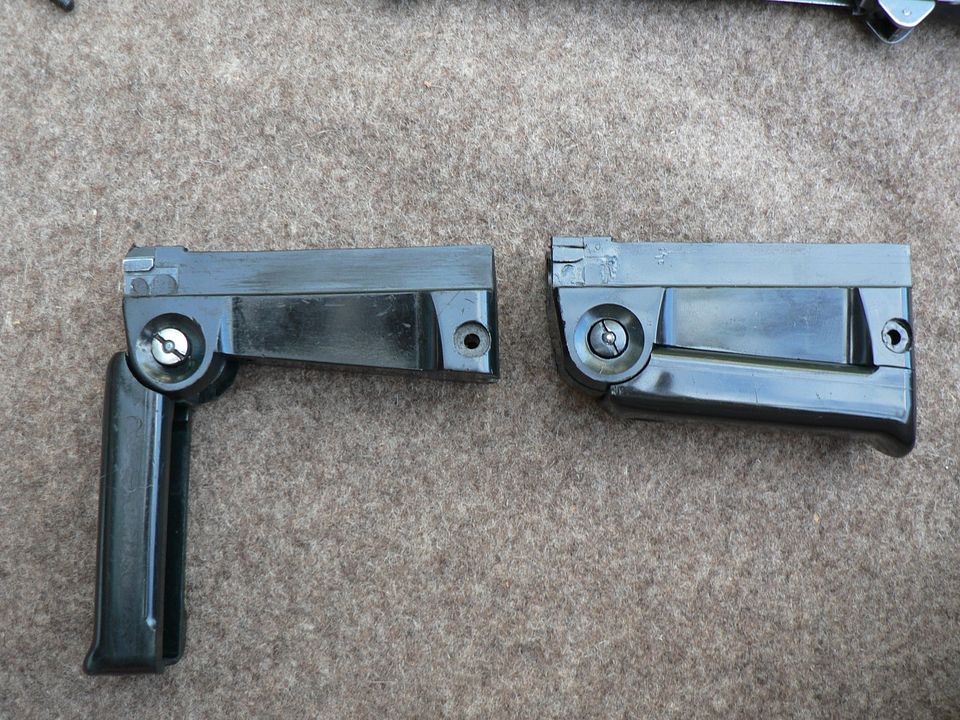
I currently have two 15rd magazines. The one that came with the pistol is on the right:

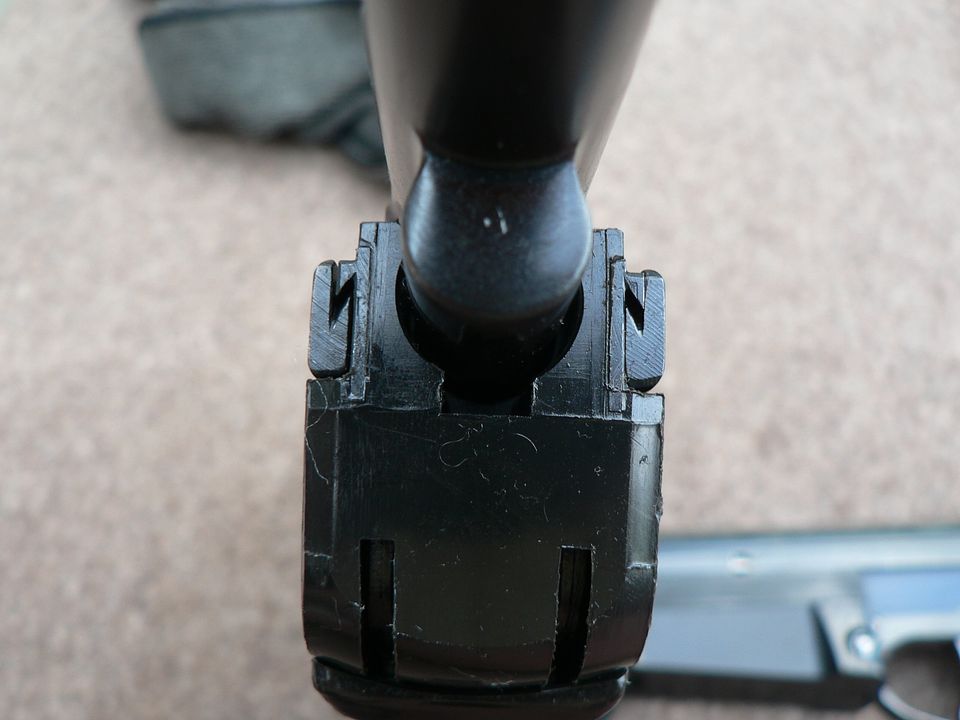
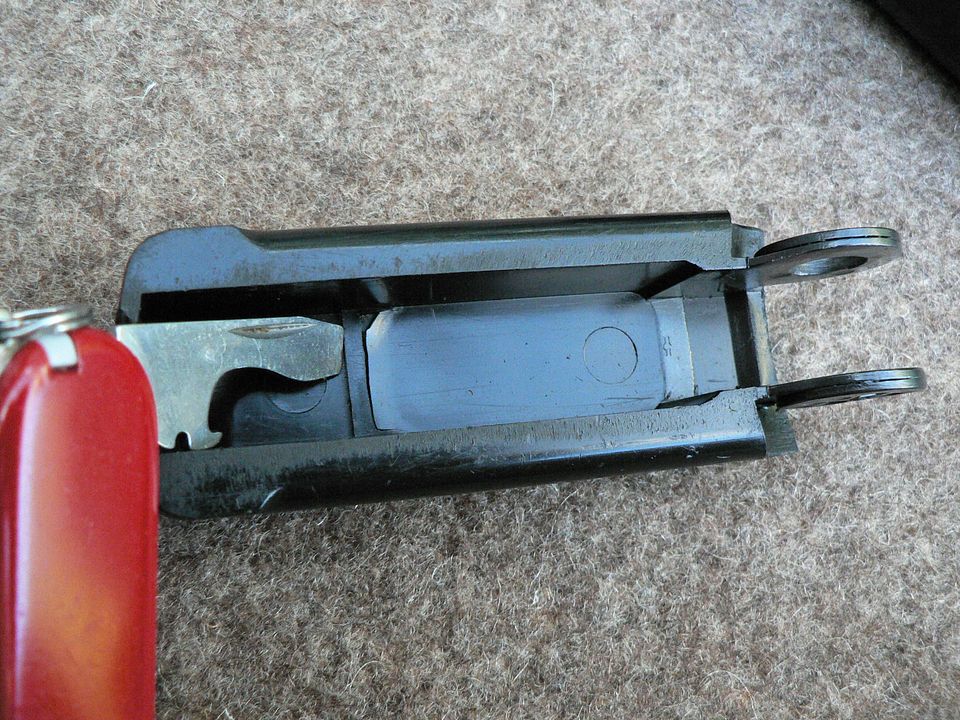
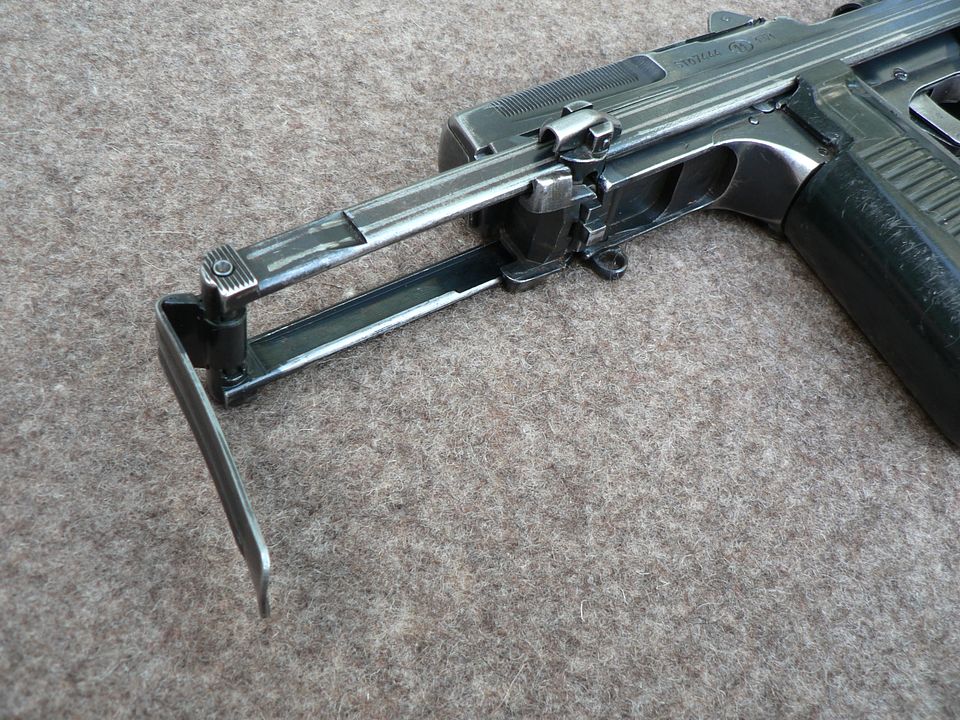
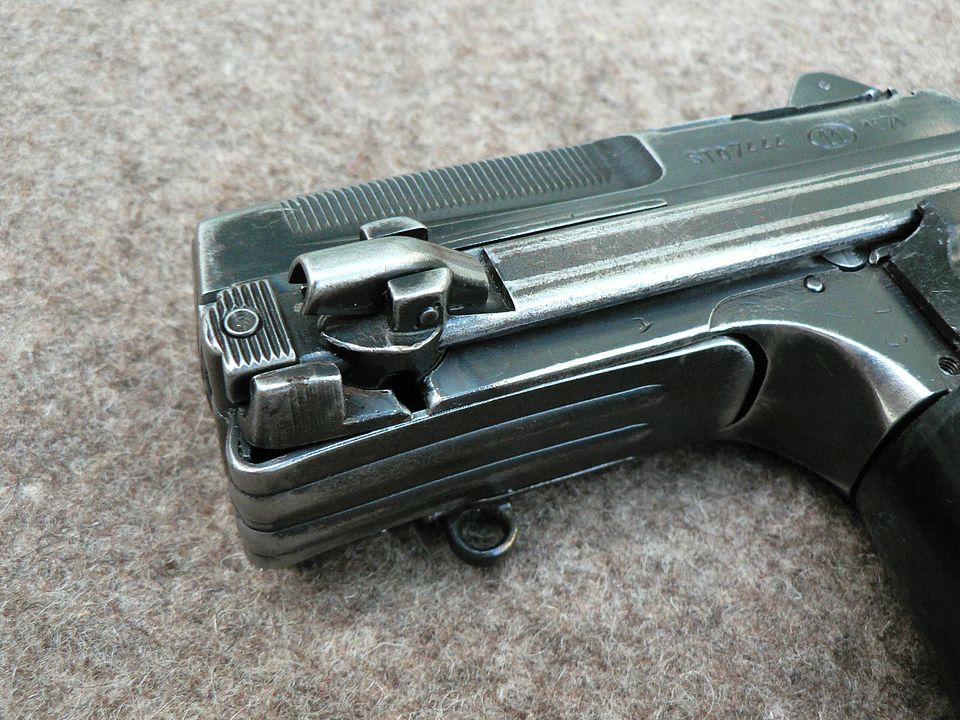
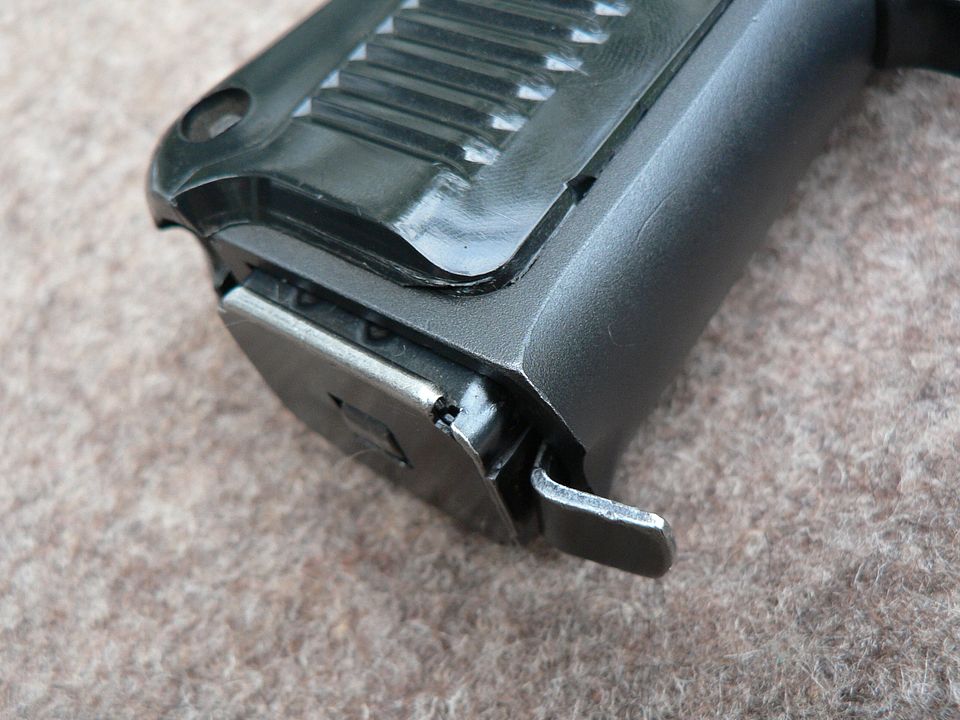
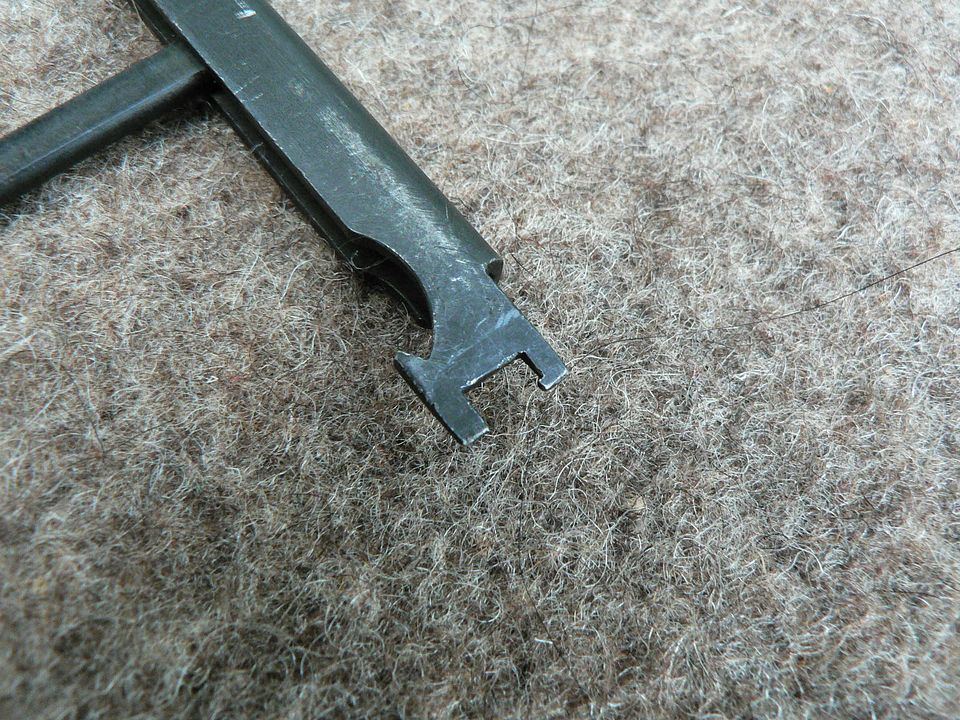
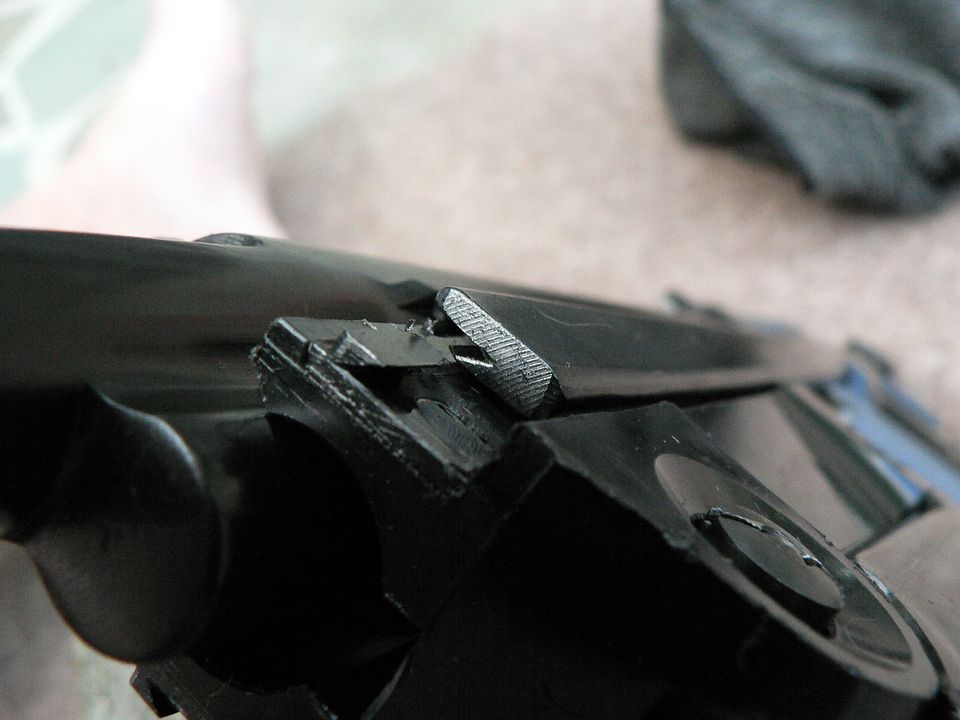
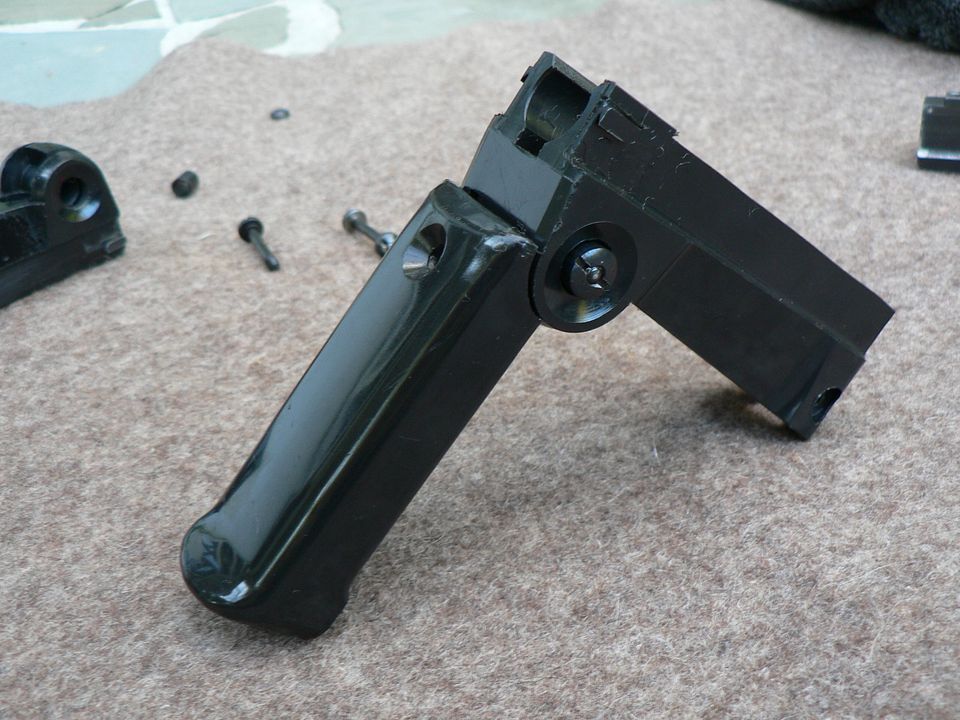
Notice that these have a little tab sticking out the front that's missing on the 25rd jobbers. This is to assist in removal as the 15 round examples fit almost flush with the bottom of the grip:

If you look closely, you'll see that the front of the pistol grip has a scallop machined into it so your finger can get a better purchase on the tab. Tab or no tab, all come out very easily. If they were any more loose, they would rattle.
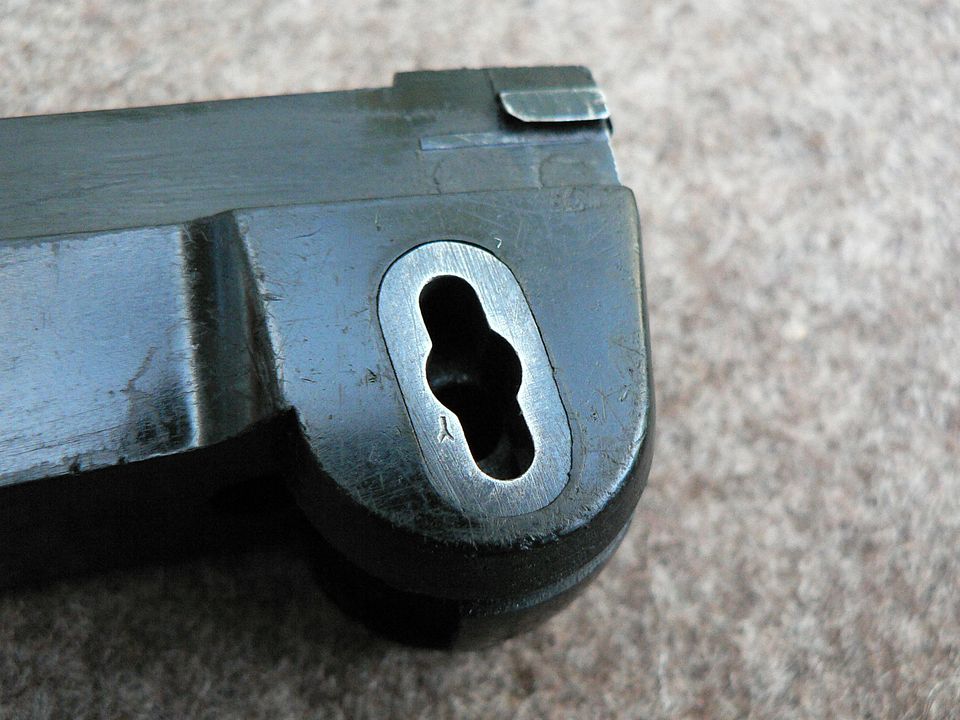
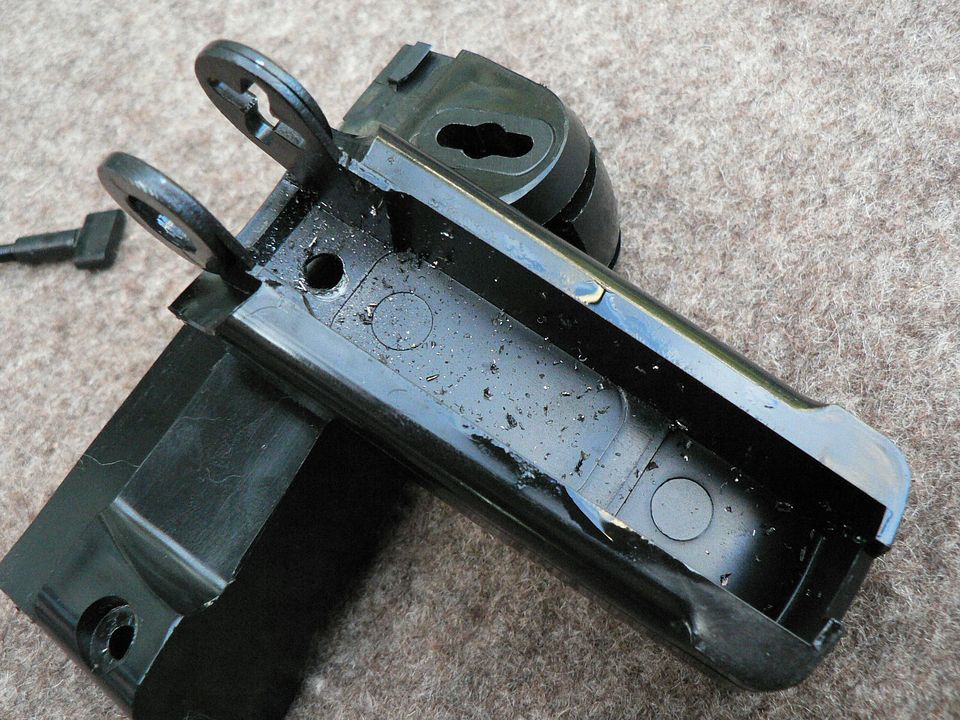
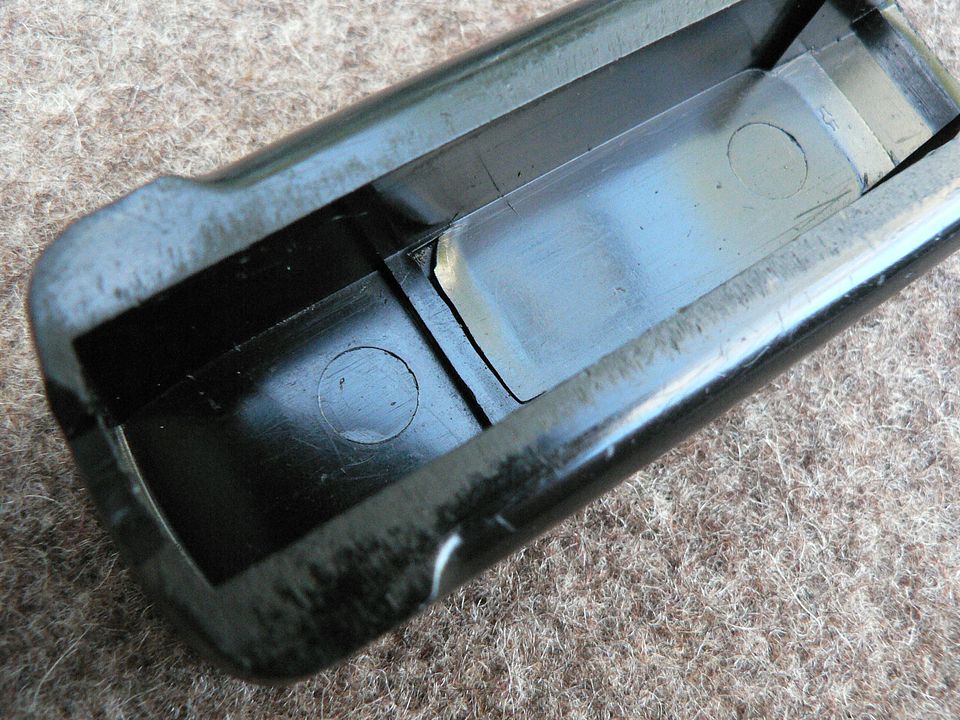
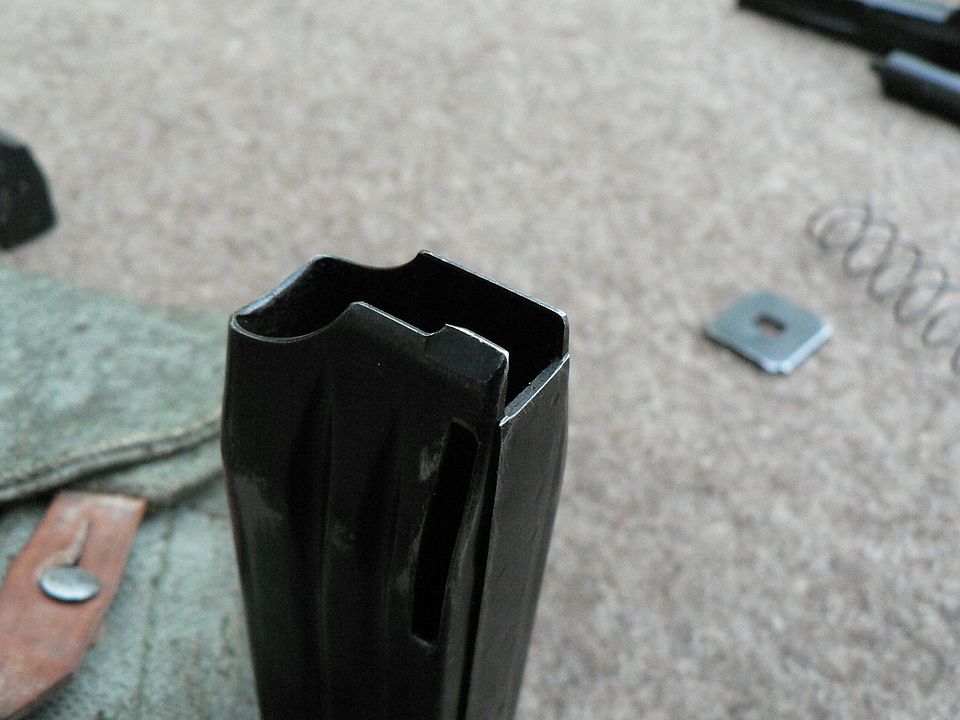
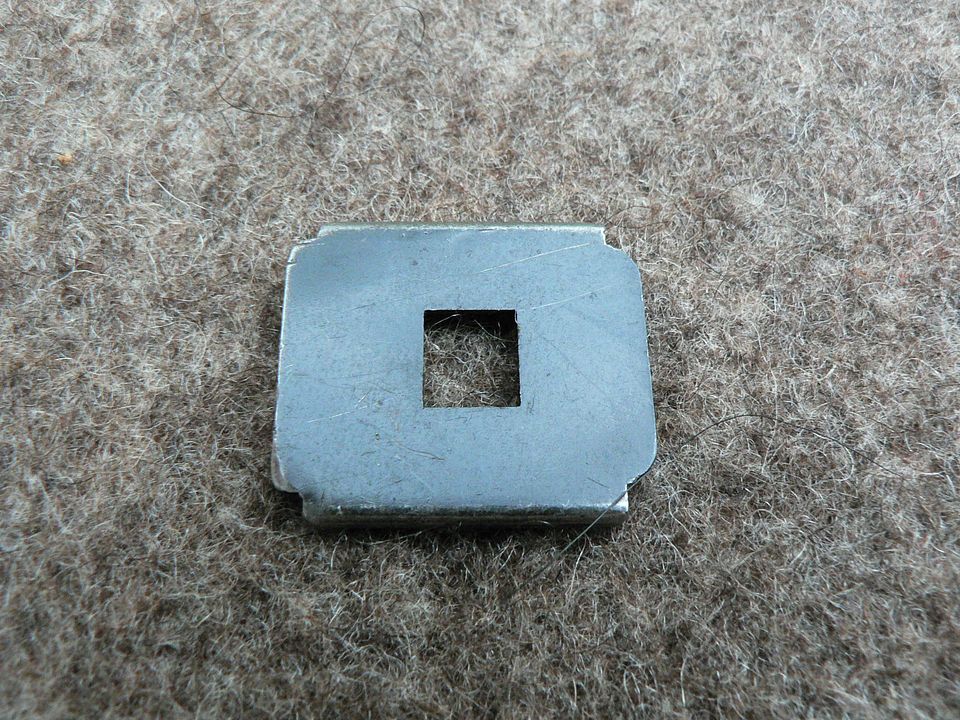
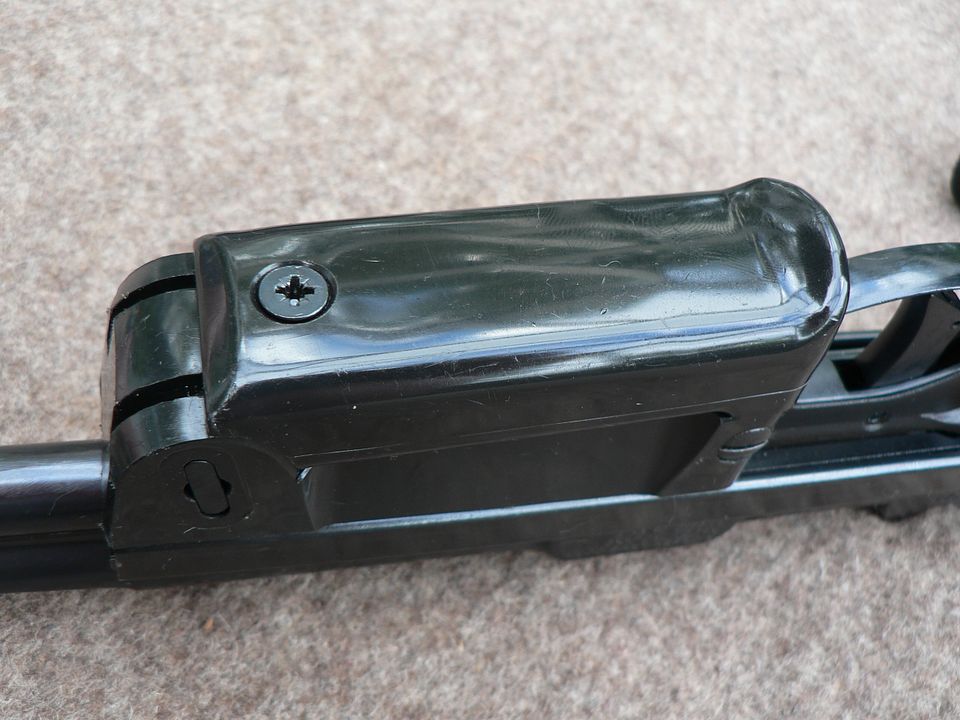
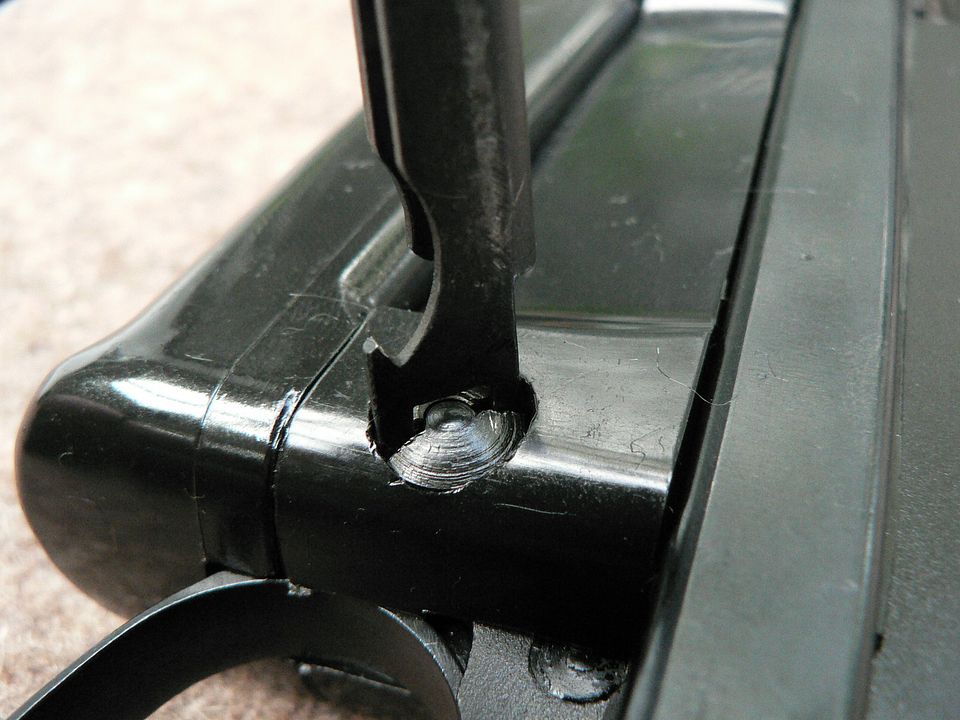
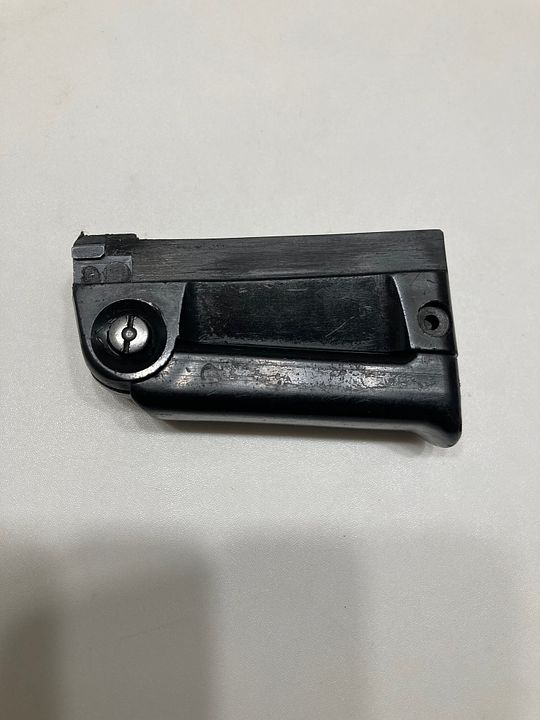
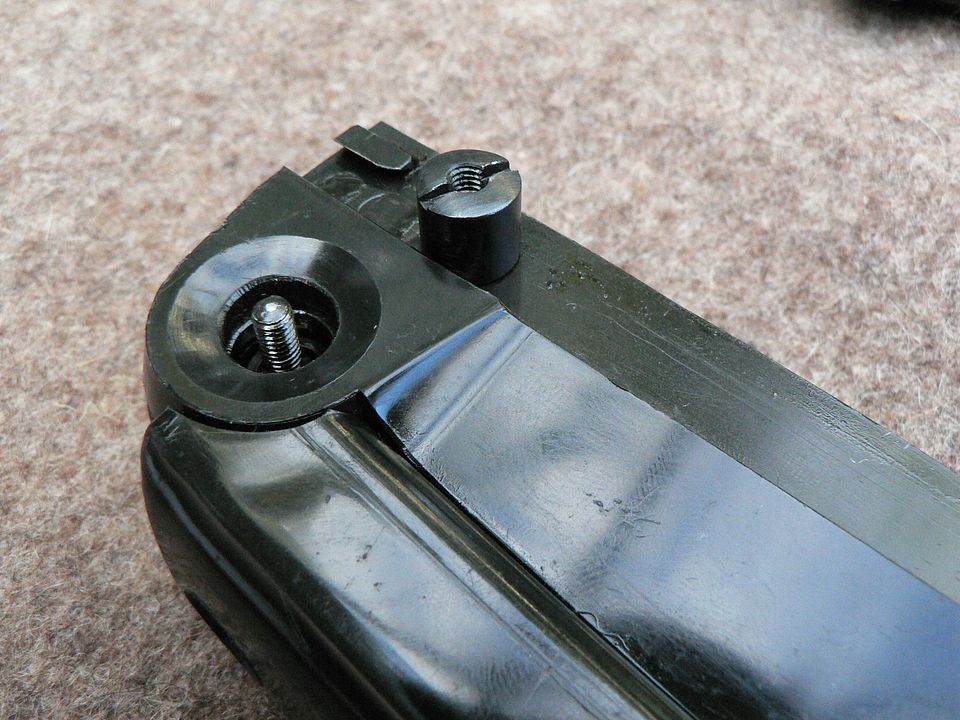
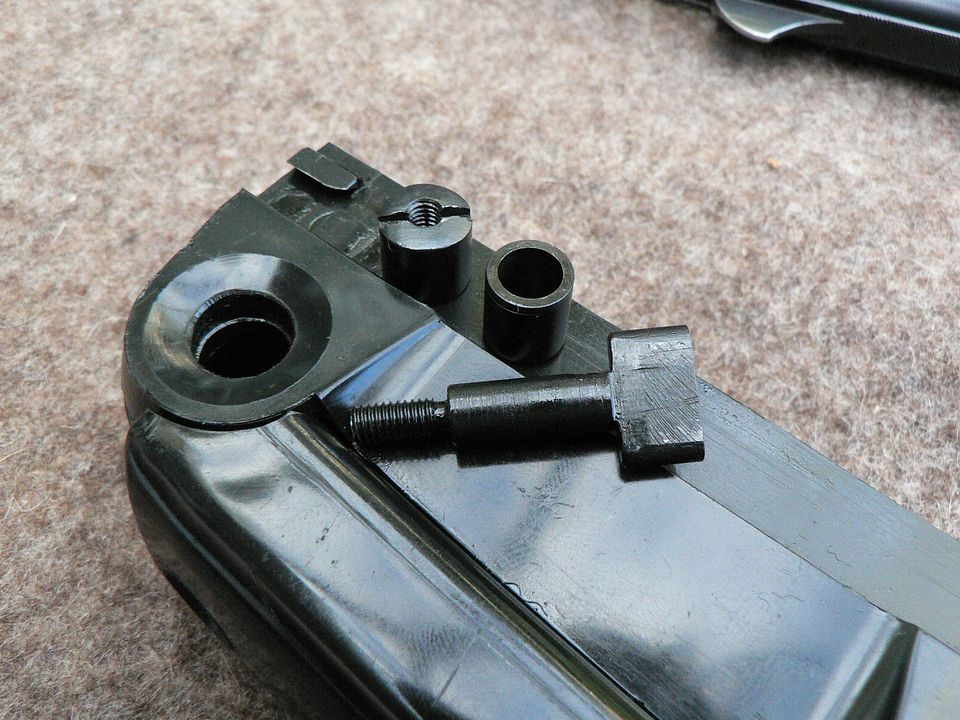
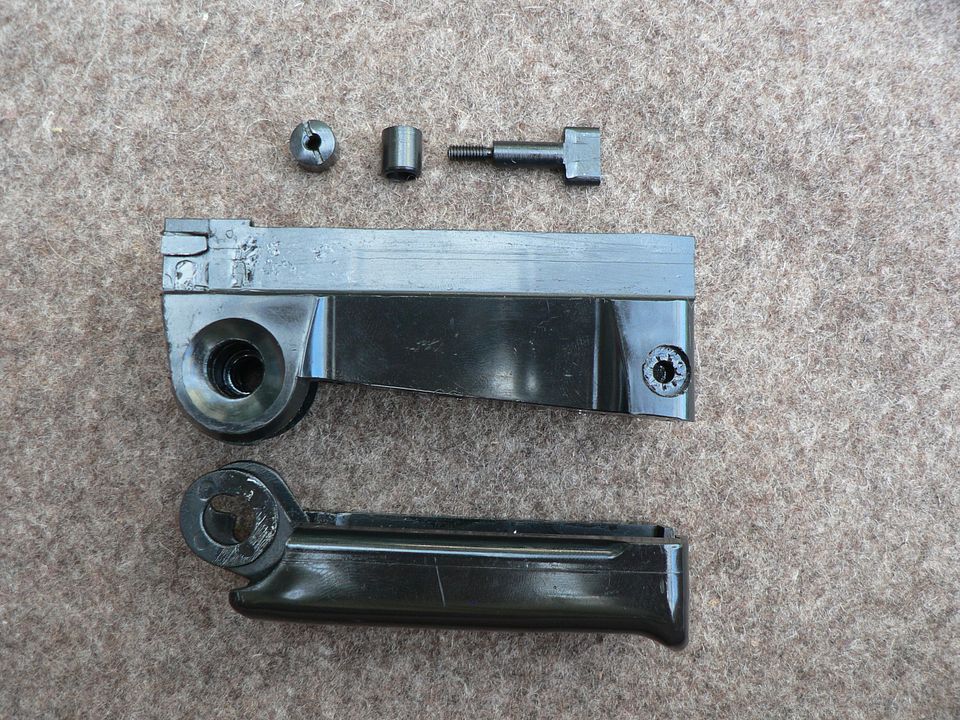
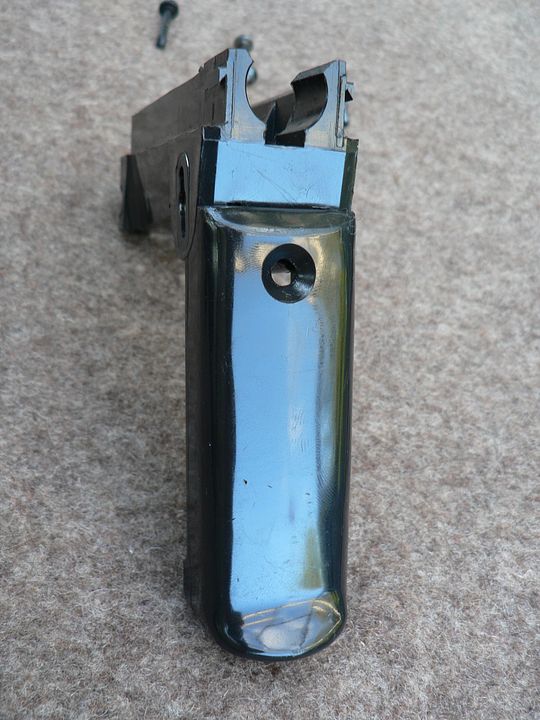
The base plate on the magazine that came with the parts kit has seen better days but I'm sure it'll be an easy thing to straighten it out:

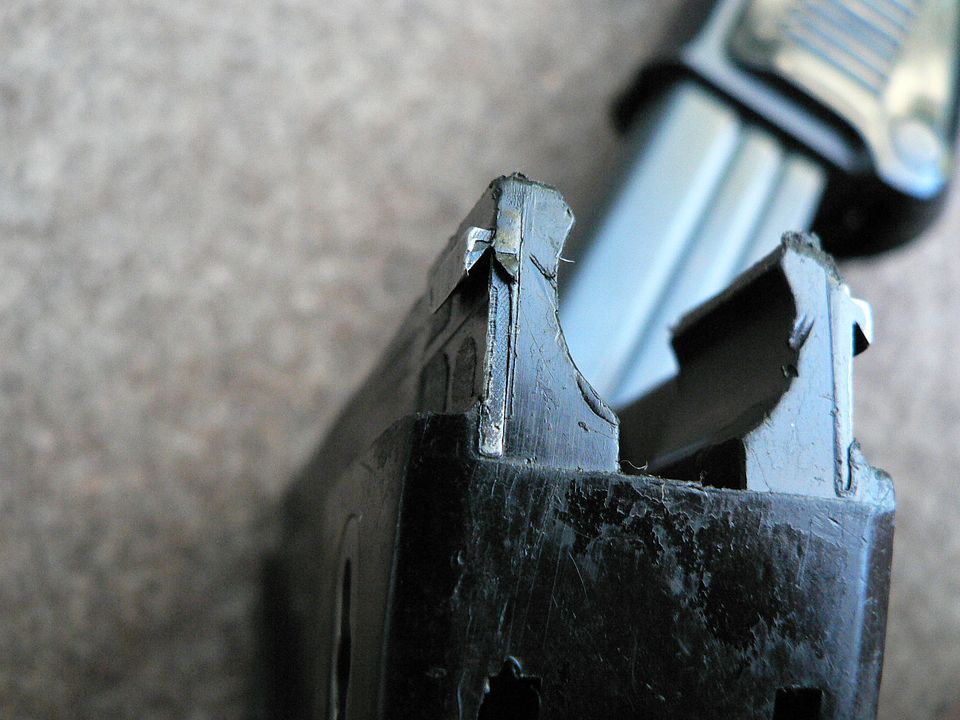
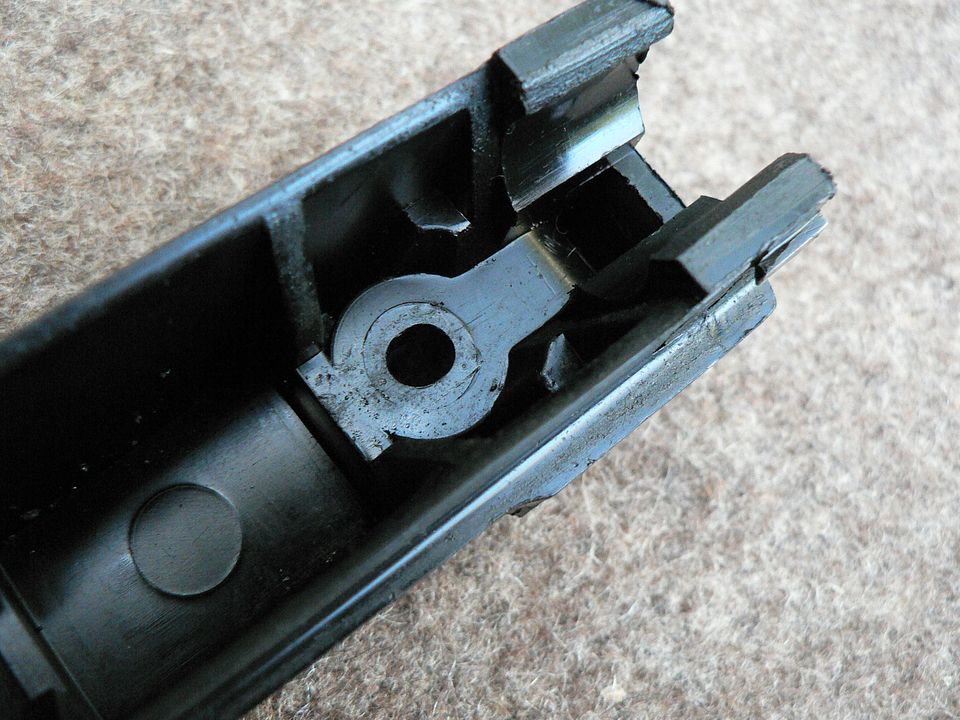
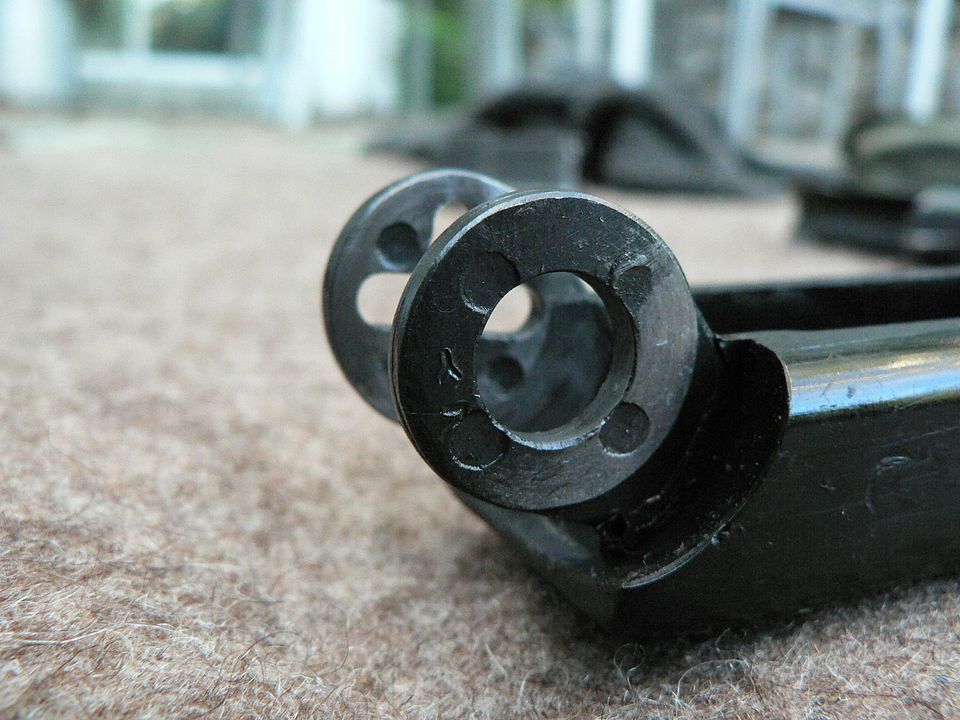
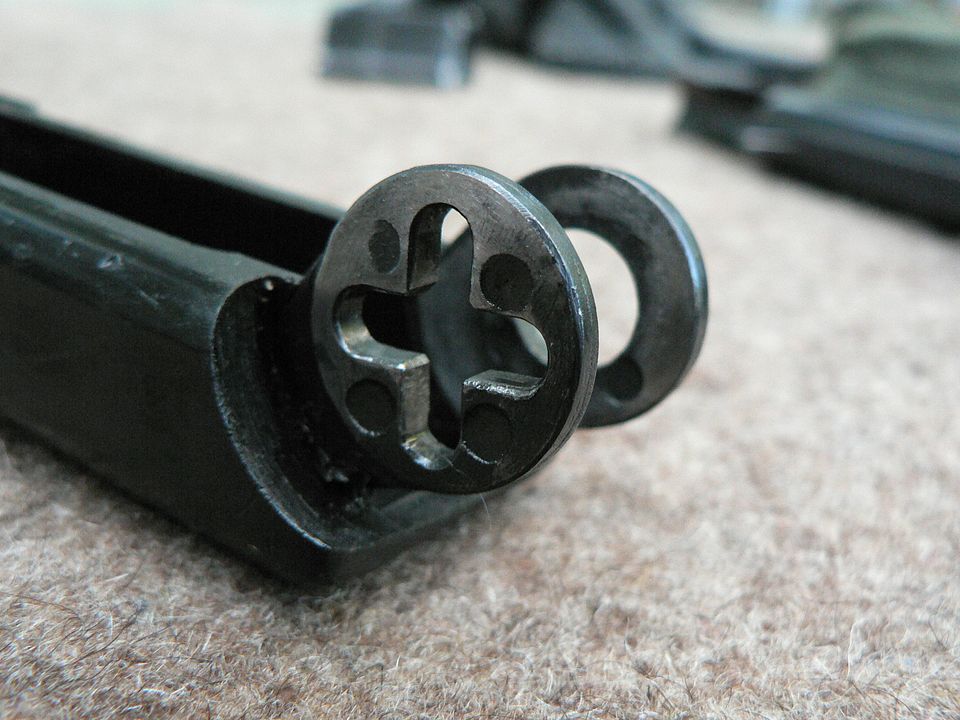
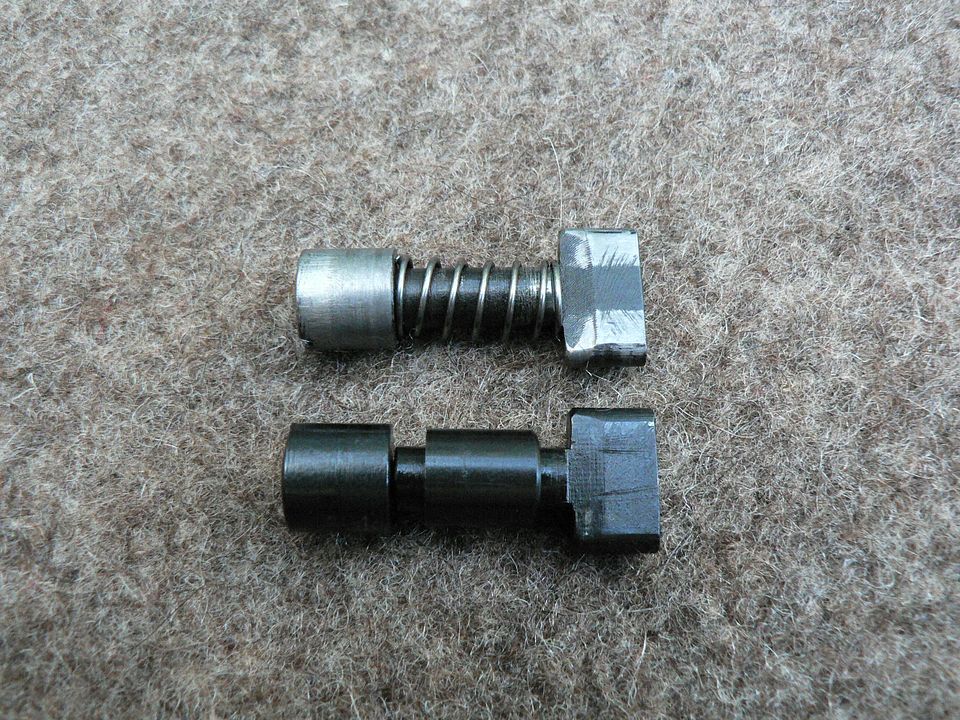
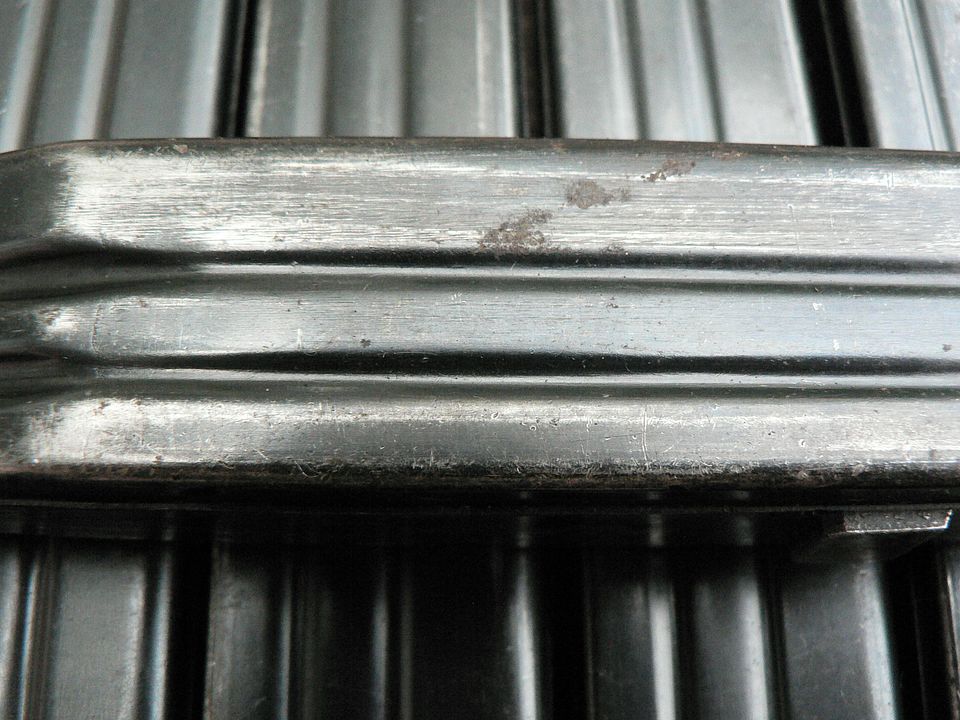
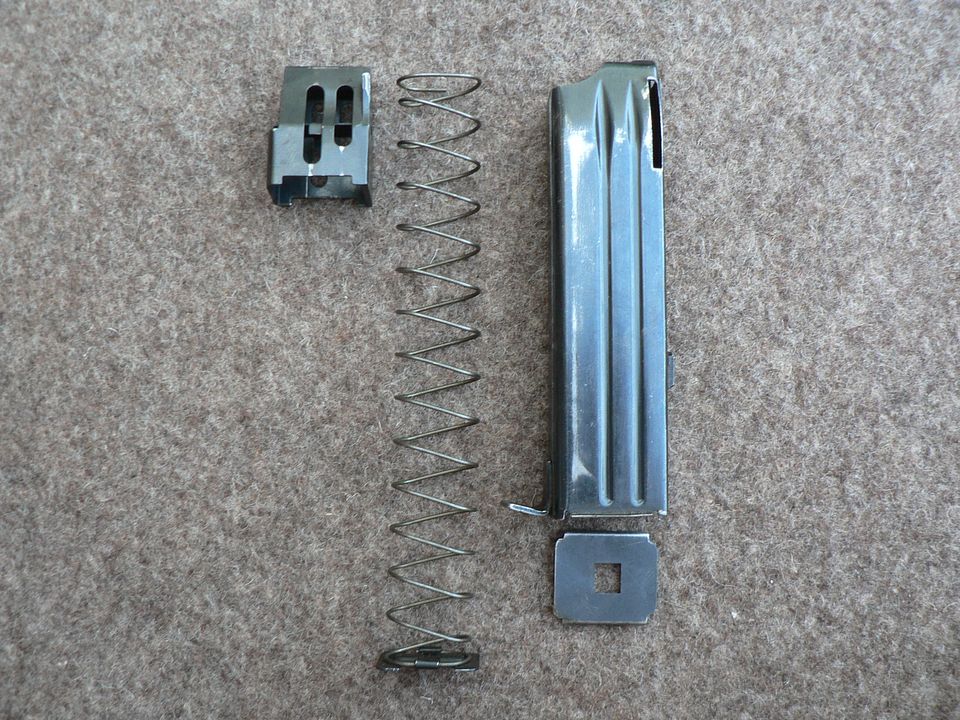
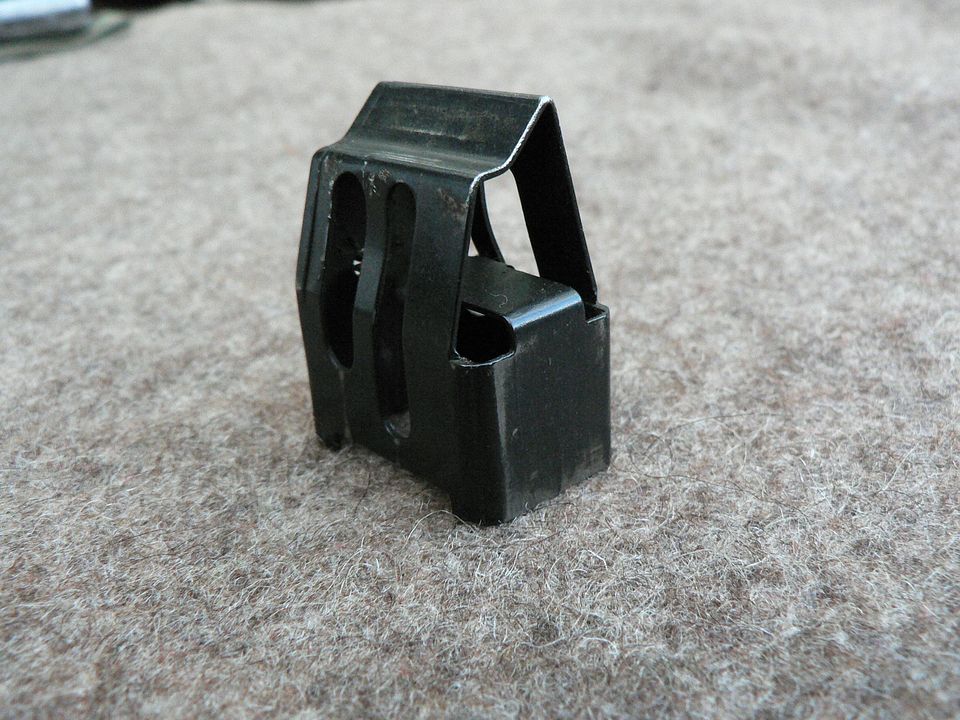
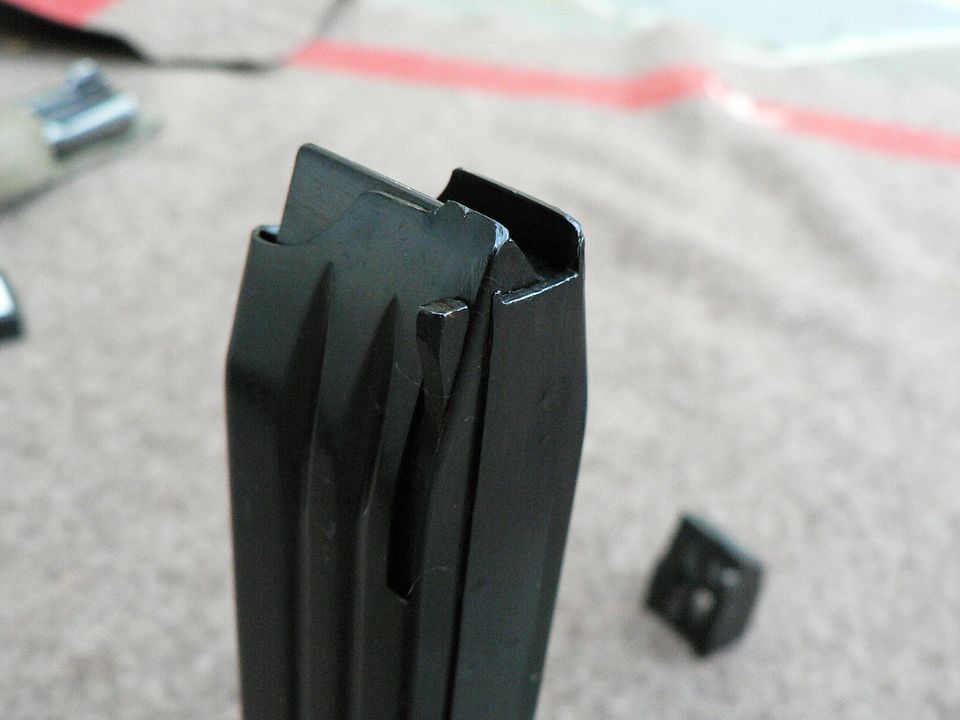
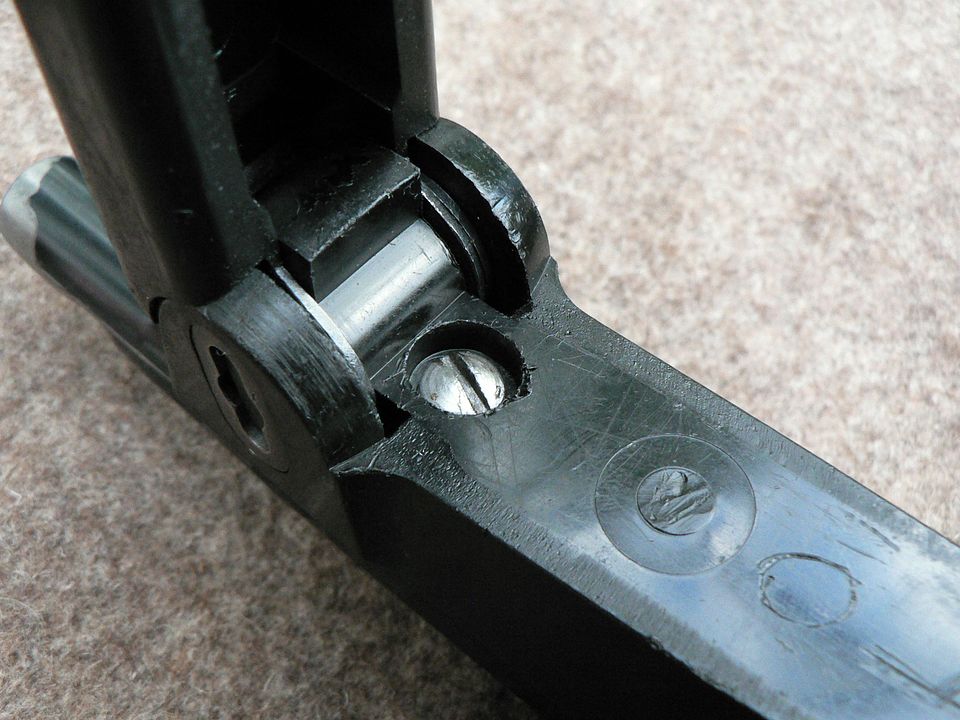
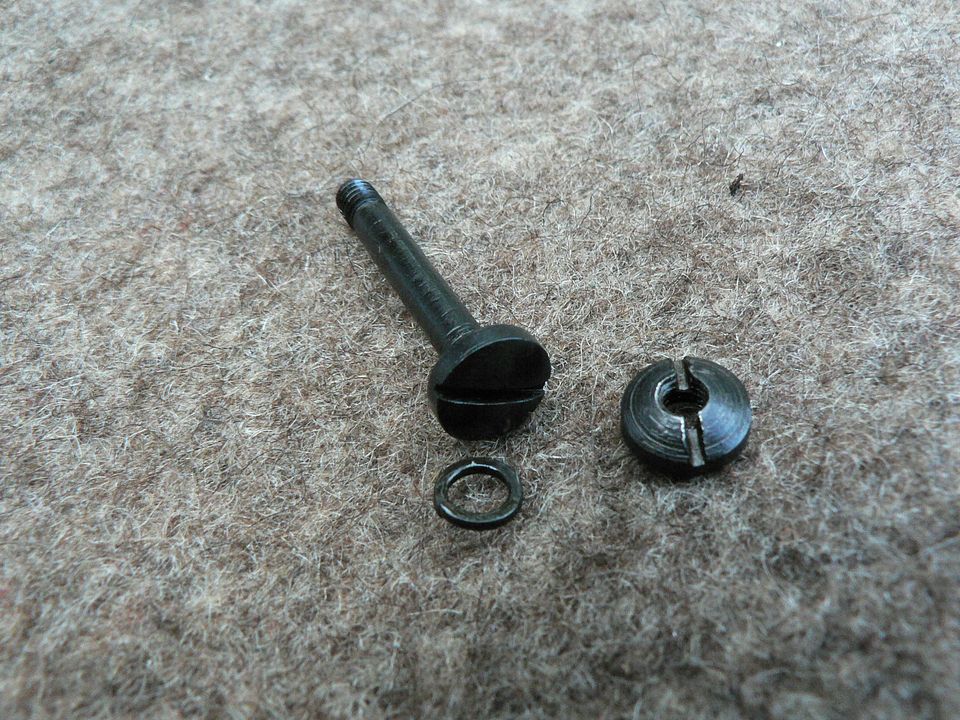
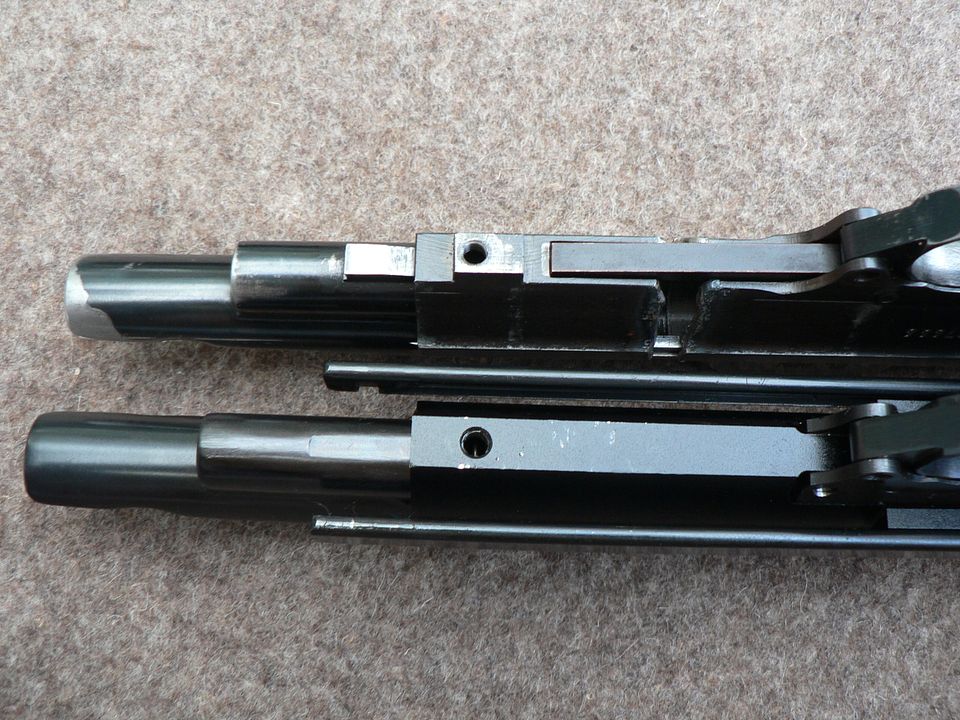
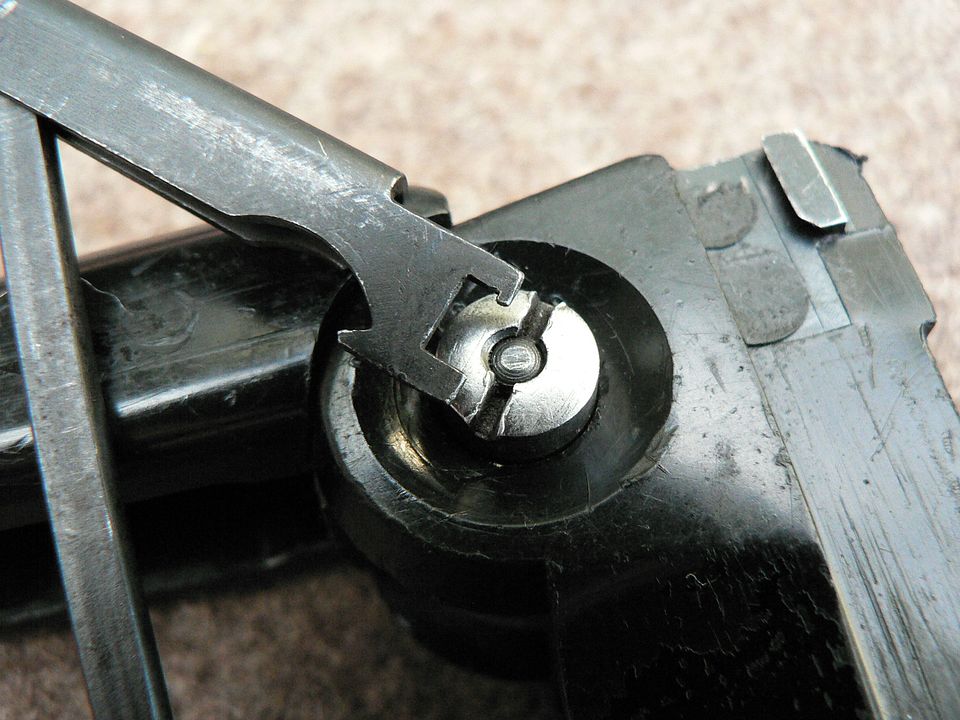
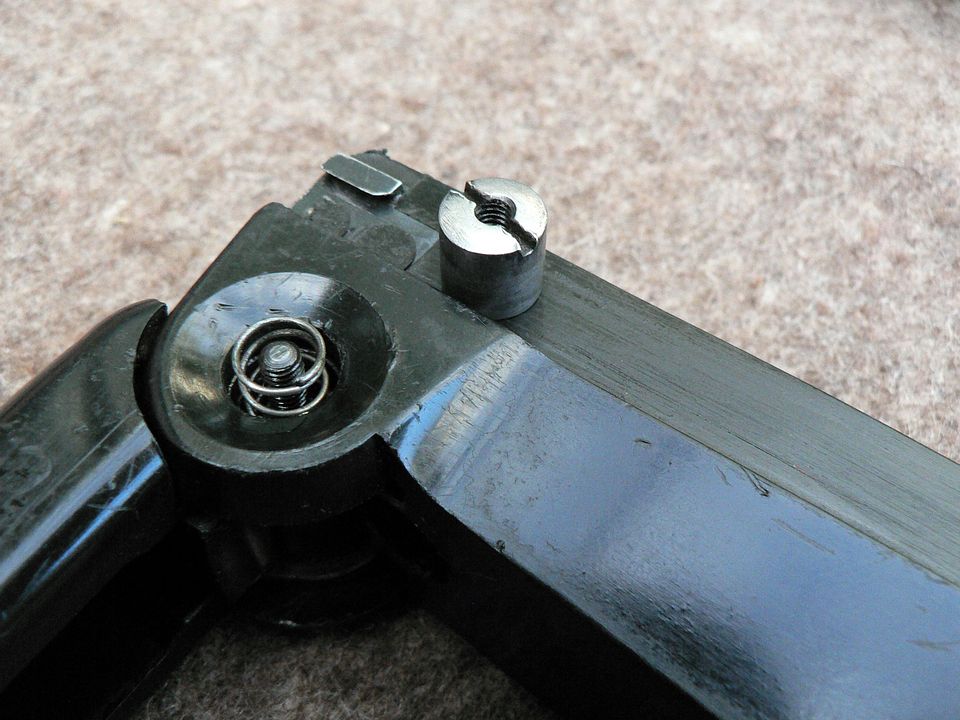
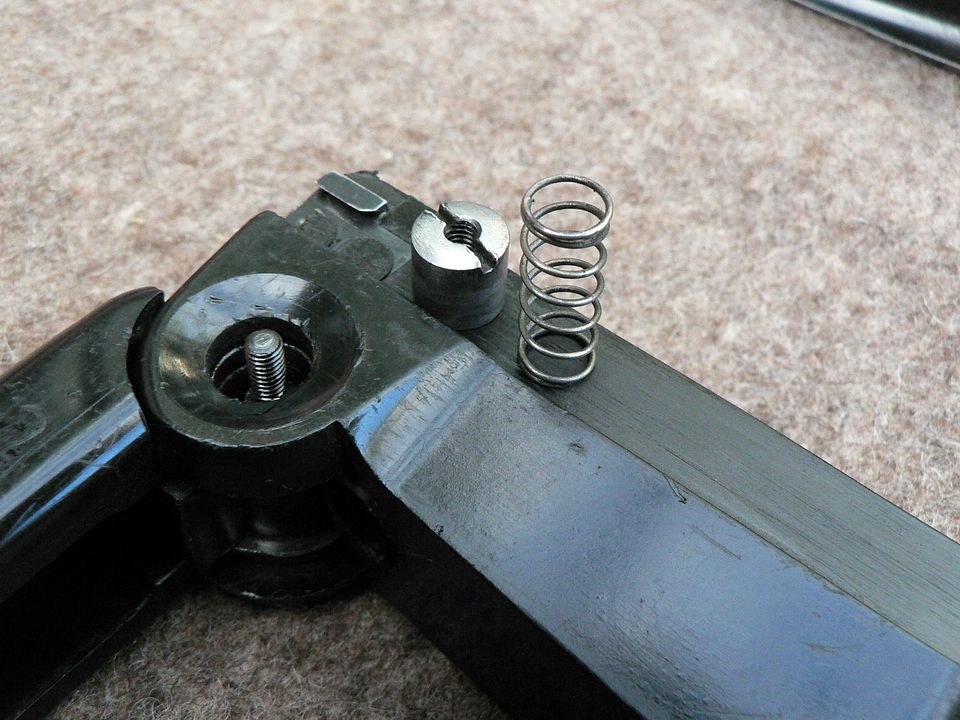
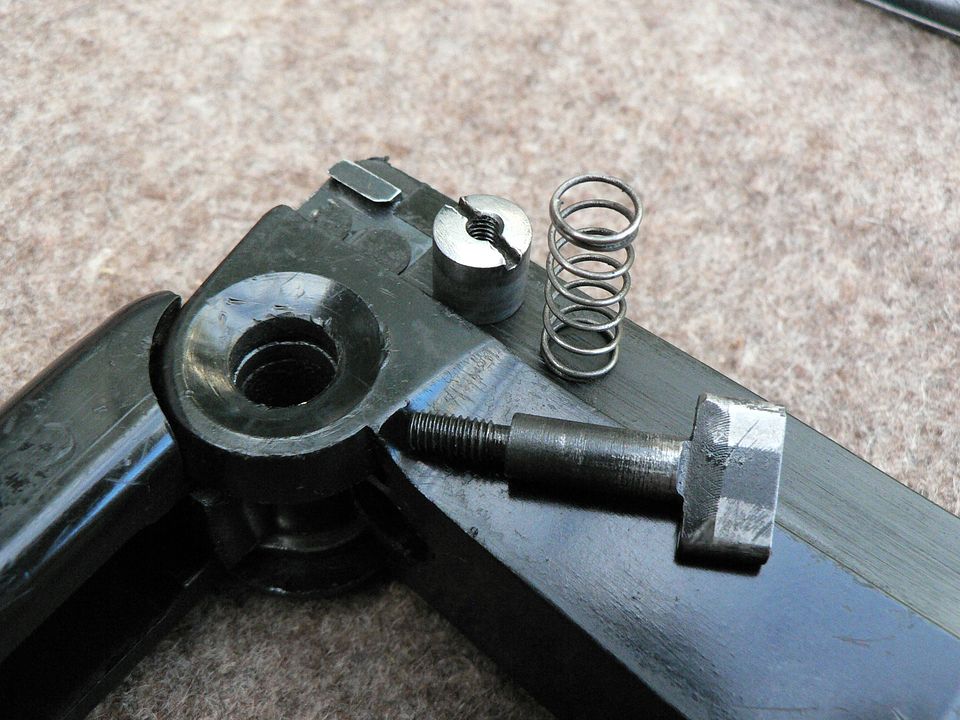
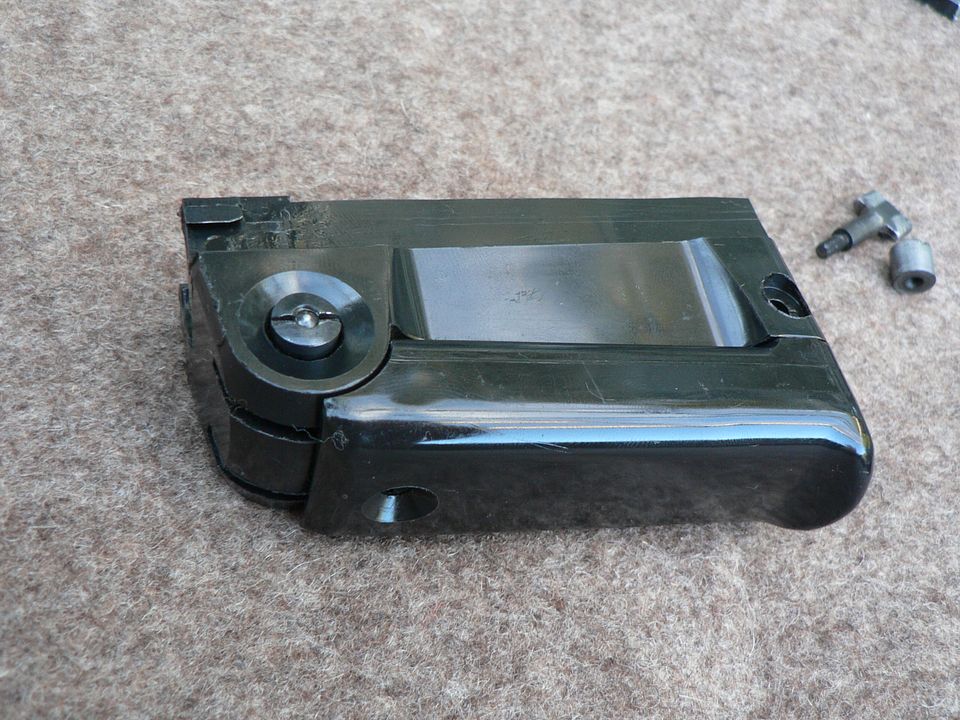
The vast majority of magazines you'll find are going to have the later style floor plate with the almost ubiquitous hole in the center that's locked in place by an inner plate with a protruding boss. But occasionally, you may run across a magazine with the earlier style floor plate which has a sprung finger that you have to pry up to remove:

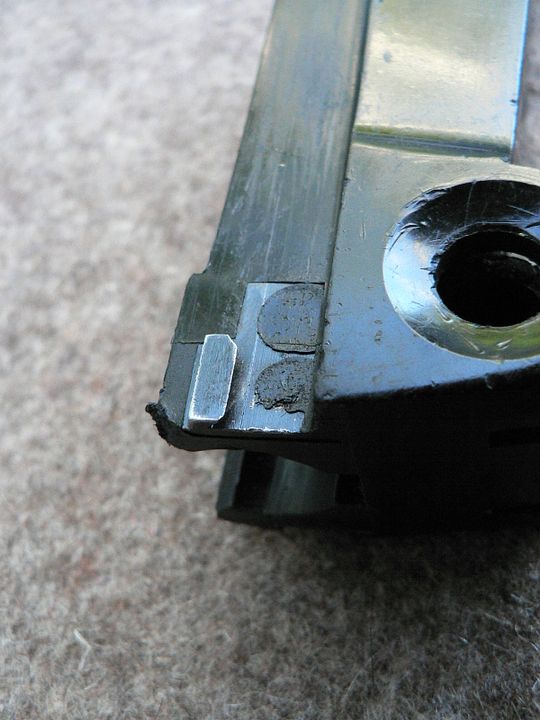
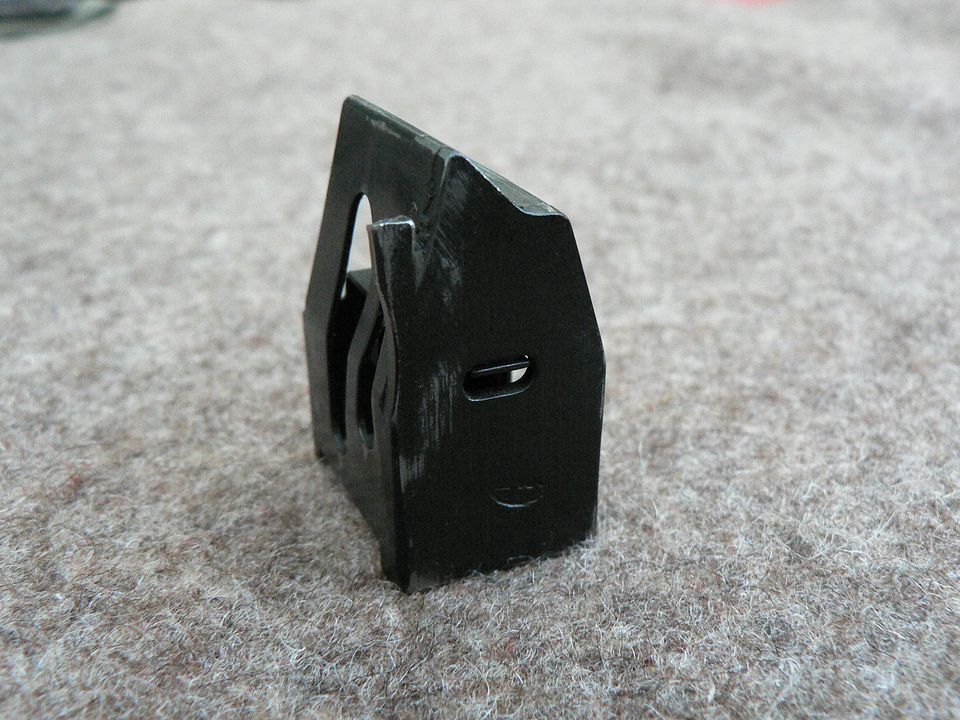
Notice the serial number on the earlier style. Perhaps earlier magazines were only numbered on the floor plate? Or maybe they were numbered in addition to the body? I don't know. What I do know is that this one does not match the serial number on the magazine body so they didn't leave the factory together. I've not seen a later style floor plate with a serial number.
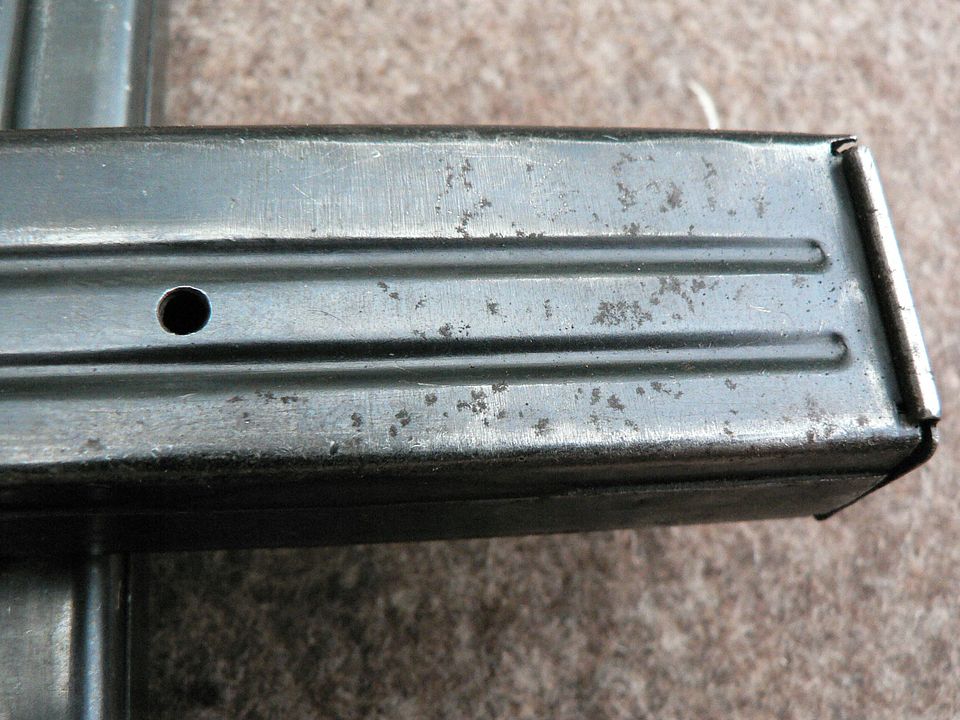
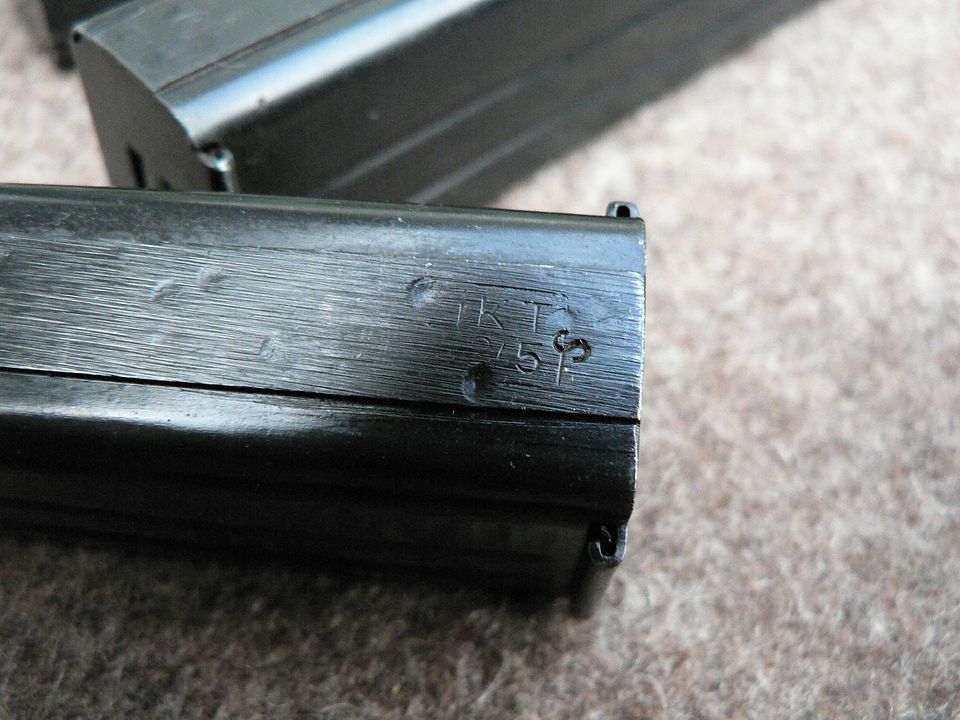
The only inspection marks I've found on magazines are at the lower front and they vary from magazine to magazine. Sometime though, you'll see the same mark on different magazines. This leads me to believe that you could trace a stamp back to an individual inspector. In other words, not only could you tell that the required inspection was made, but you could tell exactly which person did the inspection. Here are a few:


All seem to have a "KT/number" stamp at a minimum but others have additional stamps. Perhaps random magazines underwent additional inspections. We'll probably never know but it's fun to ponder these things. Someone else out there as weirdo as I am is probably already researching the topic.
Here is an assortment of 25 round magazines:
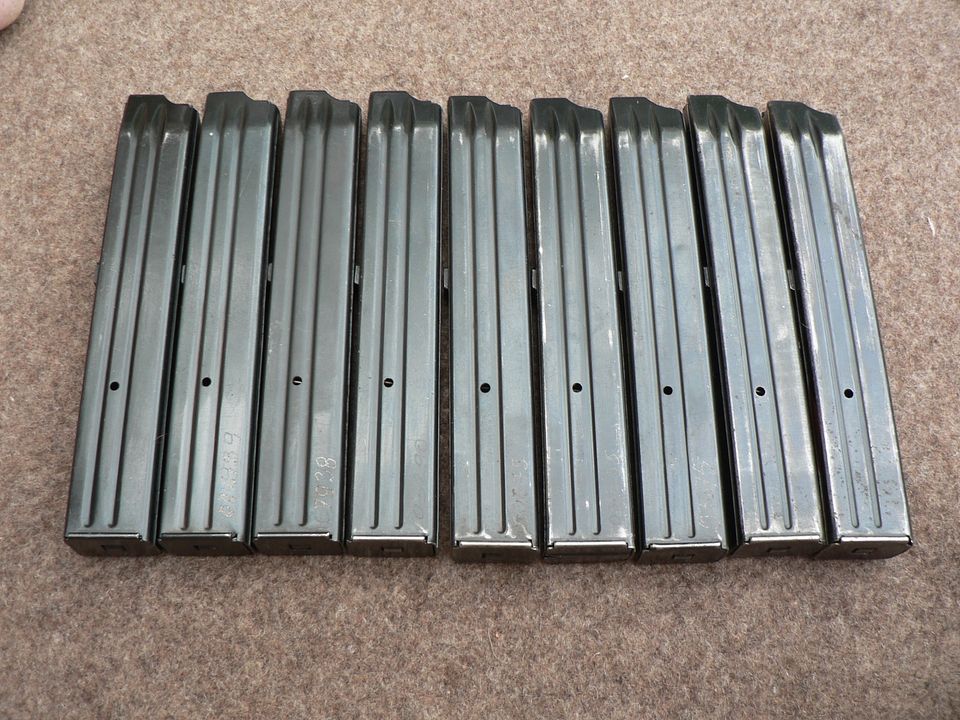
I've placed these in order of finish condition with the best on the left and the worst on the right. All appear to be perfectly functional but you are buying decades old surplus so you have to understand that you're most likely NOT going to get unissued stuff. Having said that, the one on the extreme left has no serial number and appears NOS so that means there ARE still unissued examples out there but they are probably scarce. The next one in is the one that came with my pistol. The only one that showed any corrosion at all it the one on the extreme right and it's minimal freckling:
Earlier I said the magazines were "generally serial numbered to the weapon" but as always, there are going to be exceptions. One of the magazines I bought has clearly seen a fair amount of use yet has no serial number. Others show evidence of an earlier number being blued over and a new one applied. All I've seen have the number applied on the right front side but....well, I'm sure there are exceptions to this as well.
This picture shows you what I'm talking about:
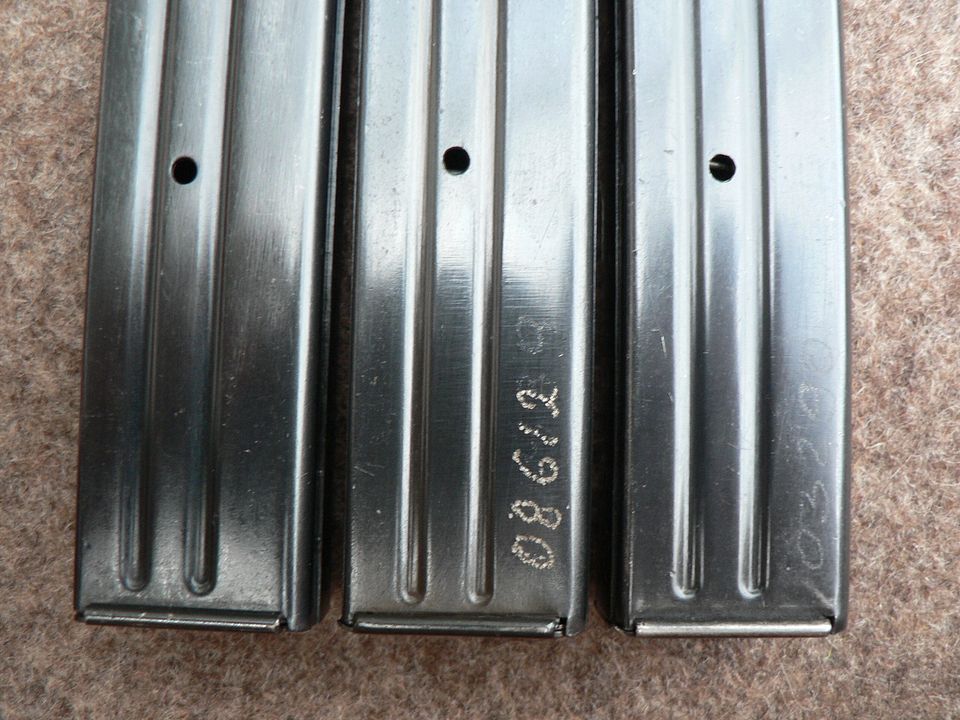
The NOS is on the left. Next is "08612" but you can see an old number underneath ending in a "9". The one on the right is faintly marked "103290" and doesn't appear to have ever been renumbered.
Another on numbered "7938" but you can still see the stylus marks in front of the "7" from an old number which has been blued over:
The point here is that you're going to see the gamut on these things. Numbered, not numbered, renumbered, new, worn, a little rusty, you're going to see it all. BUT they are cheap at the moment. Buy a bunch and you're covered.
I currently have two 15rd magazines. The one that came with the pistol is on the right:
Notice that these have a little tab sticking out the front that's missing on the 25rd jobbers. This is to assist in removal as the 15 round examples fit almost flush with the bottom of the grip:
If you look closely, you'll see that the front of the pistol grip has a scallop machined into it so your finger can get a better purchase on the tab. Tab or no tab, all come out very easily. If they were any more loose, they would rattle.
The base plate on the magazine that came with the parts kit has seen better days but I'm sure it'll be an easy thing to straighten it out:
The vast majority of magazines you'll find are going to have the later style floor plate with the almost ubiquitous hole in the center that's locked in place by an inner plate with a protruding boss. But occasionally, you may run across a magazine with the earlier style floor plate which has a sprung finger that you have to pry up to remove:
Notice the serial number on the earlier style. Perhaps earlier magazines were only numbered on the floor plate? Or maybe they were numbered in addition to the body? I don't know. What I do know is that this one does not match the serial number on the magazine body so they didn't leave the factory together. I've not seen a later style floor plate with a serial number.
The only inspection marks I've found on magazines are at the lower front and they vary from magazine to magazine. Sometime though, you'll see the same mark on different magazines. This leads me to believe that you could trace a stamp back to an individual inspector. In other words, not only could you tell that the required inspection was made, but you could tell exactly which person did the inspection. Here are a few:
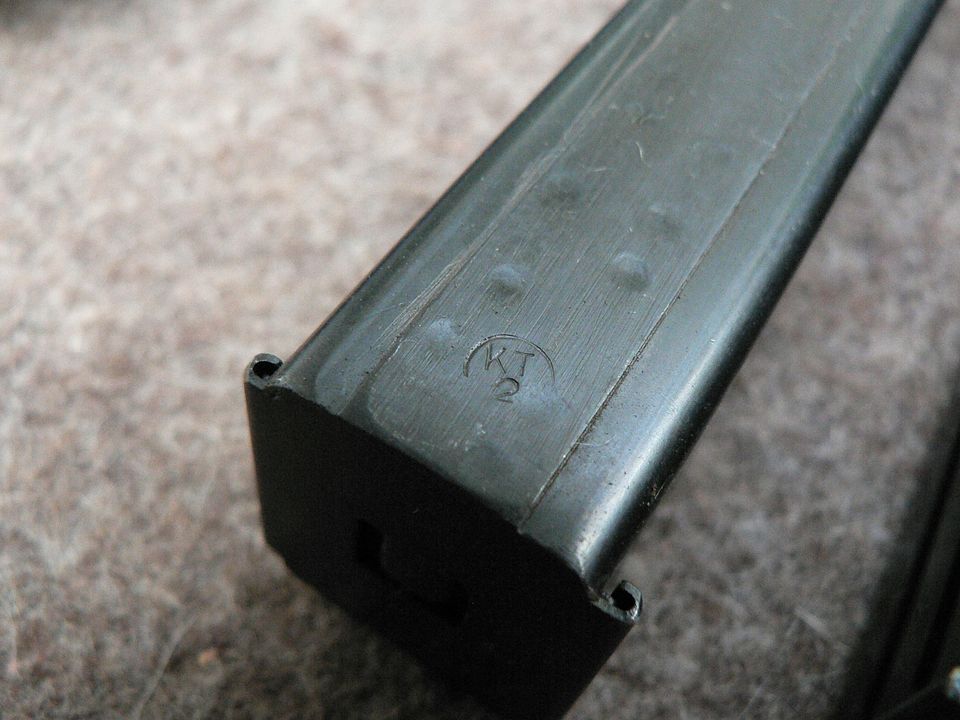
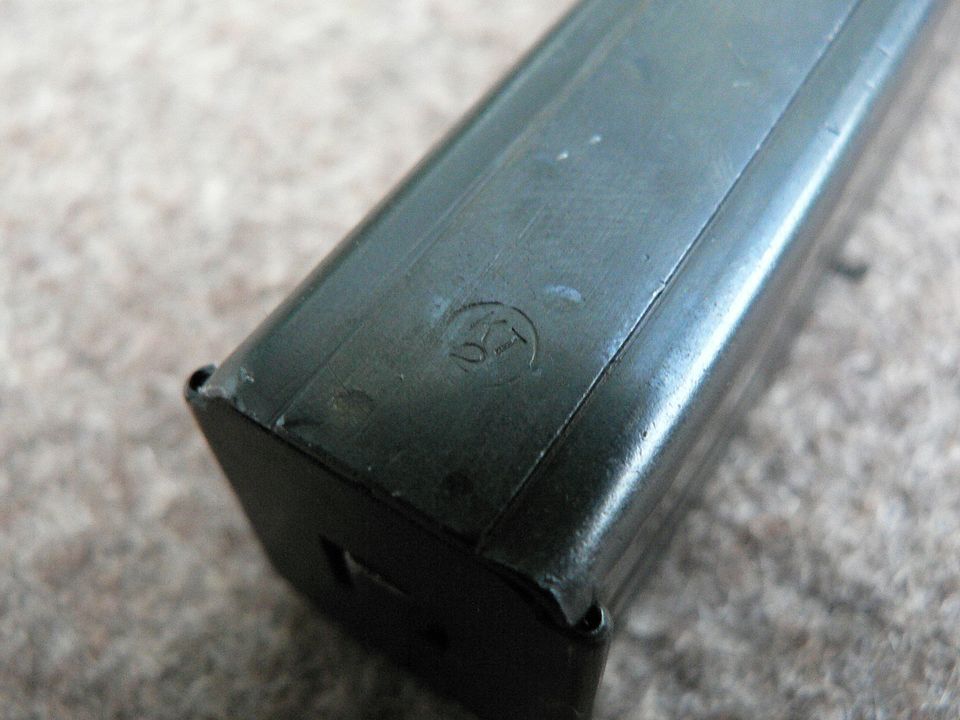
All seem to have a "KT/number" stamp at a minimum but others have additional stamps. Perhaps random magazines underwent additional inspections. We'll probably never know but it's fun to ponder these things. Someone else out there as weirdo as I am is probably already researching the topic.
Last edited:

_IMG_0770_cHq4K4MjV7ig7Nyg1YJoRE.png?width=960&height=720&fit=bounds)


 Beautiful pictures either way
")