CETME Model L (.223) in the US

The #1 community for Gun Owners of the Northeast

Member Benefits:

  • No ad networks!
  • Discuss all aspects of firearm ownership
  • Discuss anti-gun legislation
  • Buy, sell, and trade in the classified section
  • Chat with Local gun shops, ranges, trainers & other businesses
  • Discover free outdoor shooting areas
  • View up to date on firearm-related events
  • Share photos & video with other members
  • ...and so much more!
  • wbw2123

    Active Member
    Nov 19, 2012
    905
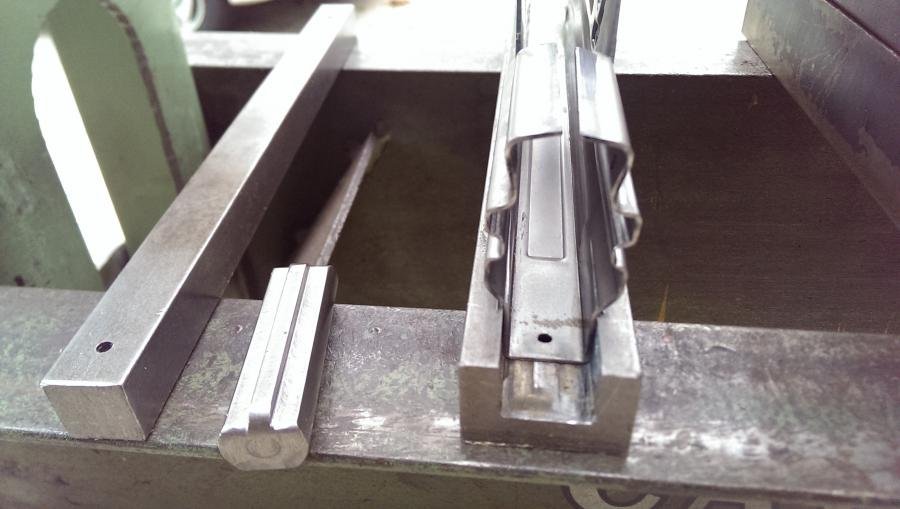
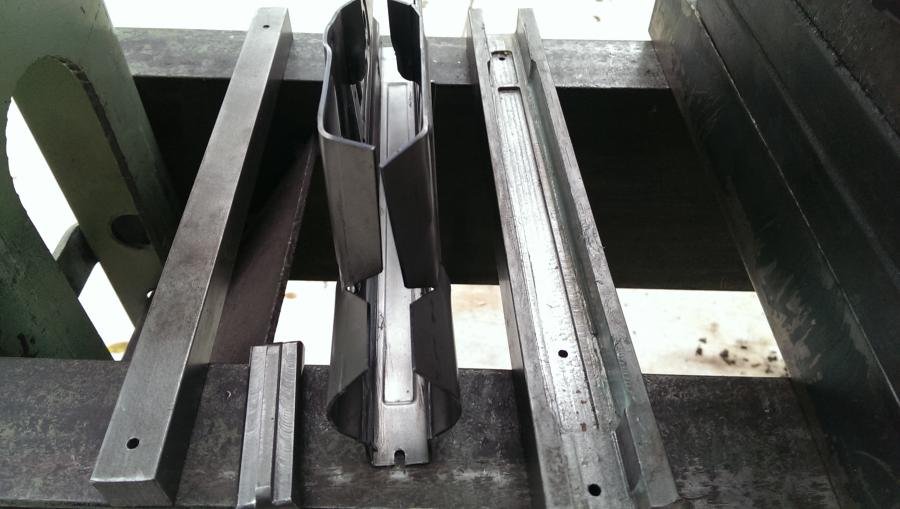
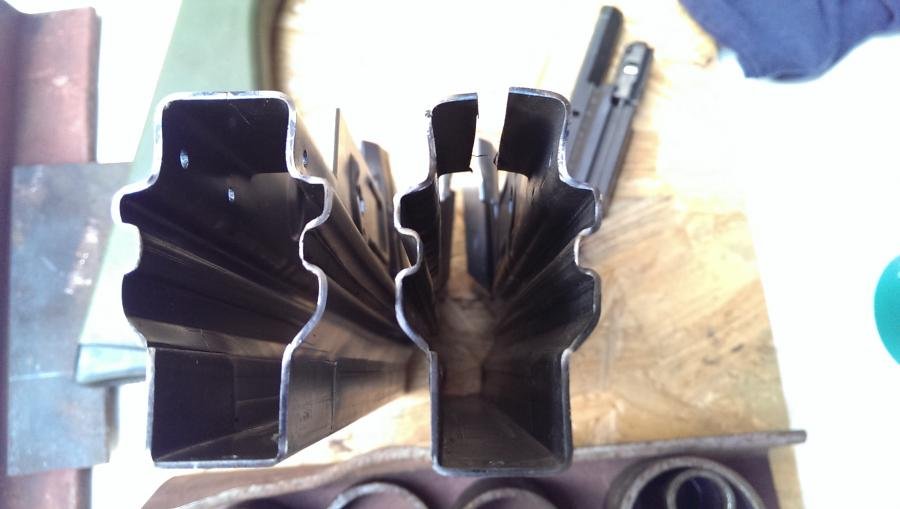
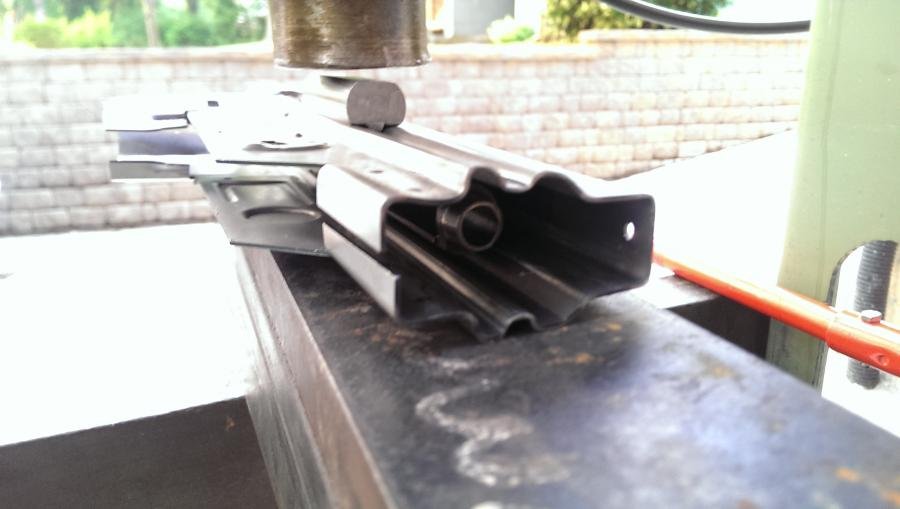
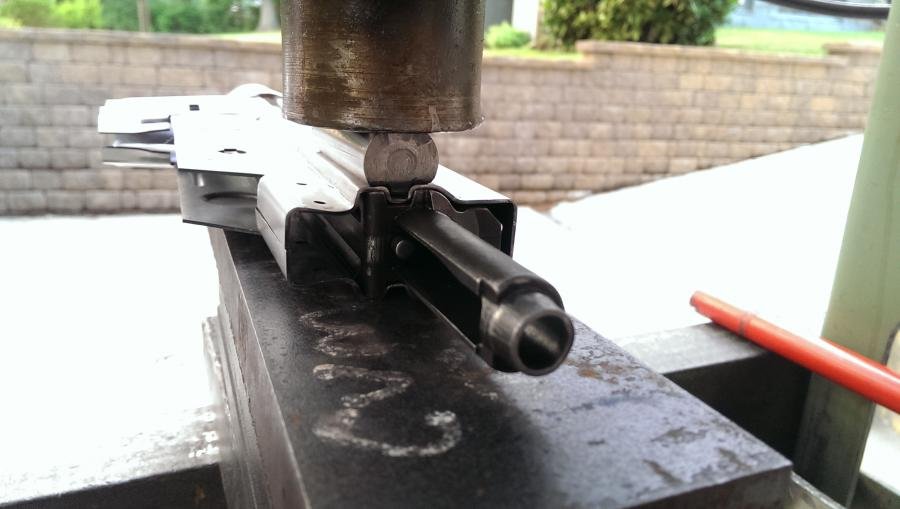
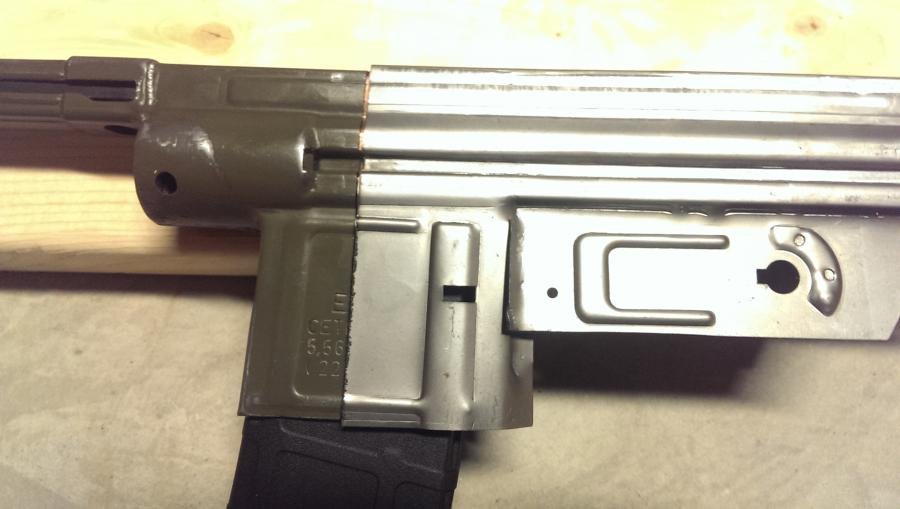
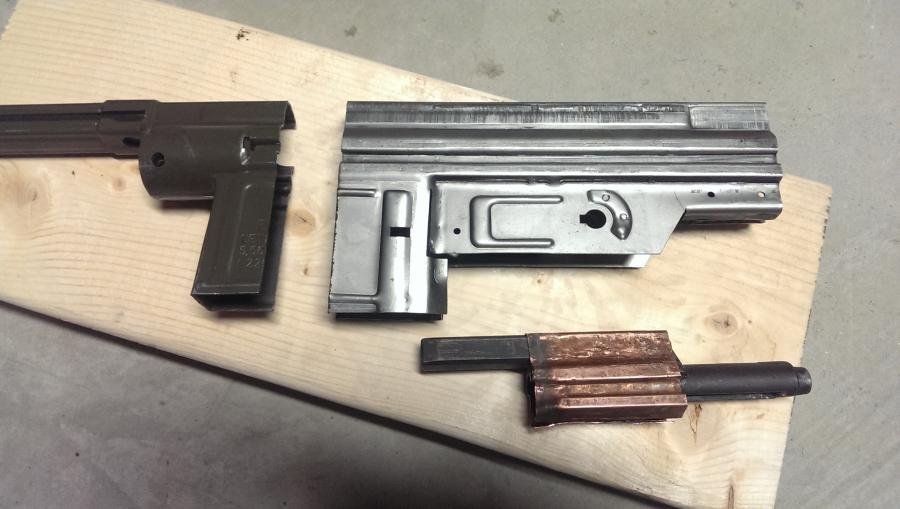
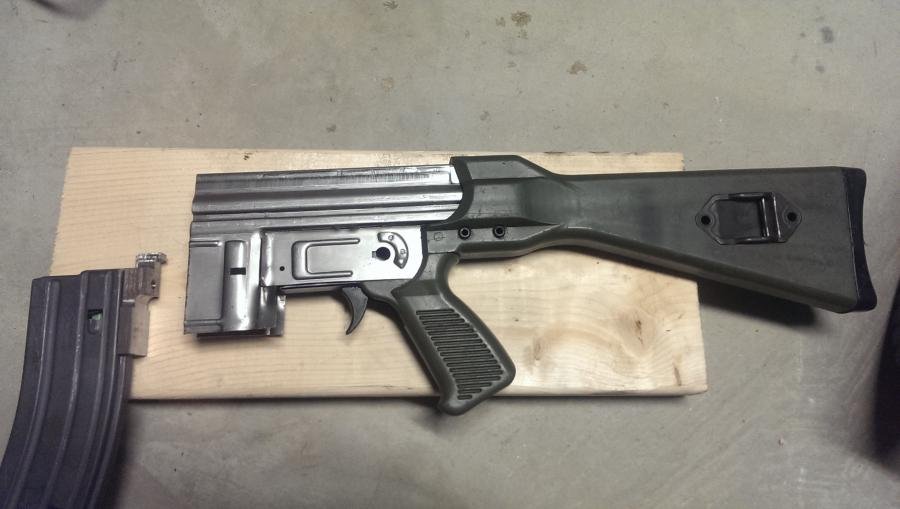
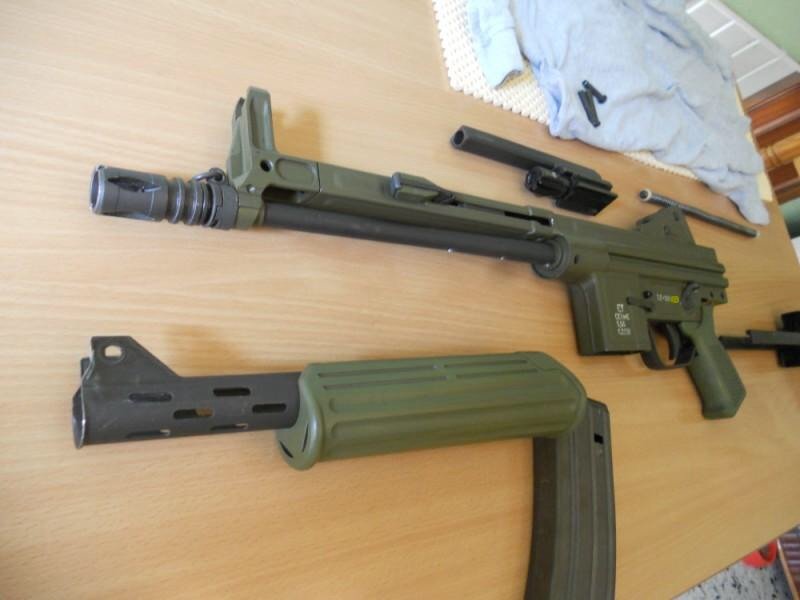
    Okay, this is coming together. I should be able to dig out, repair, and have my 50 ton press available at some point this weekend. Thinking either Sunday afternoon or Monday evening in Catonsville for a get together. Post up if you are interested and I can finalize the details based on attendees.
     
    Last edited:

    wbw2123

    Active Member
    Nov 19, 2012
    905
    Pressed some CETME L receivers tonight. The jig made short work of the flats.
     

    Attachments

    • IMAG1933.jpg
      IMAG1933.jpg
      51.8 KB · Views: 540
    • IMAG1932.jpg
      IMAG1932.jpg
      56.6 KB · Views: 467

    wbw2123

    Active Member
    Nov 19, 2012
    905
    The rail squaring jig worked awesome. I am not sure what guys are doing without one, but it's a necessity to square the rails. As pressed on left and squared on right.
     

    Attachments

    • IMAG1931.jpg
      IMAG1931.jpg
      41.7 KB · Views: 450
    • IMAG1929.jpg
      IMAG1929.jpg
      42.9 KB · Views: 457
    • IMAG1930.jpg
      IMAG1930.jpg
      47.7 KB · Views: 475

    jjones88

    Active Member
    Apr 4, 2013
    568
    Sykesville
    Have to say thanks again to wbw2123 for letting me borrow the jig.

    My results were that the jig easily bent the flat, but my rails were way off. Using the rail squaring jig above straightened them out very nice. Looking forward to moving on with this build.
     

    wbw2123

    Active Member
    Nov 19, 2012
    905
    Have to say thanks again to wbw2123 for letting me borrow the jig.

    My results were that the jig easily bent the flat, but my rails were way off. Using the rail squaring jig above straightened them out very nice. Looking forward to moving on with this build.

    I'm happy that you were able to take advantage while it was in Maryland. It's always great to meet other local builders. Keep us updated as you work on it.
     

    wbw2123

    Active Member
    Nov 19, 2012
    905
    I probably should start another thread, but I'll give one more update for anyone considering a flat. I wrapped the bolt in copper to create a mandrel for welding. Cut the front off the receiver and mocked everything up for the final cut to length. These first generation receivers are too tall at the top (he is making a gen 2 with some revisions to address this and other variances) so you can see where it didn't line up with the stub. I have a fix planned for that but have to verify it'll work first. These pictures should give you a pretty good idea of fitment.
     

    Attachments

    • IMAG1934.jpg
      IMAG1934.jpg
      46.9 KB · Views: 424
    • IMAG1935.jpg
      IMAG1935.jpg
      43.5 KB · Views: 467
    • IMAG1936.jpg
      IMAG1936.jpg
      47.1 KB · Views: 440
    • IMAG1938.jpg
      IMAG1938.jpg
      54.4 KB · Views: 449

    IMBLITZVT

    Ultimate Member
    Apr 20, 2009
    3,799
    Catonsville, MD
    I just caught up with this thread. I don't have a flat anyway but its good to see you got yours bent! Man, looks like a lot of work. You have some cool stuff there but I have to say I made the right call for me in waiting! The flat while it looks like can be made to work is far from an HK flat which is what I would have been expecting and wanting. I can't wait to see it done! Whats your plan on the text? Going to leave it cut off? Fill or? Also what is involved with the front of the trigger pack where it hits the mag well. I see its cut there. What do you do in this area?
     

    wbw2123

    Active Member
    Nov 19, 2012
    905
    The I saw pictures of the "pre-production" example, so I knew what I was getting into. If you were expecting LSC quality flats, you would have been hugely disappointed. To me this is a little more difficult than an Uzi reweld, but many of the same principles apply.

    For the magwell engraving I am leaning toward trying electro-acid etching to try and match the original font.

    The front of the trigger pack has an hk style lug that will be milled off. I have a machined piece that will weld in and I plan to drill and tap the pack for a 1/4" stud that will fit into the hole in the weldment. The originals appear to have a milled piece in this position as well but use a push pin like an hk. You can see the weld piece on the mag in the picture below.

    I fit the receiver to the stock without making any modifications to the stock. I always strive for interchangeable parts on my homebuilds. I also fit the machined rear block that supports the stock lugs and the rear of the trigger pack. Here it is fitted and ready for welding. The mag in the picture has the machined part on it that will be welded to the rear of the well. I figured I would build the gun from the rear forward to make sure all the dimensions are correct. The magazine will set the width of the final cut for the front of the new receiver to mate up with the old front stub.
     

    Attachments

    • IMAG1943.jpg
      IMAG1943.jpg
      47.9 KB · Views: 472

    jjones88

    Active Member
    Apr 4, 2013
    568
    Sykesville
    When we were looking at it monday, the thought was to file just a hair on the stock.

    How did you go about it without modifying the stock? I was thinking (since the receiver is a bit too tall anyways) just using emory cloth to take a few thousandths off...

    I like your front cut, things are looking good on yours!
     

    wbw2123

    Active Member
    Nov 19, 2012
    905
    Relieving the top of the inside of the stock was the original plan but I had used the band saw to cut the front off and was looking at everything sitting there. Well as it turns out, the material that needed to be removed was the same width as the saw blade. I'll have to take a picture, but I just slit the top of the receiver with the band saw. Will have to weld it back together, but it made enough room for the stock to slide on without binding.
     

    IMBLITZVT

    Ultimate Member
    Apr 20, 2009
    3,799
    Catonsville, MD
    The I saw pictures of the "pre-production" example, so I knew what I was getting into. If you were expecting LSC quality flats, you would have been hugely disappointed....
    For the magwell engraving I am leaning toward trying electro-acid etching to try and match the original font....

    Yes knowing what you are getting into is very important. Here is a case where someone did not know what they were getting into along with some other issues related to these flats:

    http://www.forgottenweapons.com/product-review-cetme-l-flat-by-prexis/#comments

    Yeah that text going to be a hard thing to match up with. I am very interested to see how that comes out

    I was wondering what was going to happen at the rear of the mag well. I saw no good way to make that work. Same with the front but I agree with your method, so long as you have the skill to pull it off. I know I don't but knowing your limits is always the most important part!

    .... but I just slit the top of the receiver with the band saw. Will have to weld it back together, but it made enough room for the stock to slide on without binding.

    Damn, thats sounds like a lot of work! I am glad its working out for you but still more proof it was out of my league...
     

    Bertfish

    Throw bread on me
    Mar 13, 2013
    17,688
    White Marsh, MD
    I say we all let this man do his magic to this rifle then hire him to instruct those of us who are less skilled as fabricators in the ways of the CETME :D
     

    wbw2123

    Active Member
    Nov 19, 2012
    905
    I say we all let this man do his magic to this rifle then hire him to instruct those of us who are less skilled as fabricators in the ways of the CETME :D

    I'd be happy to help anyone interested. The hardest part it's having the patience to tinker with something that has no instructions. Most other builds have already been proven and have tutorials to match. This one doesn't.
     

    wbw2123

    Active Member
    Nov 19, 2012
    905
    Made some more progress tonight. I think it's about time to start welding. I cut the front push pin boss and the sear trip tower off the grip frame and fitted the rear magwell part. I had to make substantial modifications to the weldment because the magwell on these is actually 2 degrees forward of perpendicular to the rails. I also had to widen the seam track so that it would accept p-mags. Here it is pretty much ready to weld up.

    The bolt in the first picture will have the head cut off and will be cross pinned into the grip frame. Also, I didn't take a picture but I bent the receiver at the rear of the magwell to have a better profile. I also need to take another 1/8" of the front of the flat.
     

    Attachments

    • IMAG1949.jpg
      IMAG1949.jpg
      32.4 KB · Views: 329
    • IMAG1948.jpg
      IMAG1948.jpg
      42.5 KB · Views: 346
    • IMAG1950.jpg
      IMAG1950.jpg
      43.9 KB · Views: 358
    • IMAG1951.jpg
      IMAG1951.jpg
      45.3 KB · Views: 377

    wbw2123

    Active Member
    Nov 19, 2012
    905
    Modified my blocking shelf weldment to look more like the original and also accept a pmag. Notice that it completely blocks the sear trip from being installed.
     

    Attachments

    • IMAG1952.jpg
      IMAG1952.jpg
      50.2 KB · Views: 344

    wbw2123

    Active Member
    Nov 19, 2012
    905
    Here is an original receiver picture stolen from the web for reference.
     

    Attachments

    • image1.jpg
      image1.jpg
      61.7 KB · Views: 355

    wbw2123

    Active Member
    Nov 19, 2012
    905
    A few more that are said to be original. I noticed that the welds are different and less clean than the previous picture, but this is an LC model
     

    Attachments

    • D1ZF3_image.jpg
      D1ZF3_image.jpg
      41.7 KB · Views: 359
    • DAF63_image.jpg
      DAF63_image.jpg
      68.5 KB · Views: 359
    • DA25A_image.jpg
      DA25A_image.jpg
      40.2 KB · Views: 314

    Users who are viewing this thread

    Latest posts

    Forum statistics

    Threads
    275,580
    Messages
    7,287,134
    Members
    33,481
    Latest member
    navyfirefighter1981

    Latest threads

    Top Bottom