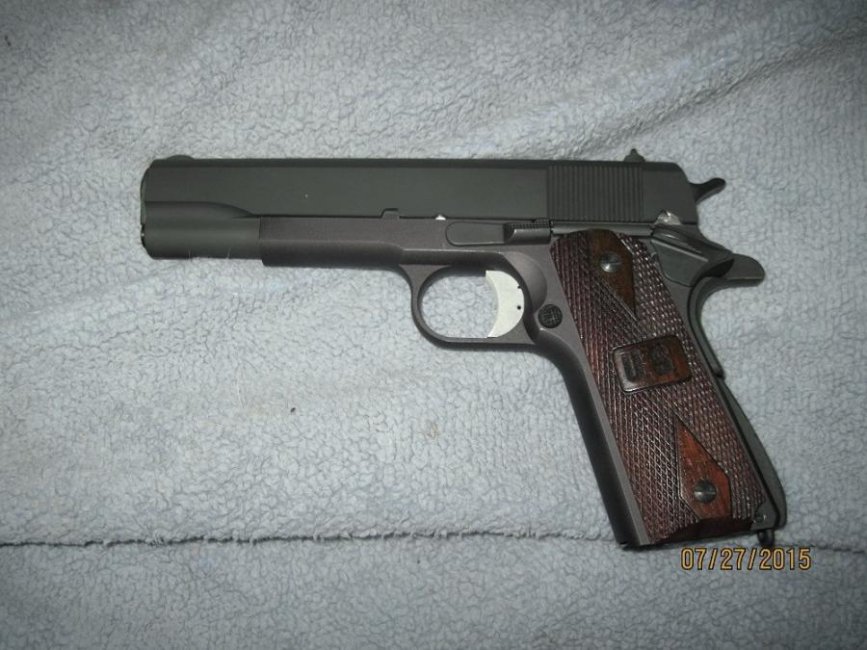
Anyone have any luck cold blueing one of these?
I used Alumahyde II on one of the frames, but on my other two I wanted to blue... so far Birchwood and Shooters Pro Solutions didn't blue them. Any other finishing options?
Bluing doesn't work on non ferrous metal like aluminum. Most folks have them Ceracoted or do it themselves. ( As long as your wife is out of the house when you use the oven)

John


")