Brent
#2ALivesMatter
Howdy All!
I’d like to share my process for shooting that I’ve learned through instructor guidance and my own personal success. Not much beats training, nothing beats training with a licensed instructor. I hope this information helps some. I
DO anticipate roughly 3% thread drift. I’ve watched my success on target and do know that this works.
Thanks!
—
Pistol Shooting
Strong Hand
________________________
Firm grip with pinky and ring finger. This drives the beaver tail firmly into the web of your thumb.
Remember to check the space between top of hand and bottom of beaver tail on pistol. You do not want to see any space there.

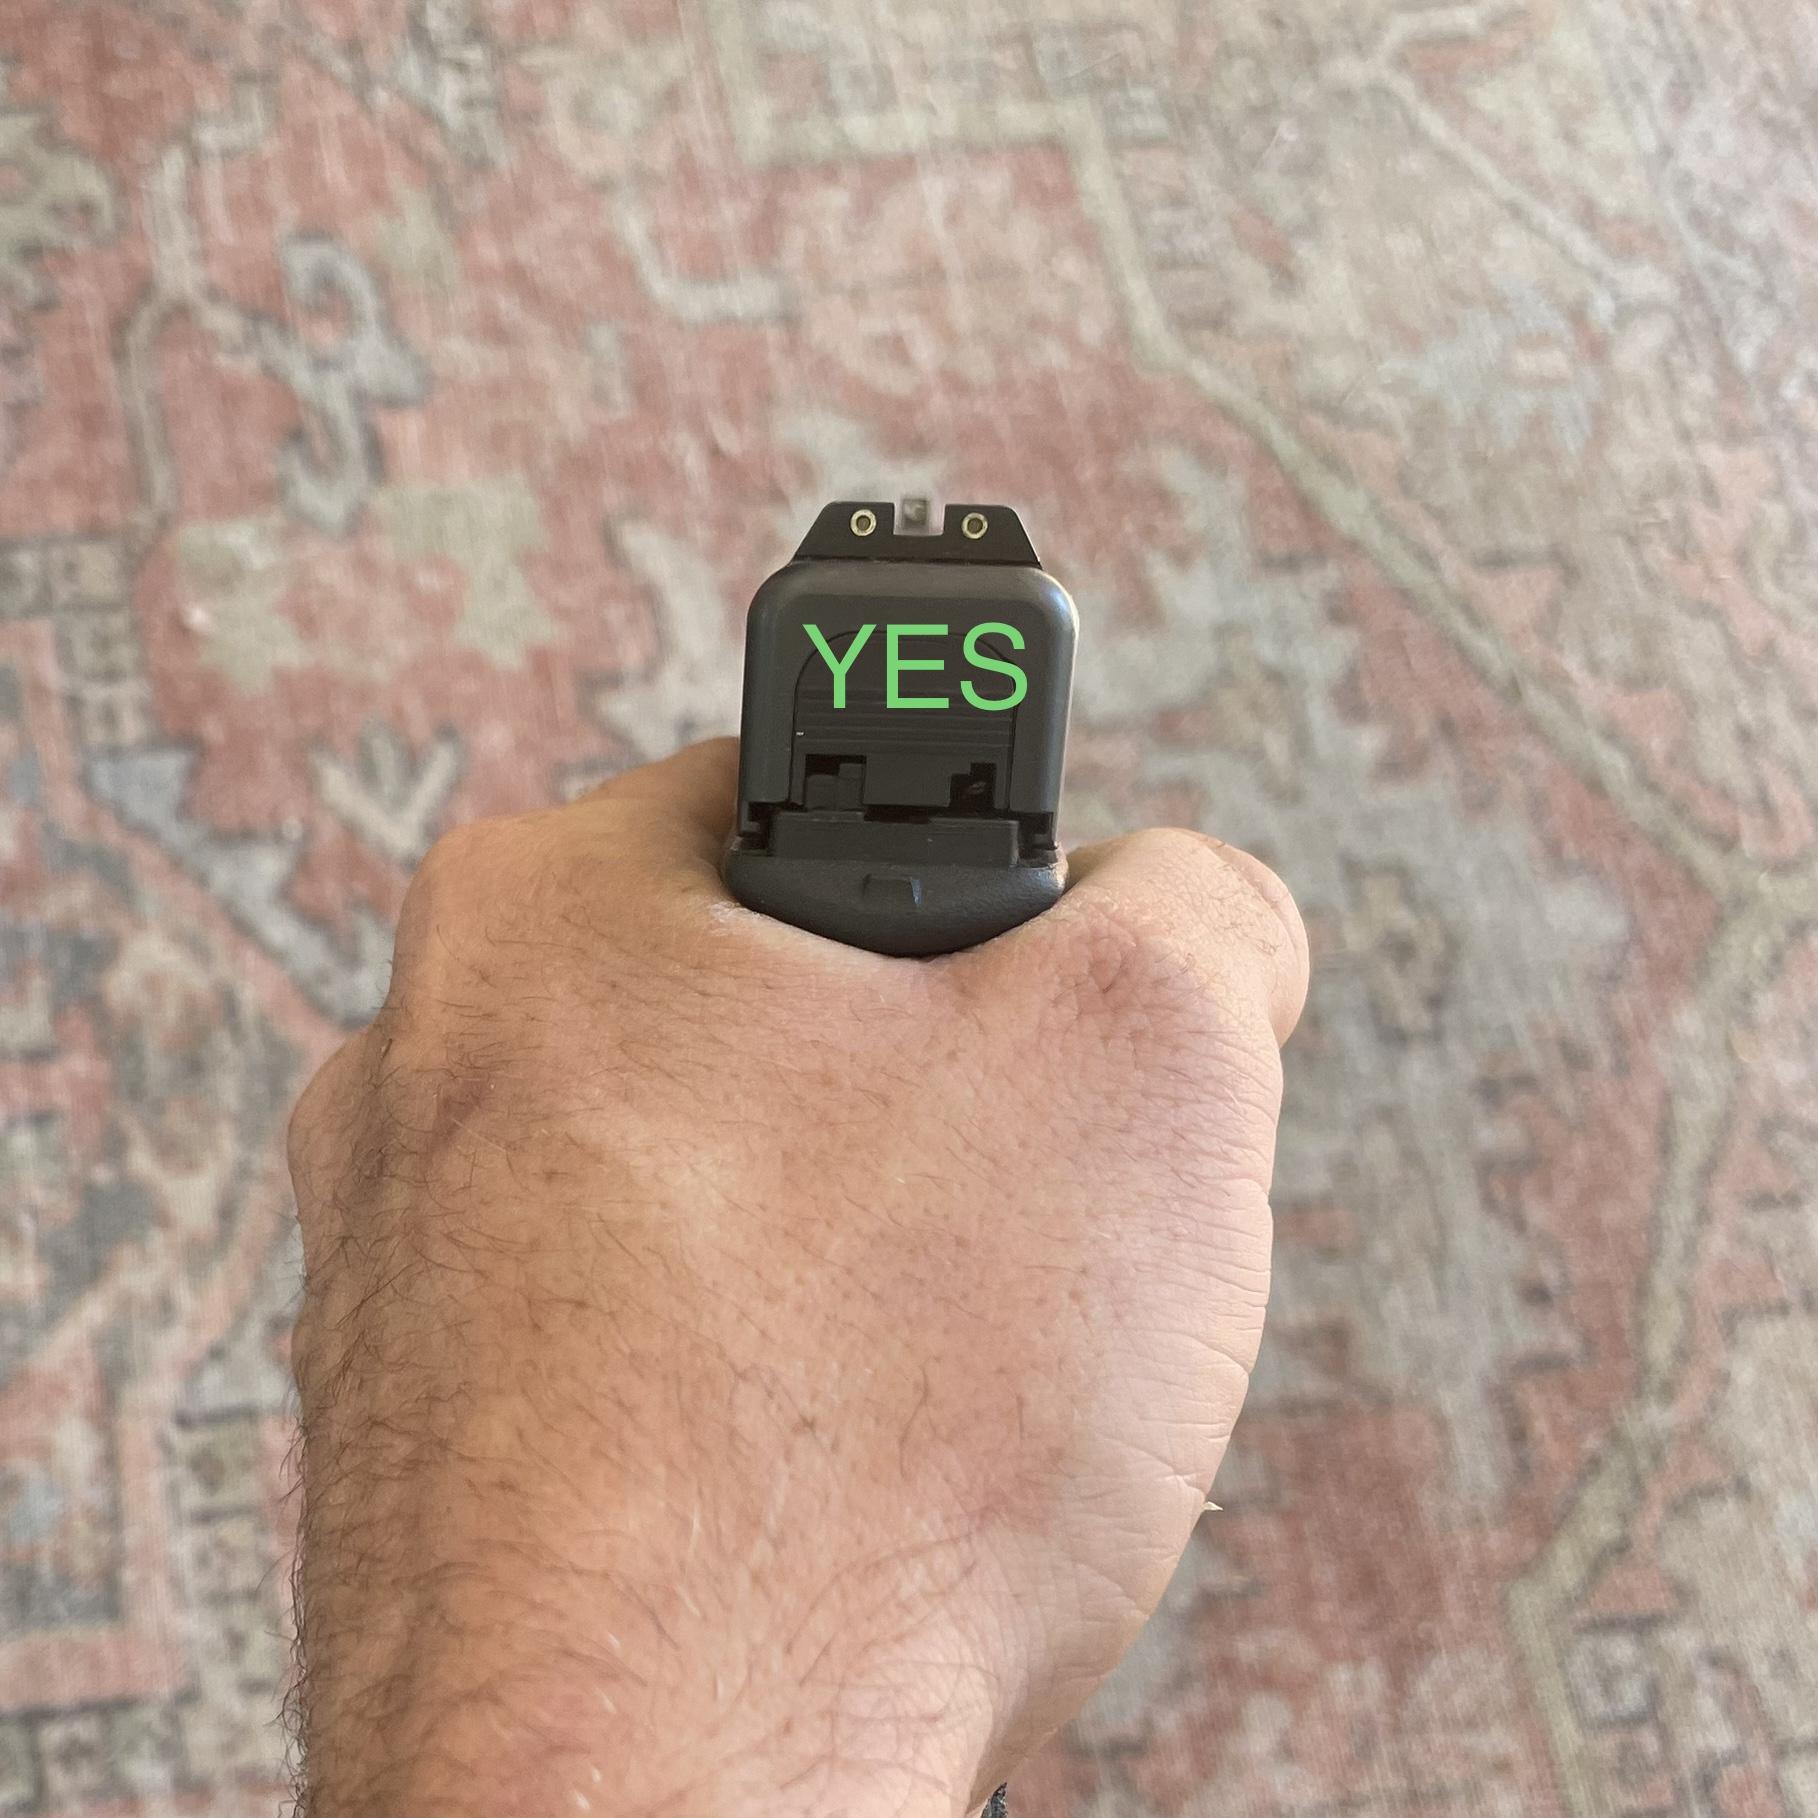
Keep middle finger more loose than pinky and ring.
Leave trigger finger loose. This provides dexterity and ease of movement to run your trigger.
Remember when first placing the pistol into your strong hand and applying pressure to your fingers as written above, let your strong hand thumb point slightly upwards to reveal the real estate for your support hand.

Support Hand
________________________
Take the pad of thumb / palm and firmly “weld” this to the open grip area revealed while pistol is firmly grasped in the Strong Hand.

Your Support Hand thumb should be pointing forward, down the muzzle. Do not be afraid to have your thumb touching the slide. The slide will still cycle.
All fingers of your Support Hand grasp your Strong Hand’s fingers. Allow them to fall into their natural location between your Strong Hand fingers.

You want the two fists now created to have your middle knuckles of the support hand pointing straight down in line with the muzzle.

The Support Hand is to be FIRM in grip strength.
Take your Strong Hand thumb and press it into the fatty pad of your Support Hand thumb.
The pressure for both thumbs is to be strong.
Strong Hand thumb pressure is down on Support Hand thumb and into the frame of the pistol.
Support Hand thumb pressure should be directly into the frame of the pistol.
The index finger of your Support Hand should be pressed into your Strong Hand middle finger while also firmly pressed upwards into the bottom of the trigger guard.
At this point the grip is established.
Stance
________________________
Adopt an Isosceles style or Gun Fighter stance. This is -
Feet shoulder width apart, hips squared to target. Both feet flat and below you. Toes on the same “line”. No foot behind another. Squared.

Bend slightly at the knees.
Press your rear end behind you as you raise the pistol.


The most important part of this stance is to maintain your sights level with each other and level with your eye-line. Press your rear end further out to accommodate the pistol to be level with itself and your eye-line.
Press to your target, reach as if you wish to touch the target with your muzzle.
Allow elbows to be extended, yet not hyper extended. DO NOT LOCK ELBOWS. The elbows should not be parallel with the floor but rather slightly pointed downwards.
Breaking the Shot
________________________
Relax and slow down. With both eyes open, catch your front sight and focus solely on it.
Your rear sights should be relevant, but only in the fact that we make sure our pistol is square to the target. Your primary focus must be the front sight, your rear sight will be a little more blurry, while your actual target is the blurriest image your eyes processes.
With a hard focus on the front sight, while maintaining the gun level to the target and level to your eyes, begin applying slight pressure to the trigger.
All the way through the trigger breaking process you are focusing on the front sight, and also your breathing. Remember, go slow.
When you hit the wall of the trigger, and your front sight is on your target, exhale and press the trigger straight to the rear.

- Brent
I’d like to share my process for shooting that I’ve learned through instructor guidance and my own personal success. Not much beats training, nothing beats training with a licensed instructor. I hope this information helps some. I
DO anticipate roughly 3% thread drift. I’ve watched my success on target and do know that this works.
Thanks!
—
Pistol Shooting
Strong Hand
________________________
Firm grip with pinky and ring finger. This drives the beaver tail firmly into the web of your thumb.
Remember to check the space between top of hand and bottom of beaver tail on pistol. You do not want to see any space there.
Keep middle finger more loose than pinky and ring.
Leave trigger finger loose. This provides dexterity and ease of movement to run your trigger.
Remember when first placing the pistol into your strong hand and applying pressure to your fingers as written above, let your strong hand thumb point slightly upwards to reveal the real estate for your support hand.
Support Hand
________________________
Take the pad of thumb / palm and firmly “weld” this to the open grip area revealed while pistol is firmly grasped in the Strong Hand.
Your Support Hand thumb should be pointing forward, down the muzzle. Do not be afraid to have your thumb touching the slide. The slide will still cycle.
All fingers of your Support Hand grasp your Strong Hand’s fingers. Allow them to fall into their natural location between your Strong Hand fingers.
You want the two fists now created to have your middle knuckles of the support hand pointing straight down in line with the muzzle.
The Support Hand is to be FIRM in grip strength.
Take your Strong Hand thumb and press it into the fatty pad of your Support Hand thumb.
The pressure for both thumbs is to be strong.
Strong Hand thumb pressure is down on Support Hand thumb and into the frame of the pistol.
Support Hand thumb pressure should be directly into the frame of the pistol.
The index finger of your Support Hand should be pressed into your Strong Hand middle finger while also firmly pressed upwards into the bottom of the trigger guard.
At this point the grip is established.
Stance
________________________
Adopt an Isosceles style or Gun Fighter stance. This is -
Feet shoulder width apart, hips squared to target. Both feet flat and below you. Toes on the same “line”. No foot behind another. Squared.
Bend slightly at the knees.
Press your rear end behind you as you raise the pistol.
The most important part of this stance is to maintain your sights level with each other and level with your eye-line. Press your rear end further out to accommodate the pistol to be level with itself and your eye-line.
Press to your target, reach as if you wish to touch the target with your muzzle.
Allow elbows to be extended, yet not hyper extended. DO NOT LOCK ELBOWS. The elbows should not be parallel with the floor but rather slightly pointed downwards.
Breaking the Shot
________________________
Relax and slow down. With both eyes open, catch your front sight and focus solely on it.
Your rear sights should be relevant, but only in the fact that we make sure our pistol is square to the target. Your primary focus must be the front sight, your rear sight will be a little more blurry, while your actual target is the blurriest image your eyes processes.
With a hard focus on the front sight, while maintaining the gun level to the target and level to your eyes, begin applying slight pressure to the trigger.
All the way through the trigger breaking process you are focusing on the front sight, and also your breathing. Remember, go slow.
When you hit the wall of the trigger, and your front sight is on your target, exhale and press the trigger straight to the rear.
- Brent
Last edited: