- Oct 8, 2007
- 19,012
bores are difficult. To increase depth of field on an image, you increase your aperture (f) number(resulting in a smaller aperture). The downside to this is that less information is now going through the aperture, so you've got to slow down shutter speed and possibly increase your light sensitivity(ISO). Because your shutter may be open for 15 seconds or more, it's important to set up your camera and the bore in a very stationary setup that won't wobble or vibrate from anything.
It's also going to be difficult to properly focus at the correct depth, so you're going to likely have to manually focus till you get a depth you like. If properly set up, you'll be able to take multiple shots, changing depth of focus for each one, and then you'll be able to layer them in a composite image with some software like photoshop to get a more complete image of the bore. Here's some bore-shots of mine so far...
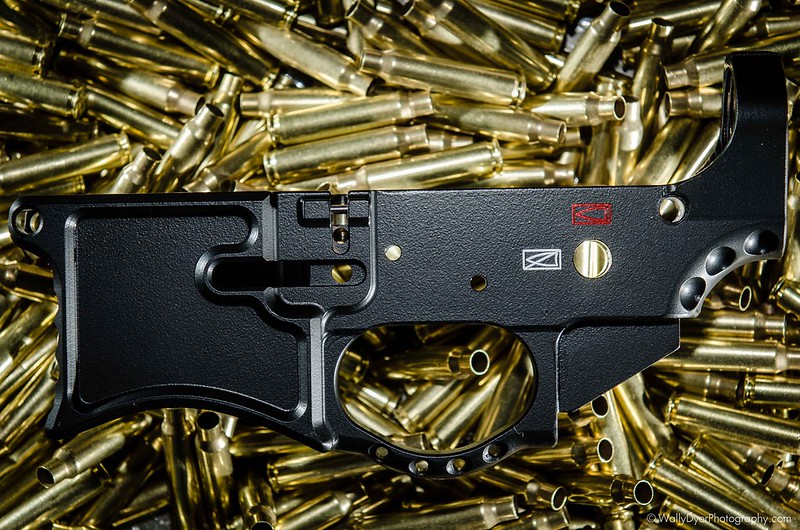
My AR-15
View attachment 110676
My browning BAR
View attachment 110677
The M&P45
View attachment 110678
Marlin 795
View attachment 110679
Walther p99AS
View attachment 110680
KelTec PF9
View attachment 110681
oh, forgot to mention....for lighting, I diffused the light a little by placing a little paper towel on one end of the bore and bounce light off of it. Direct light never really works that well, it creates a hot spot that blanks out the detail in the lower-light areas.
why am i suddenly reminded of a James Bond movie?

")