Some time ago, I was gifted a 1948 Remington model 514. This single-shot bolt action 22 caliber rifle had been stored in an attic for 25+ years and had been forgotten. It sure looked it. When received, every visible metal part was covered in rust, including the bore. The stock had a crack, many dents, and the finish was toast. On closer inspection, the rust was fine grain and very little pitting was evident. I didn’t have the time to mess with it back then, so I coated the metal with oil and stuck the rifle in the back of my safe. Over the years, I would reapply oil every now and then, in the hope that I was at least preventing further damage. I have lost the photos I took back then, and did not take any ‘before’ photos thinking that I still had the old ones…
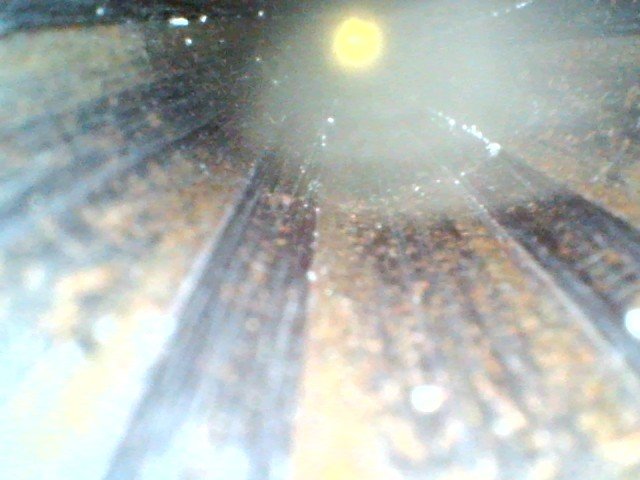
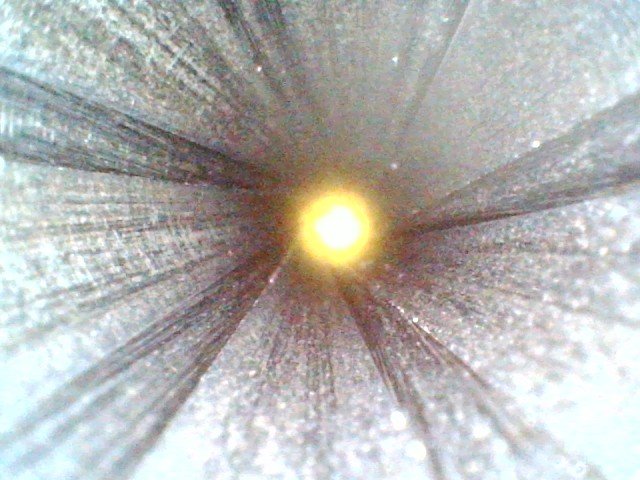
When I retired at the end of last year, one of my winter projects was this rifle. First step, the bore; was this going to be a shooter or a wall hanger? I plugged the chamber and filled the bore with ATF, letting it set for a day. When I poured out the ATF I could tell from the color that the rust inhibitors in the ATF had done exactly what I wanted them to do. A quick inspection with a bore scope, followed by Hoppes and bronze brush work for about a half hour. The photos show the result – baring other issues that might arise, the bore is in far better shape than I anticipated.
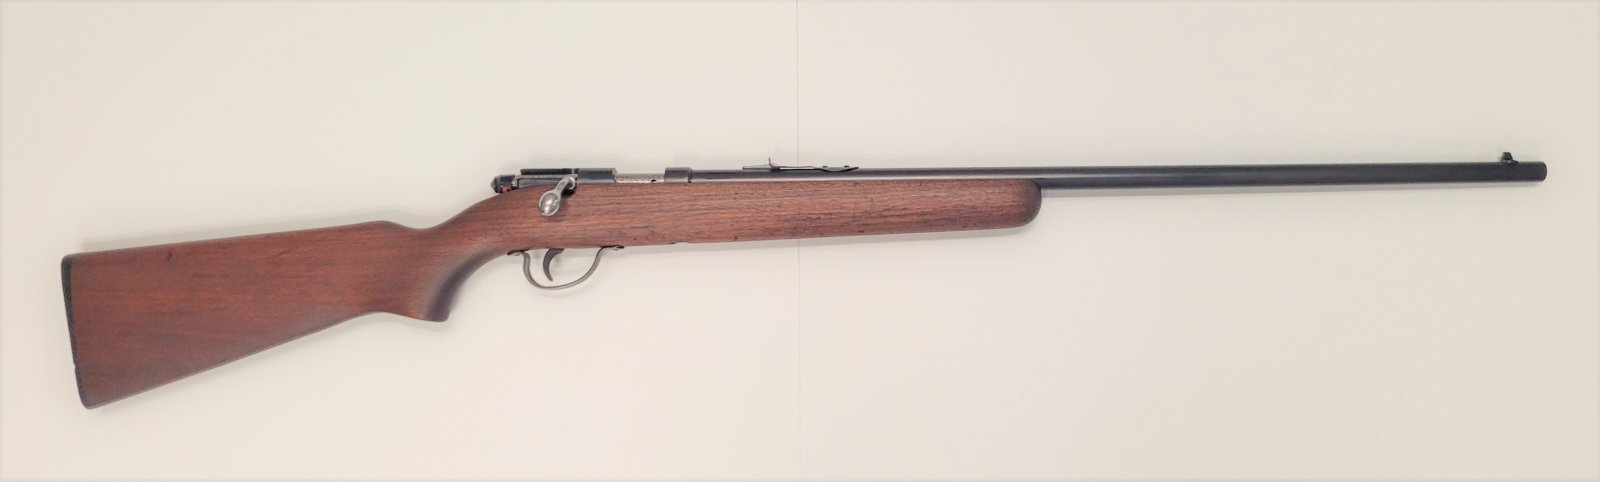
One source I checked stated that there were more than 700,000 of these model 514 rifles made, so this is not a collectible. I remember seeing a lot of these at Boy Scout camp, both when I was a kid in the 50’s and 60’s as well as when I was Scoutmaster for so many years… They are good, reliable, safe rifles for kids to learn to shoot.
I decided to restore it to look nice (IMHO) and be fully functional (if I could) so that my grandkids could shoot it. I have cold-blued two barrels in the past, neither with results that I was completely happy with. After considerable research, I decided to do a full rust blueing using the solutions from www.RustBlue.com.
First step was complete disassembly and close inspection. No deep pitting noted, and no rust on the bolt internal parts! As I put together the environmental and steam chambers that I would need to rust blue the metal, I started work on the stock. Carefully scraped off what there was of the old finish, repaired the crack, steamed out the dents (more than 90% successful), cleaned out a fair bit of the old oil, and lightly sanded. Finished with hand rubbed Danish Oil and hand rubbed wax. This is my favorite finish for good walnut, durable and easy to care for.
Next step was the metal parts. After rust removal with a fine brass brush soaked in ATF, I cleaned and then fire-blued the small external parts – screws and sights. Then to the larger parts – the trigger and trigger guard, which I cleaned similarly and then boiled in distilled water to convert the ferric oxide remaining to ferric-ferric oxide. Then, several passes of treatment with Rust Blue following the process described in R.H. Angier’s Firearm Blueing and Browning. These turned out looking factory new!
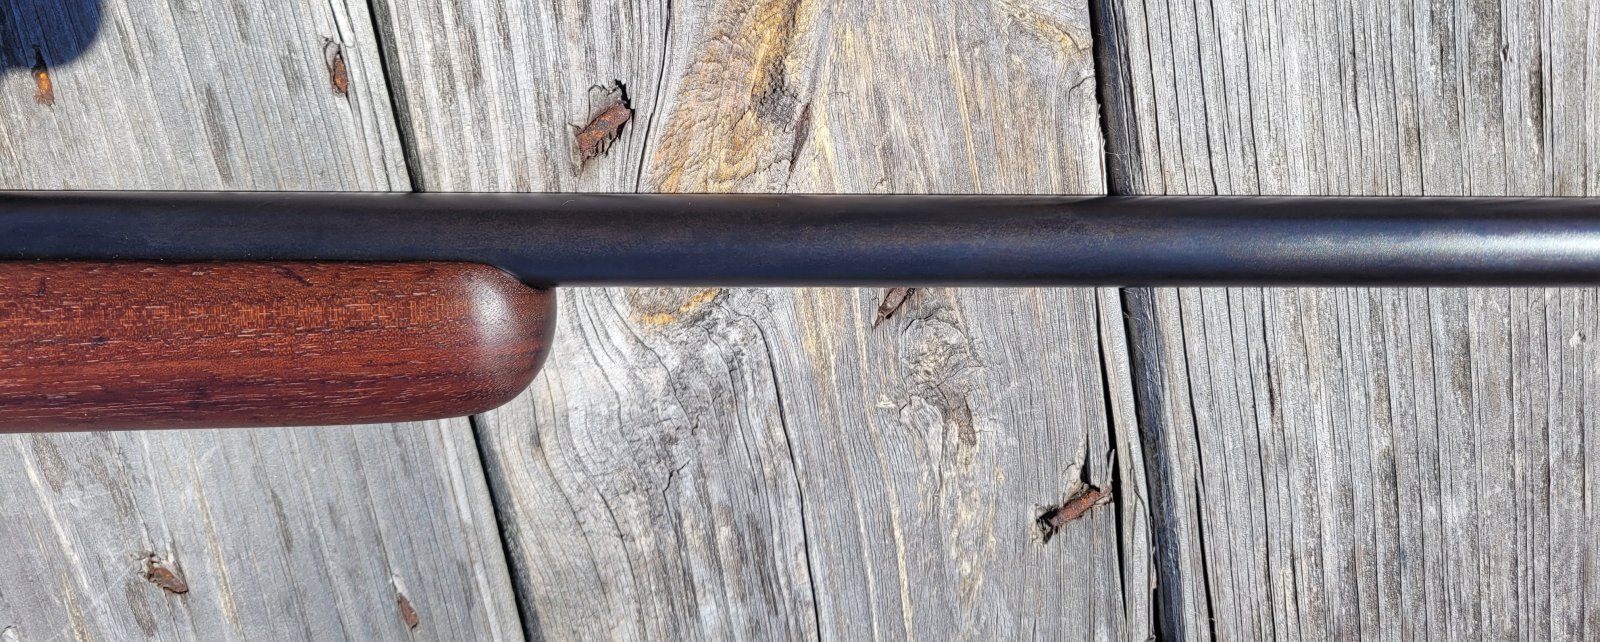
With the experience of the small parts under my belt, I moved on to the barrel and receiver. I sanded the barrel and receiver to white metal, removing all visible rust and what very little remained of the original blueing. It took 7 passes of the Rust Blue process to get the finish I desired (as anticipated), and some close attention to detail, but I was in no hurry and wanted to get a durable and good looking finish. Each pass involves: thoroughly de-grease the part; apply the thinnest of coats of the Rust Blue chemical; hang to air dry and ‘ripen’ for 1-2 hours; then grow a layer of fine-grain rust (ferric oxide) in a damp chamber for 2-3 hours at room temperature; then into the steam chamber to convert the ferric oxide to ferric-ferric oxide 10-15 minutes, and then finishing by carding off the loose rust. Typically I did one pass a day, but I was able to get two passes in on two days when there was nothing else on my schedule. I am very pleased with the result, and will probably re-blue those two rifles that I had cold-blued in the past.
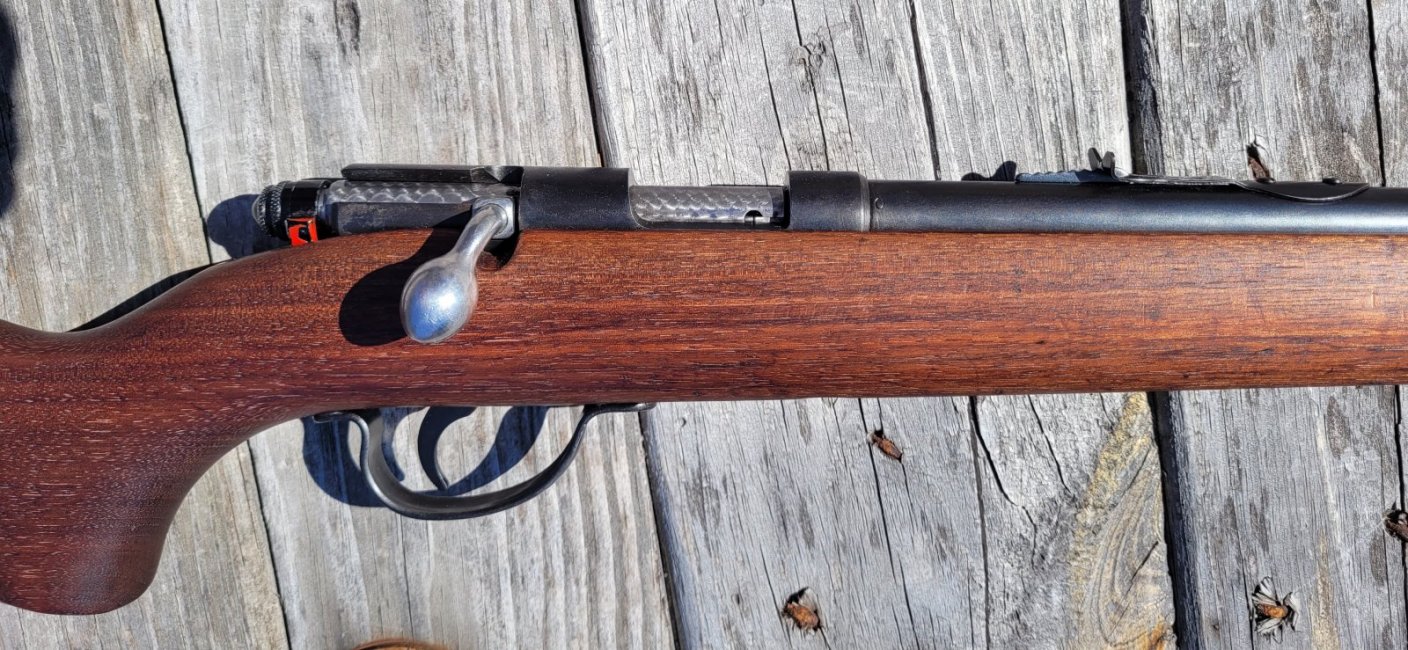
The only remaining piece was the bolt. The internals were rust free, so a good cleaning and oiling was all that was necessary (besides re-assembly). I decided to jewel the bolt, just because… I’ve always liked the look, and while some may consider jeweling out of place on a low-end rifle like this, it does help hold oil… I also adjusted the trigger pull from 7 lbs to 3.5 lbs.
After all was done, a final cleaning and reassembly. Then I took a trip to the range to test fire and zero the sights at 25 yards. The rifle shoots as well as any others I have, will probably make a nice squirrel or turkey gun. Groups well within my tolerance. 200+ rounds of CCI standard velocity with nary a problem. I am considering installing either a peep sight or a vintage scope, but that will come after some further consideration.
All in all this was a fun project. I’ll probably look around for some other opportunities…
When I retired at the end of last year, one of my winter projects was this rifle. First step, the bore; was this going to be a shooter or a wall hanger? I plugged the chamber and filled the bore with ATF, letting it set for a day. When I poured out the ATF I could tell from the color that the rust inhibitors in the ATF had done exactly what I wanted them to do. A quick inspection with a bore scope, followed by Hoppes and bronze brush work for about a half hour. The photos show the result – baring other issues that might arise, the bore is in far better shape than I anticipated.
One source I checked stated that there were more than 700,000 of these model 514 rifles made, so this is not a collectible. I remember seeing a lot of these at Boy Scout camp, both when I was a kid in the 50’s and 60’s as well as when I was Scoutmaster for so many years… They are good, reliable, safe rifles for kids to learn to shoot.
I decided to restore it to look nice (IMHO) and be fully functional (if I could) so that my grandkids could shoot it. I have cold-blued two barrels in the past, neither with results that I was completely happy with. After considerable research, I decided to do a full rust blueing using the solutions from www.RustBlue.com.
First step was complete disassembly and close inspection. No deep pitting noted, and no rust on the bolt internal parts! As I put together the environmental and steam chambers that I would need to rust blue the metal, I started work on the stock. Carefully scraped off what there was of the old finish, repaired the crack, steamed out the dents (more than 90% successful), cleaned out a fair bit of the old oil, and lightly sanded. Finished with hand rubbed Danish Oil and hand rubbed wax. This is my favorite finish for good walnut, durable and easy to care for.
Next step was the metal parts. After rust removal with a fine brass brush soaked in ATF, I cleaned and then fire-blued the small external parts – screws and sights. Then to the larger parts – the trigger and trigger guard, which I cleaned similarly and then boiled in distilled water to convert the ferric oxide remaining to ferric-ferric oxide. Then, several passes of treatment with Rust Blue following the process described in R.H. Angier’s Firearm Blueing and Browning. These turned out looking factory new!
With the experience of the small parts under my belt, I moved on to the barrel and receiver. I sanded the barrel and receiver to white metal, removing all visible rust and what very little remained of the original blueing. It took 7 passes of the Rust Blue process to get the finish I desired (as anticipated), and some close attention to detail, but I was in no hurry and wanted to get a durable and good looking finish. Each pass involves: thoroughly de-grease the part; apply the thinnest of coats of the Rust Blue chemical; hang to air dry and ‘ripen’ for 1-2 hours; then grow a layer of fine-grain rust (ferric oxide) in a damp chamber for 2-3 hours at room temperature; then into the steam chamber to convert the ferric oxide to ferric-ferric oxide 10-15 minutes, and then finishing by carding off the loose rust. Typically I did one pass a day, but I was able to get two passes in on two days when there was nothing else on my schedule. I am very pleased with the result, and will probably re-blue those two rifles that I had cold-blued in the past.
The only remaining piece was the bolt. The internals were rust free, so a good cleaning and oiling was all that was necessary (besides re-assembly). I decided to jewel the bolt, just because… I’ve always liked the look, and while some may consider jeweling out of place on a low-end rifle like this, it does help hold oil… I also adjusted the trigger pull from 7 lbs to 3.5 lbs.
After all was done, a final cleaning and reassembly. Then I took a trip to the range to test fire and zero the sights at 25 yards. The rifle shoots as well as any others I have, will probably make a nice squirrel or turkey gun. Groups well within my tolerance. 200+ rounds of CCI standard velocity with nary a problem. I am considering installing either a peep sight or a vintage scope, but that will come after some further consideration.
All in all this was a fun project. I’ll probably look around for some other opportunities…