buellsfurn
Ultimate Member
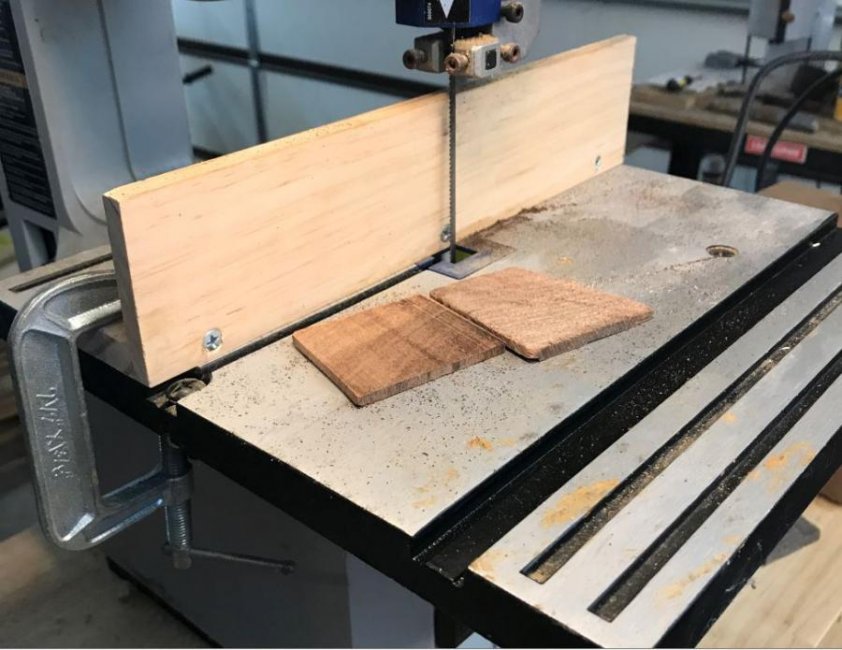
just thought that would cool on j8064 oak stock.But that's easy for me to say sitting hear 3 to 4 hours awayI have plenty of black walnut for that idea.
just thought that would cool on j8064 oak stock.But that's easy for me to say sitting hear 3 to 4 hours awayI have plenty of black walnut for that idea.
just thought that would cool on j8064 oak stock.But that's easy for me to say sitting hear 3 to 4 hours away
")
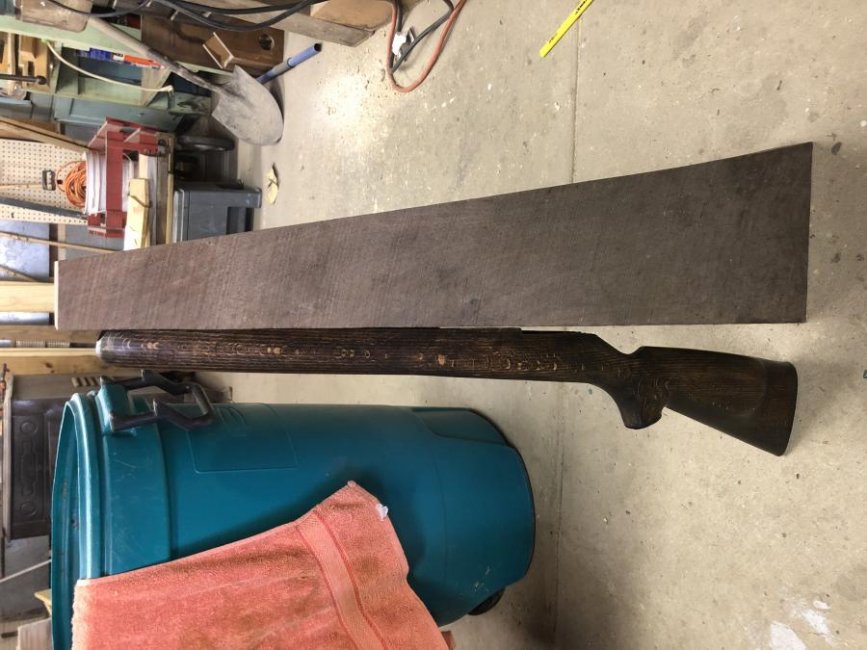
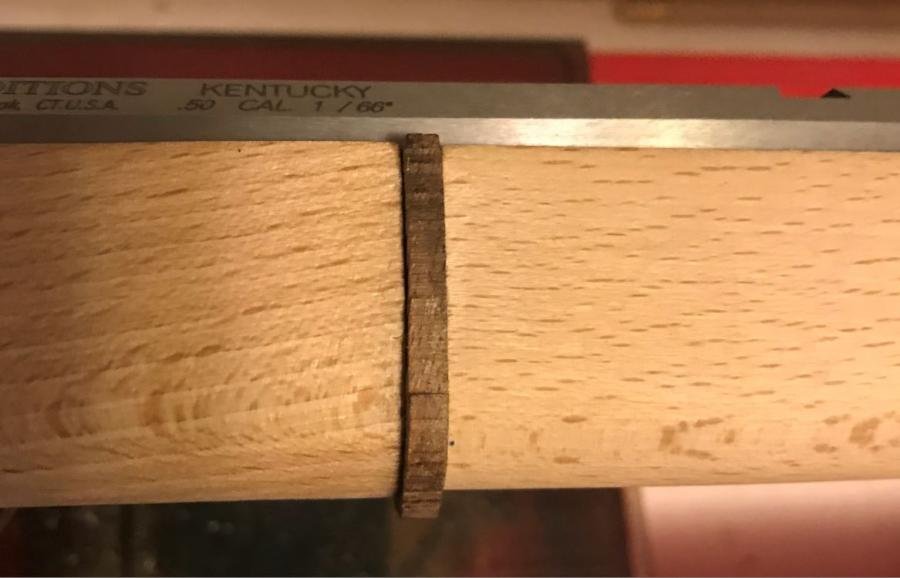
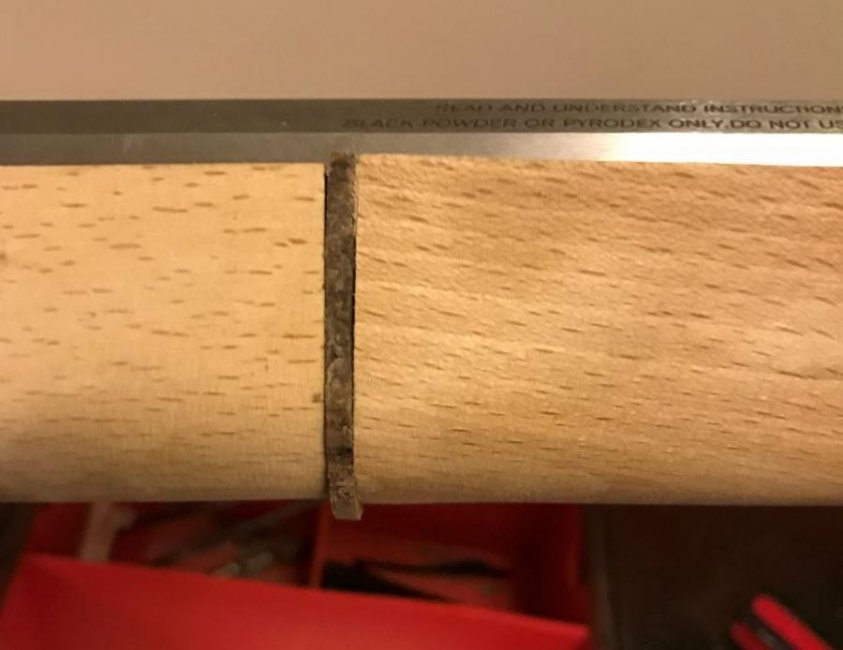
I have a lot of extra wood from the tree this came from.


... it won't be perfect, but it will be awesome...
")


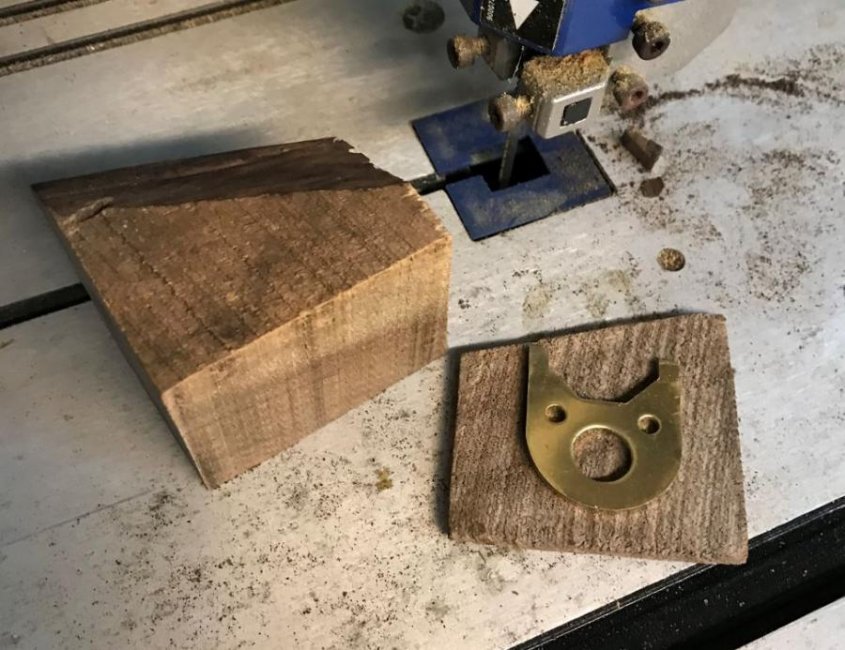
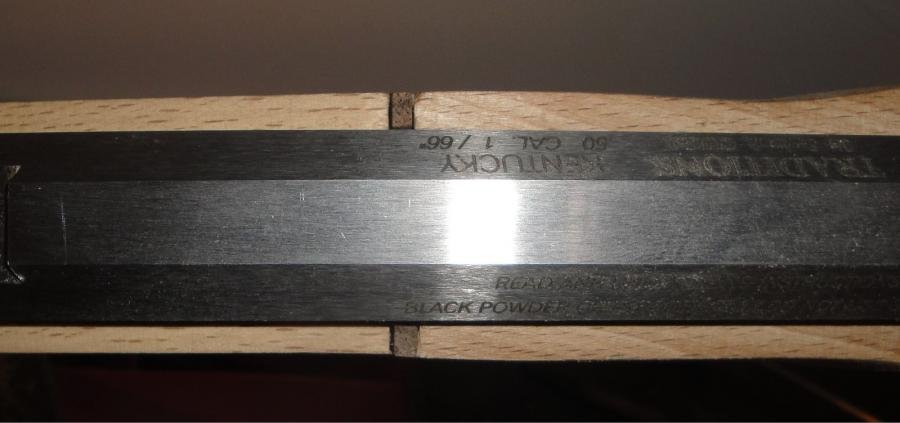
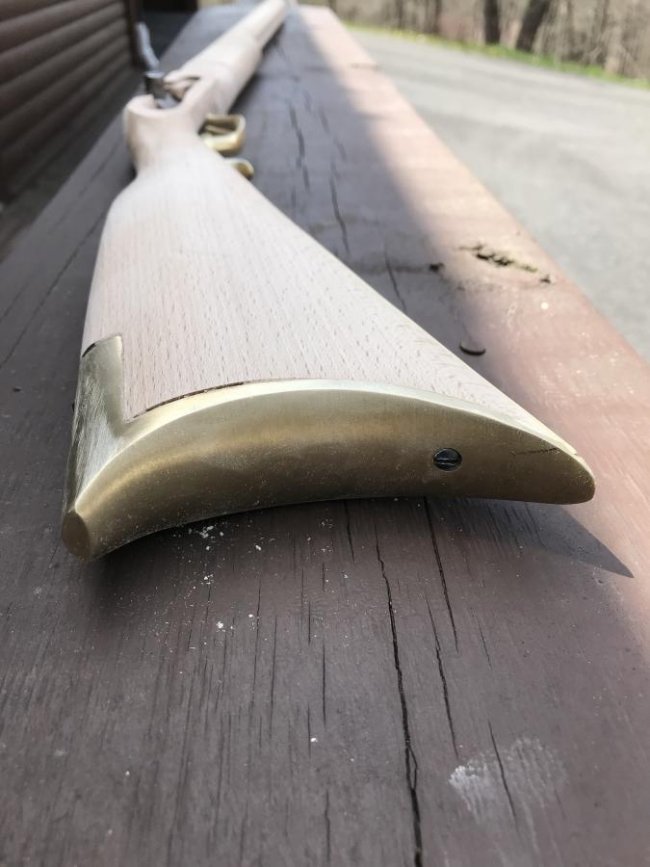
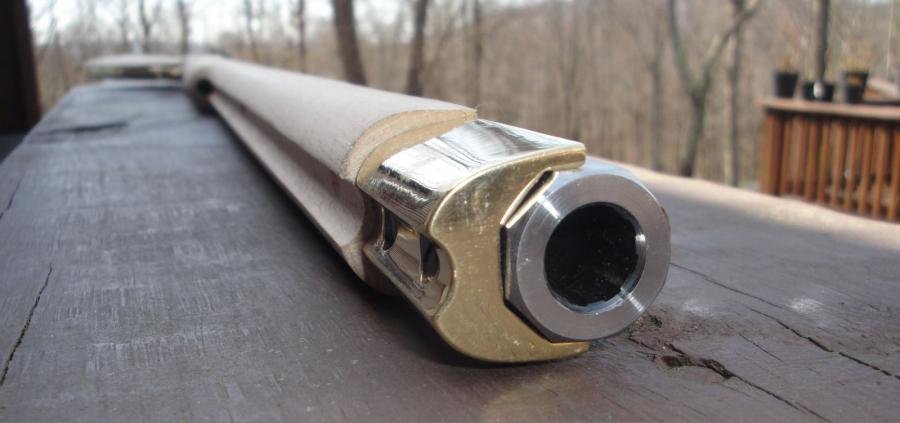
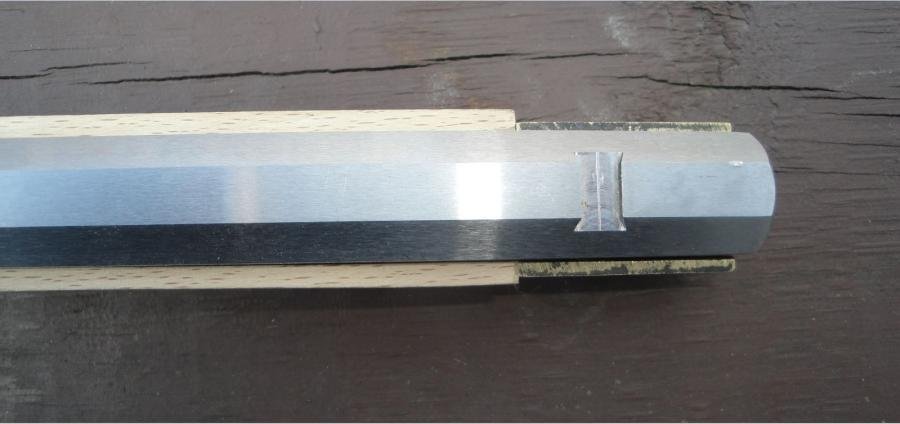
Lookan goodSince I can't pin the barrel and shape the stock until the spacer work is finished, the next step is to mate the stock halves permanently. Many folks who build these kits join the stock with just the pins. But that ain't my style. I want it solid!
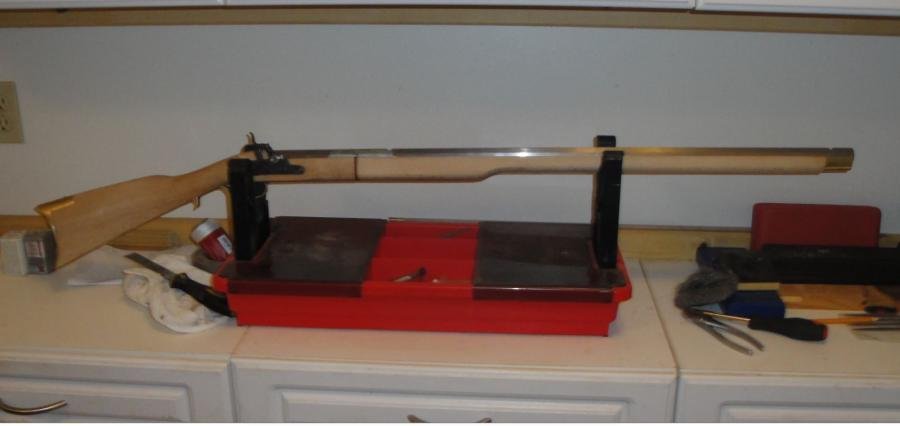
First step to mate the stock halves is to have all your tools and parts staged so when you start you can be done in a few minutes.
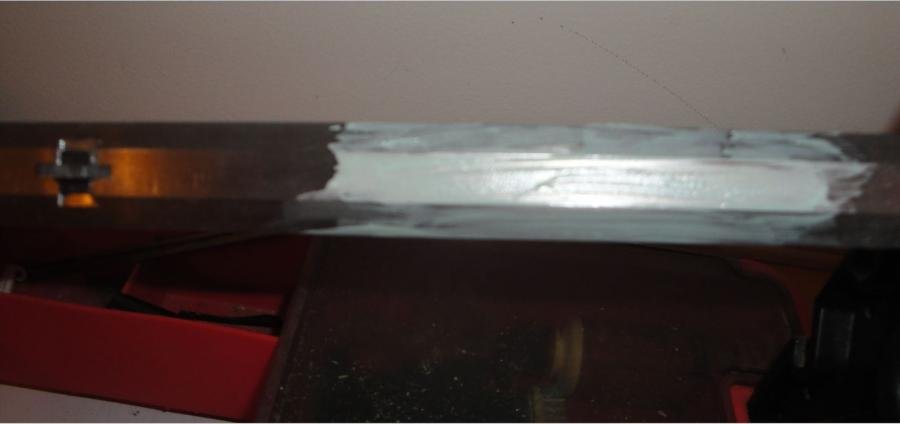
Then you need to coat the barrel with a release agent where it will come into contact with the resin. You can use a lot of different things for that. I used some car wax because I had it on hand.
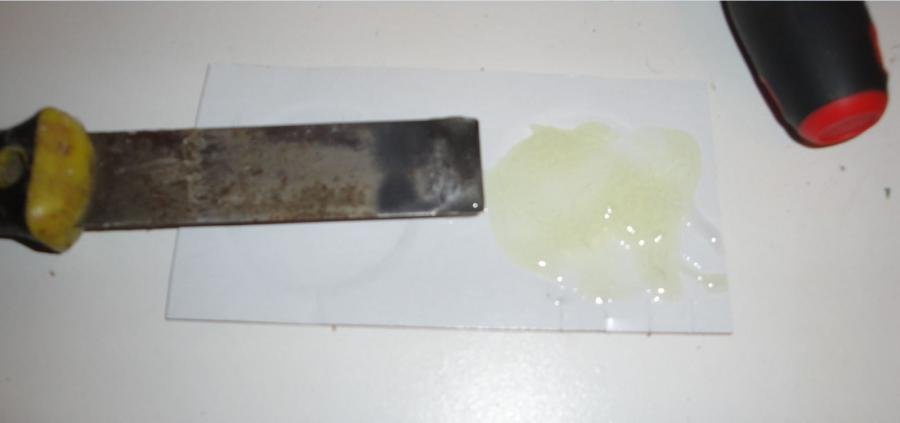
Next it's time to mix the resin. I used some Loctite 3400PSI Epoxy I had. There's better stuff, but for such a small area on a BP rifle that will work fine.
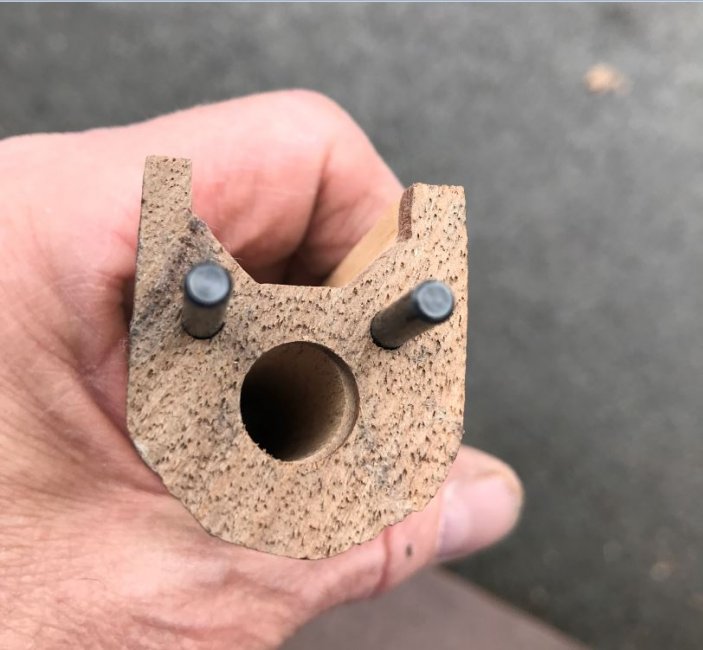
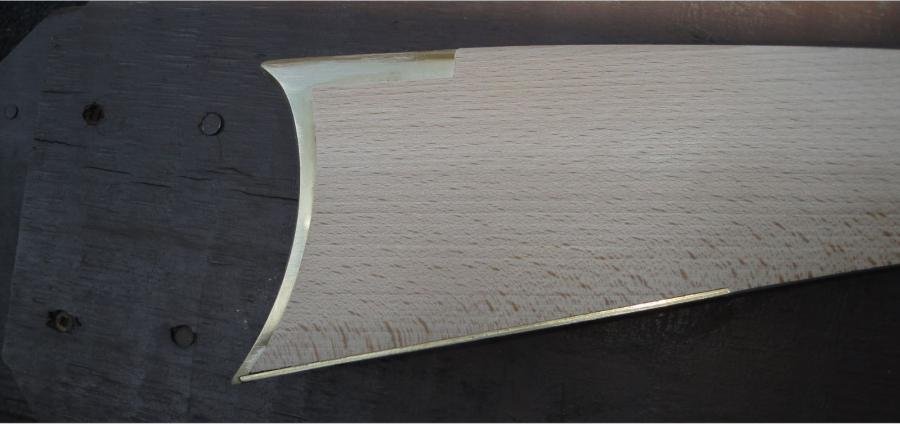
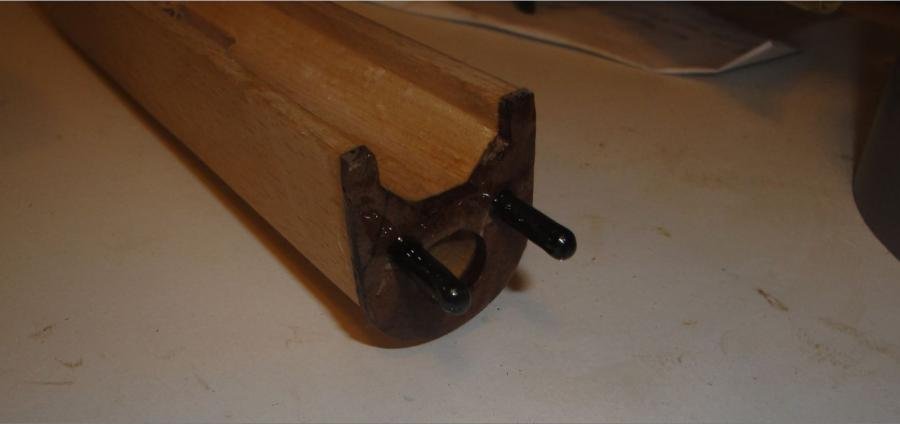
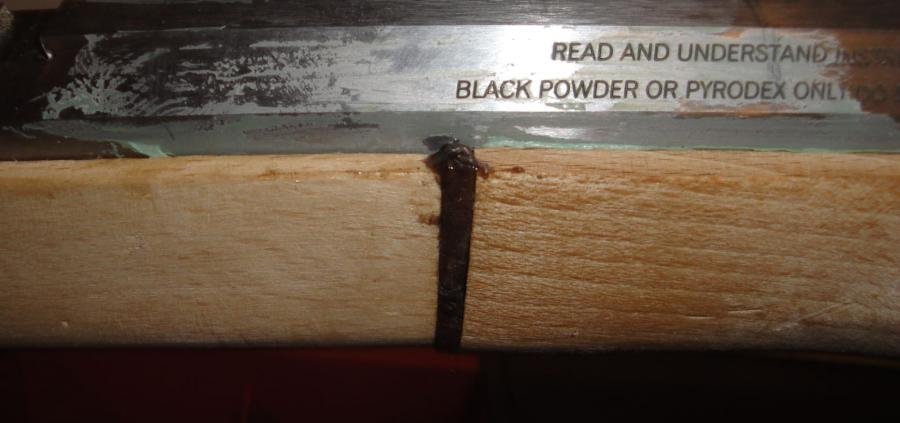
With the resin mixed, apply it to the parts only where you need it. Wipe off any excess. Once it sets where you don't want it you've created more work for yourself. In this situation I coated the pins and slid them into their mating holes on both stock pieces to make sure there was enough resin to bond, but not ooze out. Then I coated the mating surfaces of the stock halves and the walnut spacer before I assembled the parts. All the clamping I need here is the tang, nose cap and lock to hold the rifle together tightly while the resin cures.
To fill the tiny gaps in the walnut shim (I talked about them before) I mixed some walnut filings with the resin. That's easy to work into the tiny gaps. When everything is cured the connection will be sanded so everything will blend together.
So, after the rifle sits for about 24 hours, I should have a "one piece" stock to work with. Then I can move on to the next step...
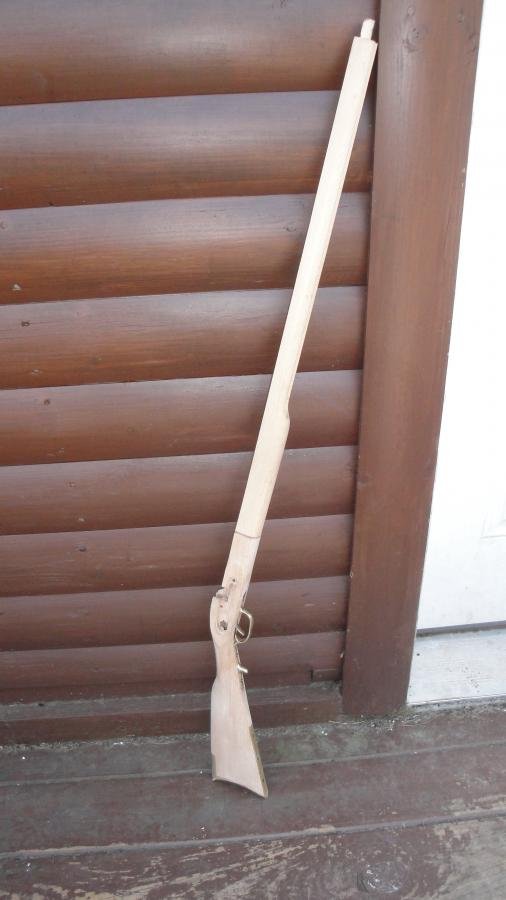
That was pretty simple. Now I have a solid one-piece stock to work with.
 :rolleyes:")
Soooooooo, do we get to shoot it Sunday?
This looks just like rifle my dad and I were building before he passed away. Got it shooting but just have to finish all of the wood work. Hopefully, once I finish up with college, I can’t dedicate some time to finishing his rifleThat was pretty simple. Now I have a solid one-piece stock to work with.