At first I was just going to pick up an off-the shelf MD compliant AR, but decided I wanted to make my own from an 80% lower. Even though I had shot ARs many times as a youth this would be a good way to get to know how the AR functions. I'd also get an AR how I want it.
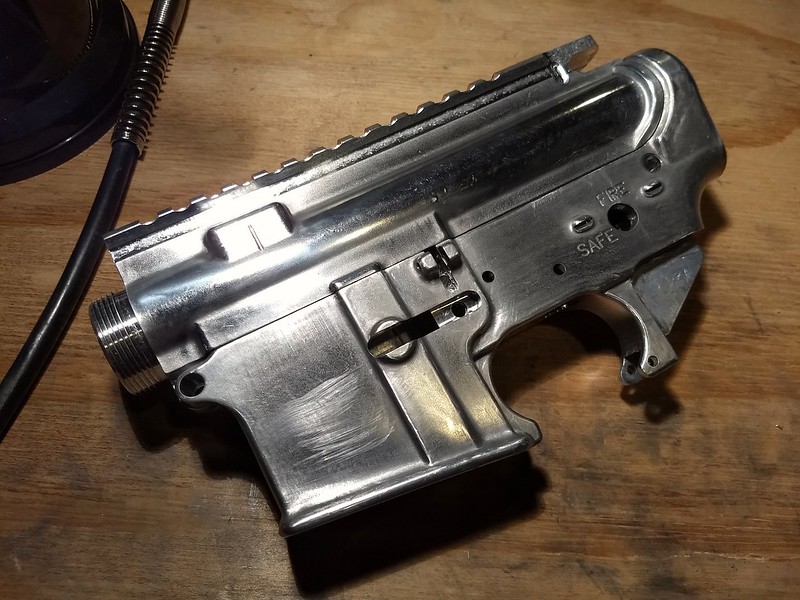
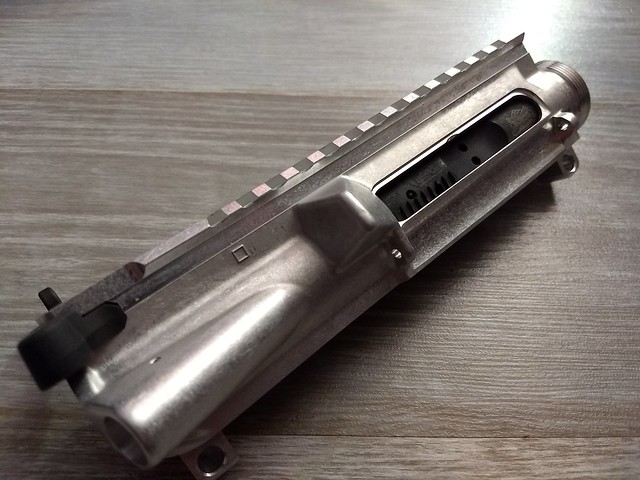
I picked up an 80% lower and upper in raw finish from American Made Tactical. Here you can also see the Anderson Mfg Tactical charging handle.
 IMG_20180320_205840505 by rjdeguz, on Flickr
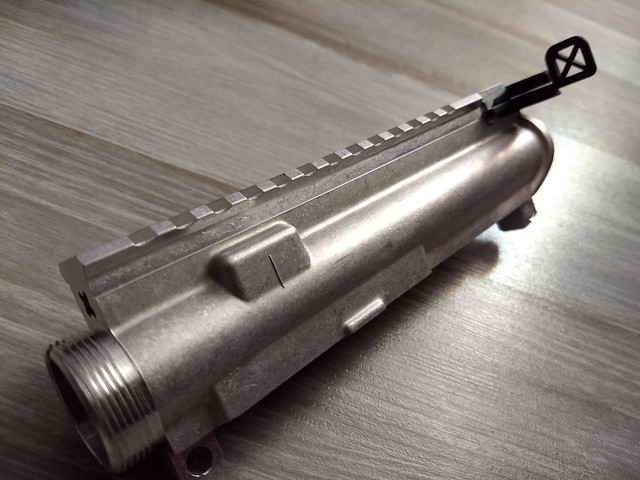
Went with a PSA 5.56 BCG
 IMG_20180320_205810238 by rjdeguz, on Flickr
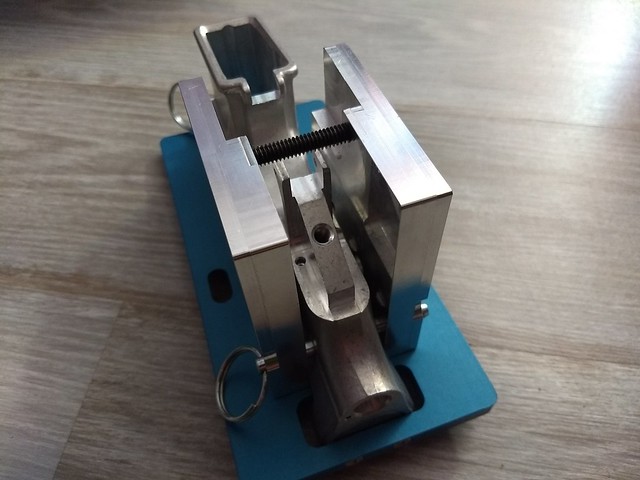
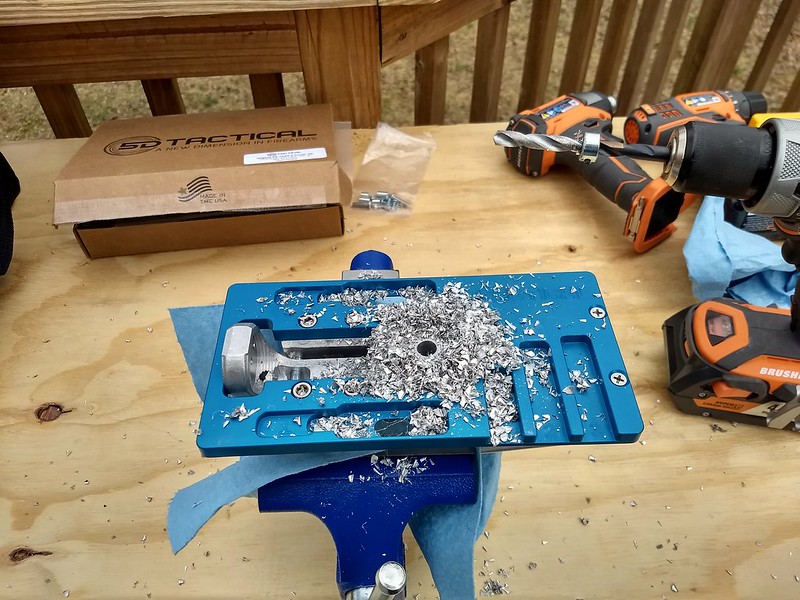
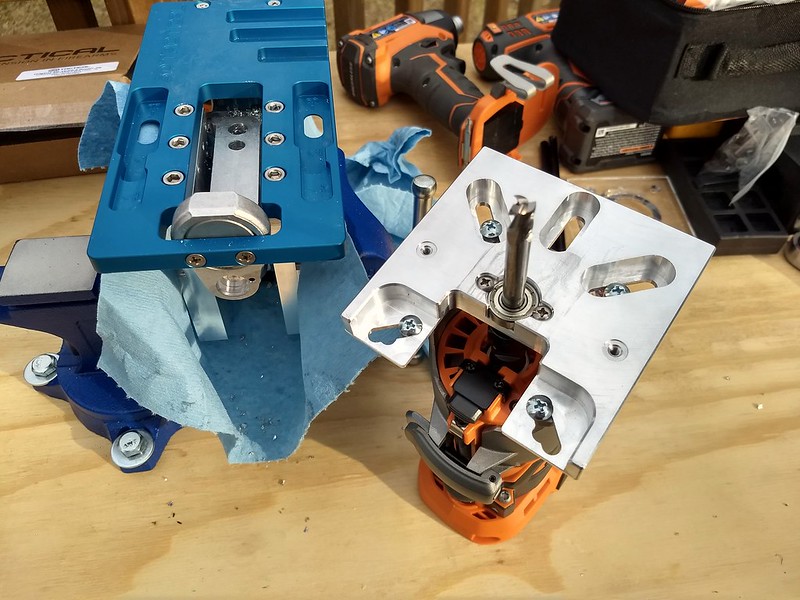
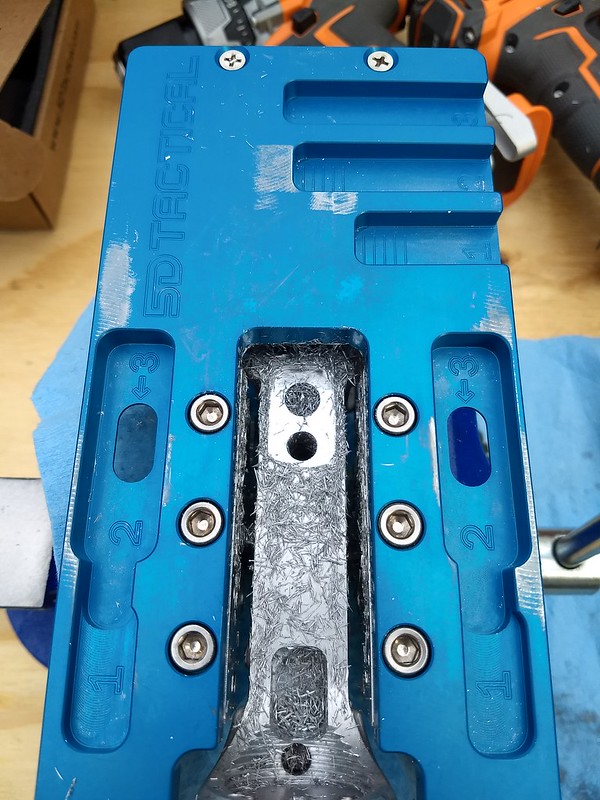
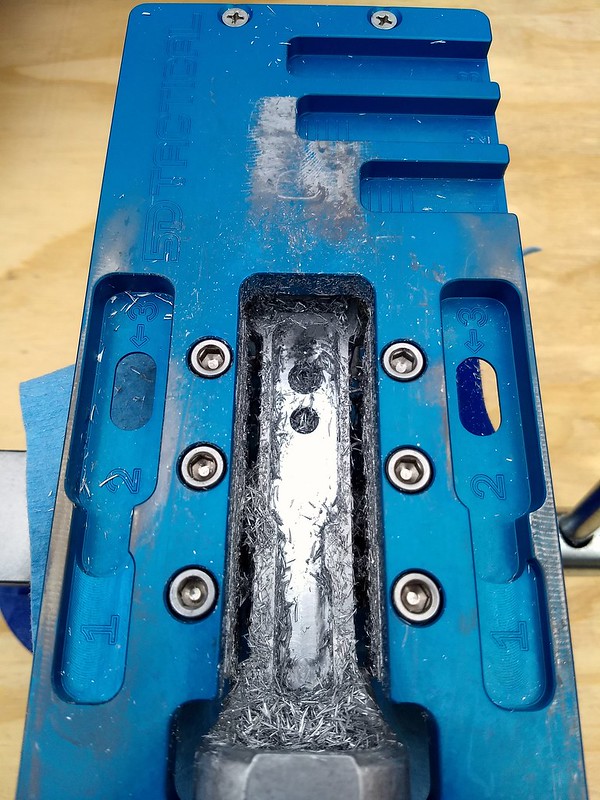
5D Tactical AR 15/9 Jig. You can see the lower installed in the jig.
 IMG_20180320_205711690 by rjdeguz, on Flickr
There are some surface marks that I thought could have been finished better, the side plates were not marked (L) or (R) even though instructions referenced these markings, and the router attachment (not pictured) was not anodized blue like in pictures I've seen. It feels like a solid jig though when all put together.
 IMG_20180320_205723586 by rjdeguz, on Flickr
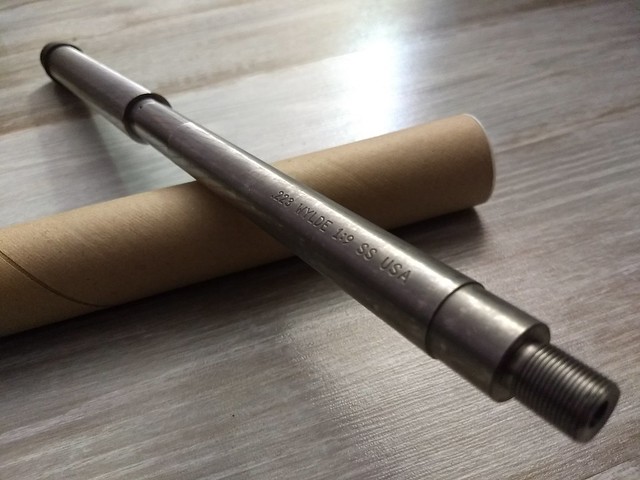
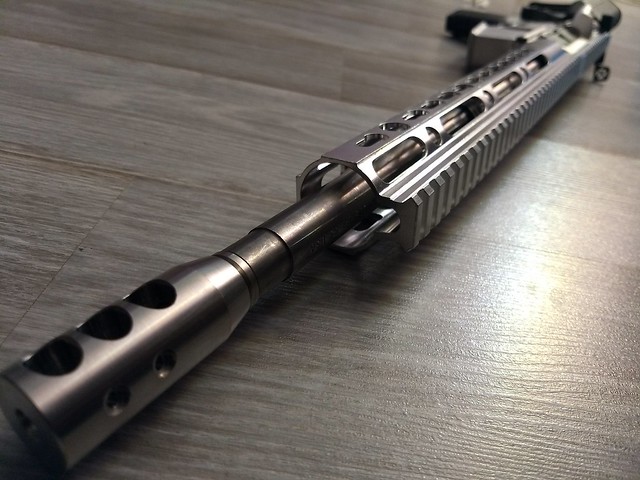
16" HBAR, .223 Wylde 1:9 twist, stainless, threaded. Set up for carbine length gas tube, and will be using a low profile .75 gas block.
 IMG_20180320_205930377 by rjdeguz, on Flickr
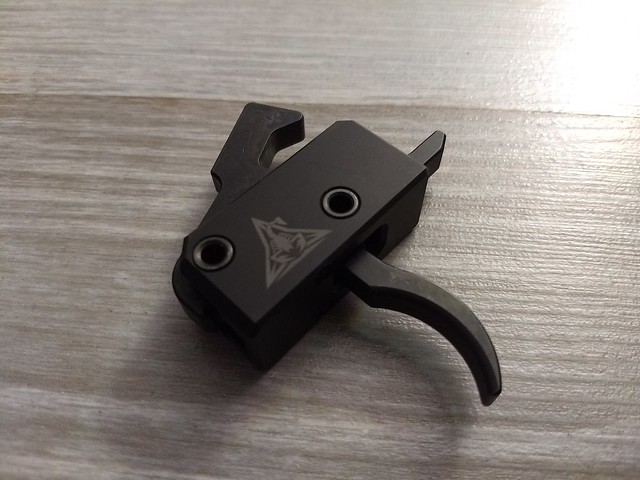
Rise Armament RA-140 trigger
 IMG_20180320_210029831 by rjdeguz, on Flickr
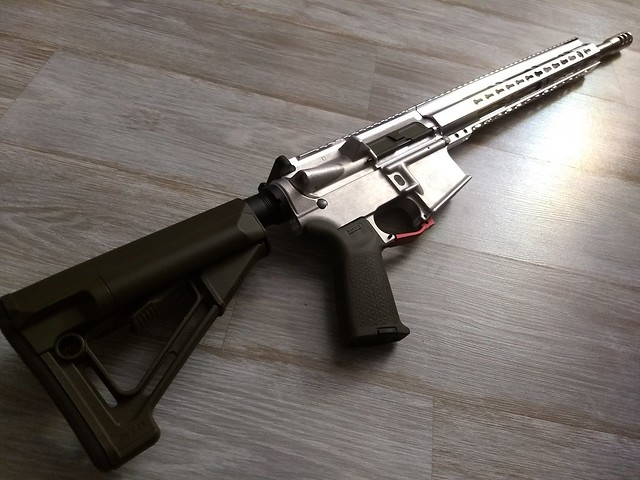
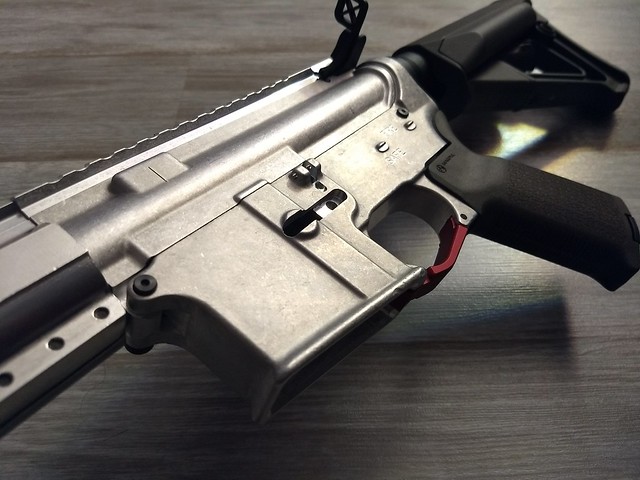
Magpul MOE grip and STR stock in ODG and matching dust cover.
 IMG_20180320_210805881 by rjdeguz, on Flickr
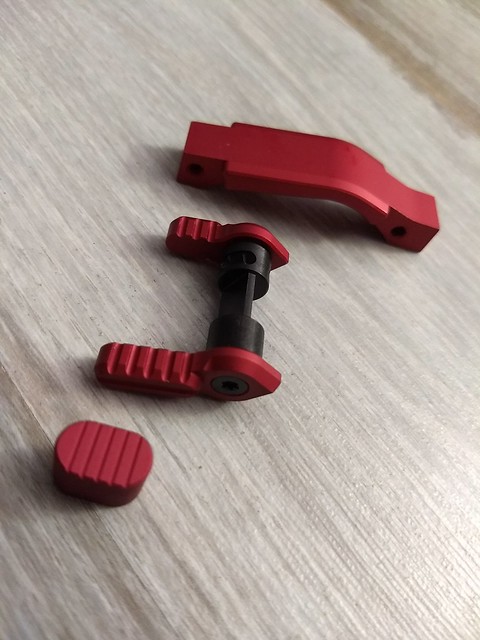
A few pieces from the Armaspec lower parts kit. Dunno if I'm keeping it red yet.
 IMG_20180320_210939491 by rjdeguz, on Flickr
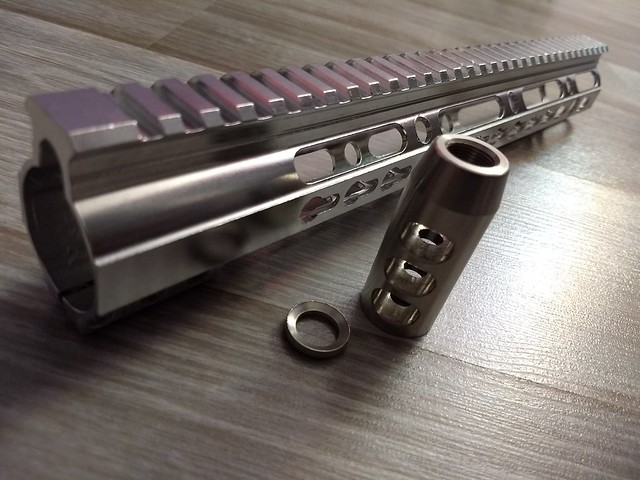
13" Foxtrot Keymod handguard and stainless muzzle brake
 IMG_20180320_211104269 by rjdeguz, on Flickr
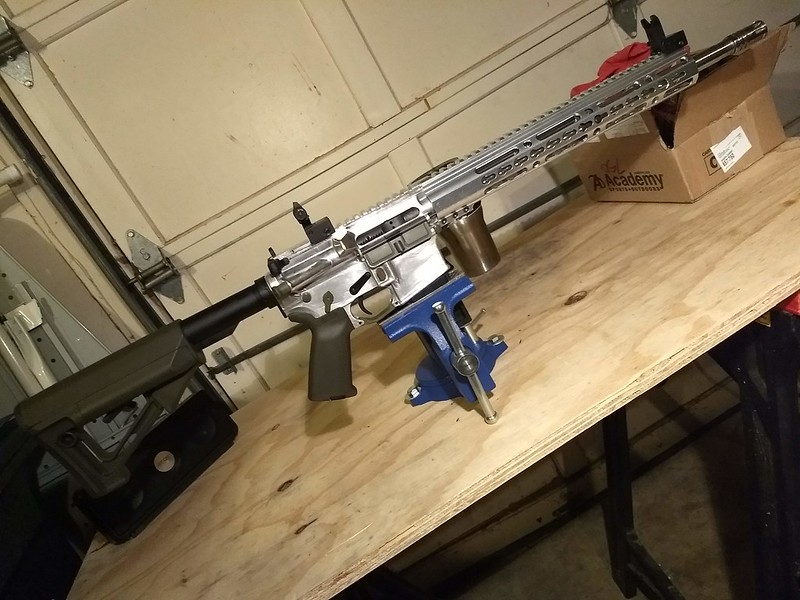
Test fit of major components. Still debating my color scheme.
 IMG_20180320_213751630 by rjdeguz, on Flickr
 IMG_20180320_213832286 by rjdeguz, on Flickr
 IMG_20180320_213917273 by rjdeguz, on Flickr
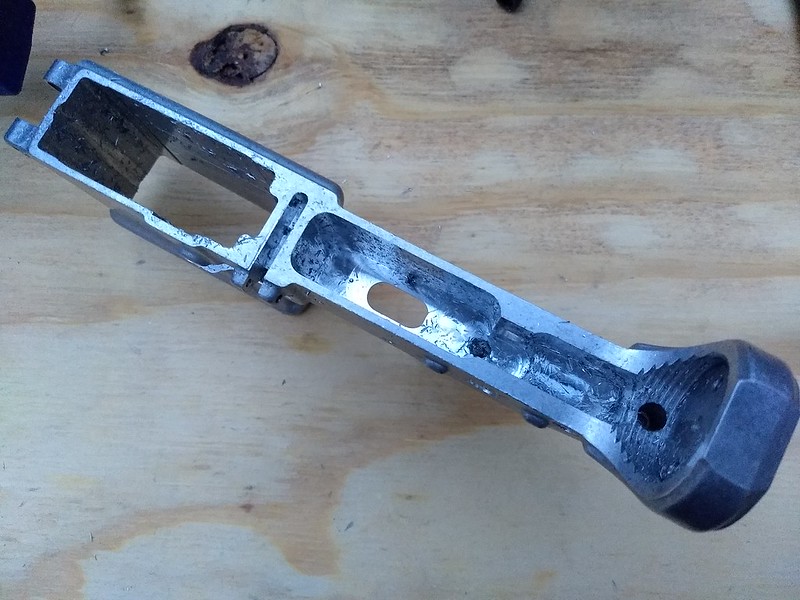
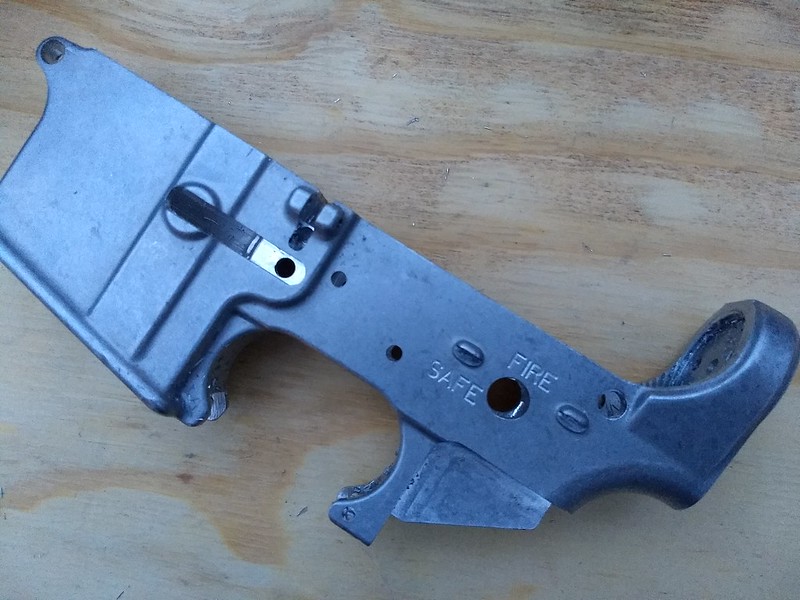
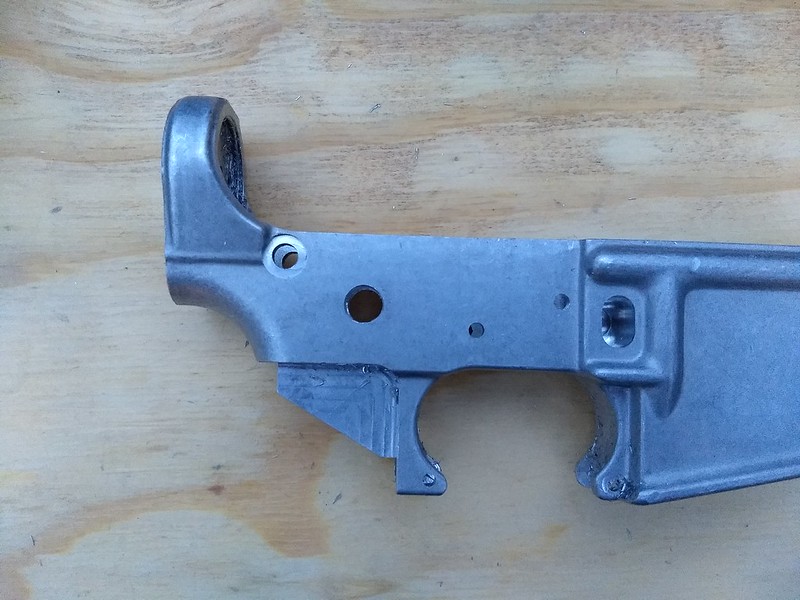
Next step is to mill out the lower. Stay tuned for updates.
I picked up an 80% lower and upper in raw finish from American Made Tactical. Here you can also see the Anderson Mfg Tactical charging handle.
IMG_20180320_205840505 by rjdeguz, on FlickrWent with a PSA 5.56 BCG
IMG_20180320_205810238 by rjdeguz, on Flickr5D Tactical AR 15/9 Jig. You can see the lower installed in the jig.
IMG_20180320_205711690 by rjdeguz, on FlickrThere are some surface marks that I thought could have been finished better, the side plates were not marked (L) or (R) even though instructions referenced these markings, and the router attachment (not pictured) was not anodized blue like in pictures I've seen. It feels like a solid jig though when all put together.
IMG_20180320_205723586 by rjdeguz, on Flickr16" HBAR, .223 Wylde 1:9 twist, stainless, threaded. Set up for carbine length gas tube, and will be using a low profile .75 gas block.
IMG_20180320_205930377 by rjdeguz, on FlickrRise Armament RA-140 trigger
IMG_20180320_210029831 by rjdeguz, on FlickrMagpul MOE grip and STR stock in ODG and matching dust cover.
IMG_20180320_210805881 by rjdeguz, on FlickrA few pieces from the Armaspec lower parts kit. Dunno if I'm keeping it red yet.
IMG_20180320_210939491 by rjdeguz, on Flickr13" Foxtrot Keymod handguard and stainless muzzle brake
IMG_20180320_211104269 by rjdeguz, on FlickrTest fit of major components. Still debating my color scheme.
IMG_20180320_213751630 by rjdeguz, on Flickr
IMG_20180320_213832286 by rjdeguz, on Flickr
IMG_20180320_213917273 by rjdeguz, on FlickrNext step is to mill out the lower. Stay tuned for updates.
Last edited:
 might want to do an introduction Junior
 ")
")
 80% lowers and want to start drilling them soon. Nice to see the process, as I haven’t yet endeavored to do start...