The Brownells certainly seem to be a deal. For some reason, I just really don't like the way they look with the serrations going over the top. Also, I just looked back and apparently the non-RMR cut ones are no longer on sale.
I was thinking that it would be good to have a dos and don’ts post somewhere for those who have theoretically done this and those that are theoretically interested in only the process and have absolutely zero intention of actually doing it.
For people asking the best way to remove the rails on the frame, use some heavy duty nippers to cut them right off. Its much better than sanding them down. I've done several frames this way.
My brother has one that has a small issue with taking it down. After making safe and pulling the trigger the slide/barrel wont slide off until he pulls the trigger back all the way while sliding slide forward. TIA
Chris
For people asking the best way to remove the rails on the frame, use some heavy duty nippers to cut them right off. Its much better than sanding them down. I've done several frames this way.
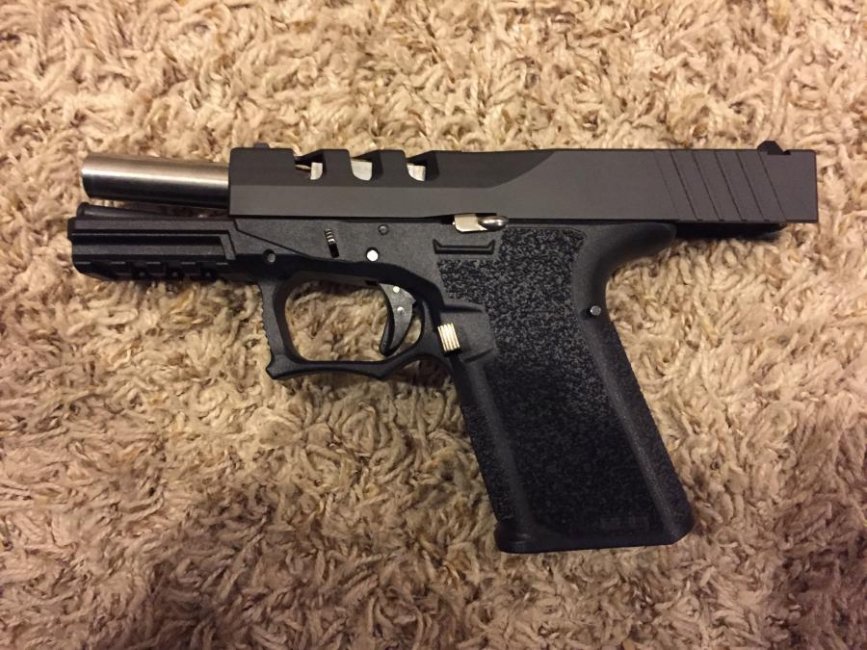
This was my first build of anything and I was really excited to do it, spent way too much on “upgrade” parts but I have spares and I like the custom look.
Still needs a little work to get it fully functional but it goes together, just can’t get it to rack easily or takedown easily. Will explain problem further later, wanted to post something after looking at 50 pages of pictures.
Picture shows initial build before replacing the guide rod and trigger assembly while trying to troubleshoot the problem. Will post new pics once everything functions properly.
Rock slide USA complete upper with stainless barrel
Stainless guide rod with 15 pound spring
Stainless extended mag release and slide lock
Steel City Arsenal trigger (silver with black safety) and polished bar
Ghost 3.5 pound connector and Wolf 6 pound trigger spring
Stainless pins
Cain Arms magwell and plug
Other parts mostly OEM
Yeah, it works a little better but still not good enough to try putting bullets in it. I even took the rails off, filed some underneath, put everything back together, lightly sanded the rails but same issue. Looks like the rails are still making contact with the underside of the slide, might just need to do some more sanding but didn’t want to go too crazy with it and have just been busy the past week.