J Beard
Deplorable Member
I would shorten the screws, seems to me to be the easiest method
I would shorten the screws, seems to me to be the easiest method
")
So, I am guessing that you found a new career? It looks awesome so far!
")
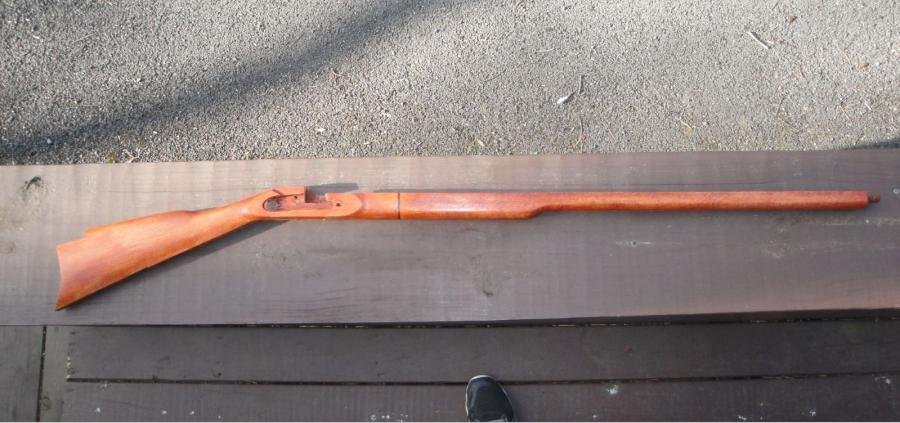
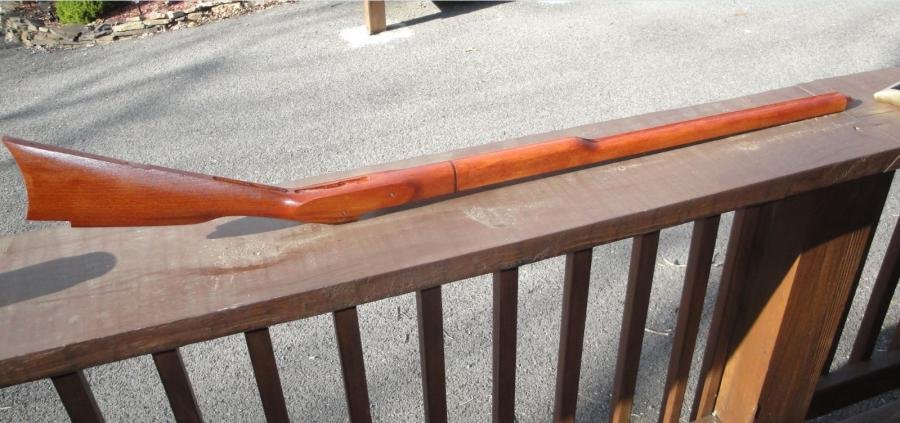
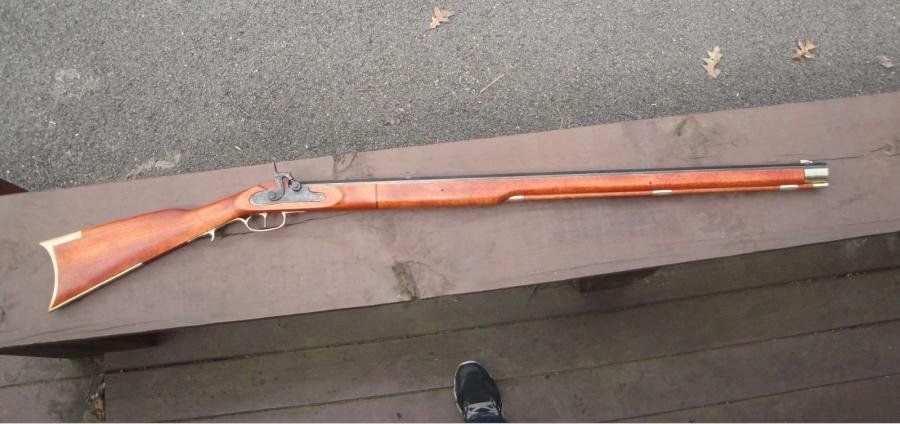
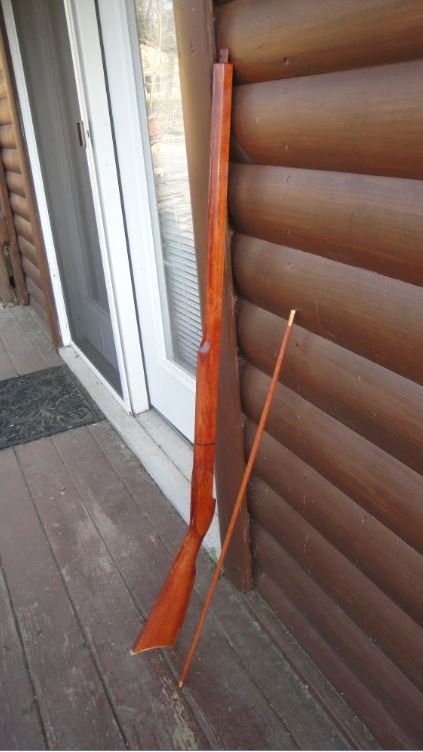
Wow! What a nice job can't wait to see the finished product. Best thing about it is that it's all yours! Nice family air loom!


Nah, just a hobby - and a little labor of love for making stuff and shooting blended together...
 I am in for two please!!!!

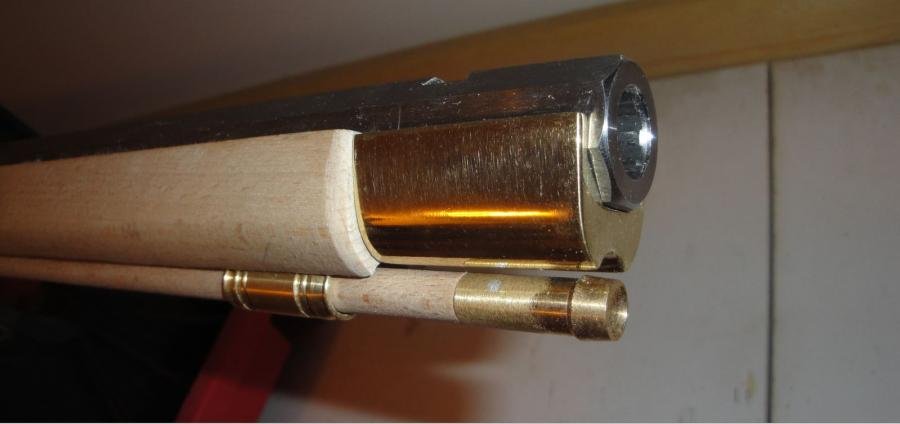
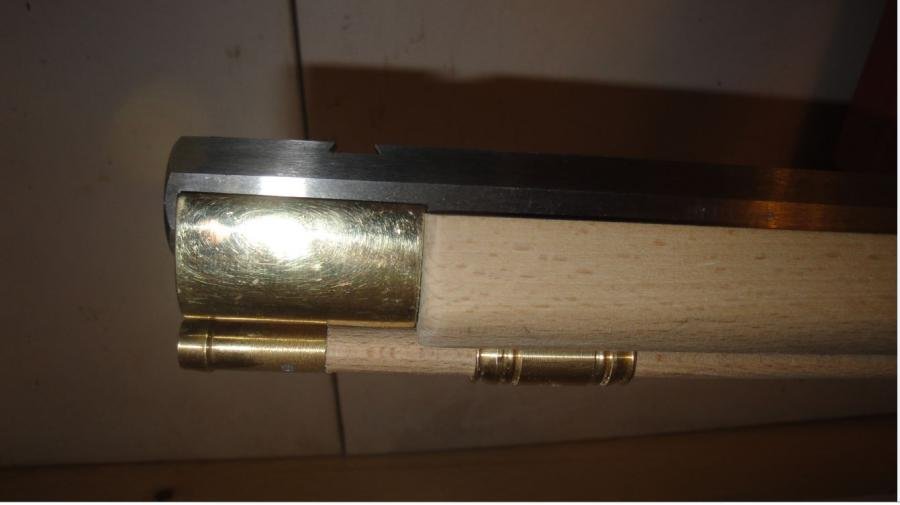
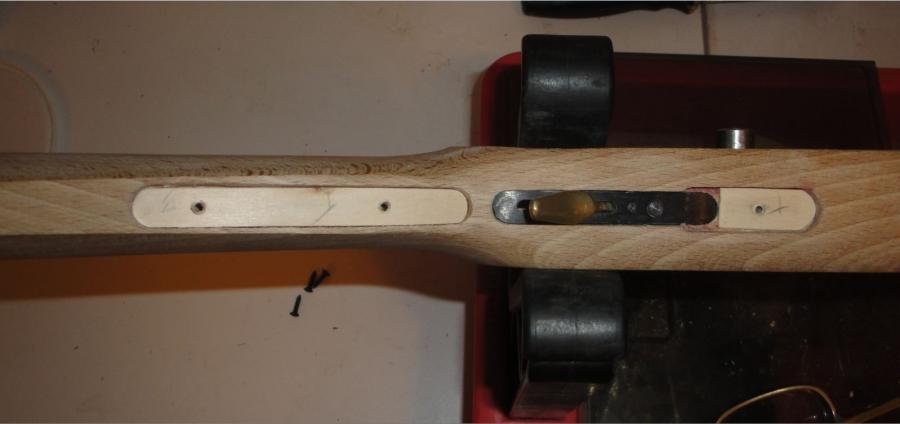
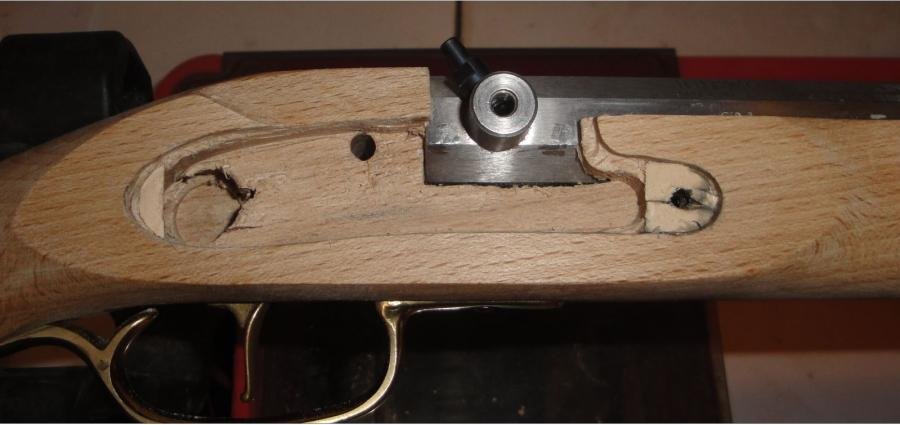
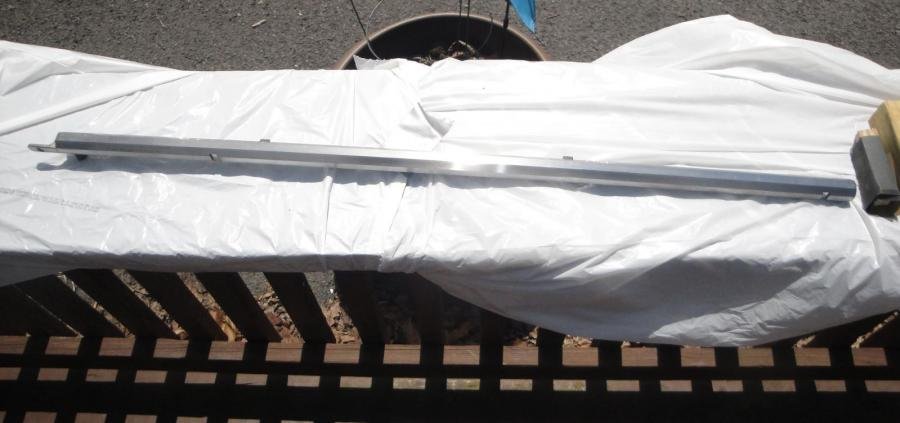
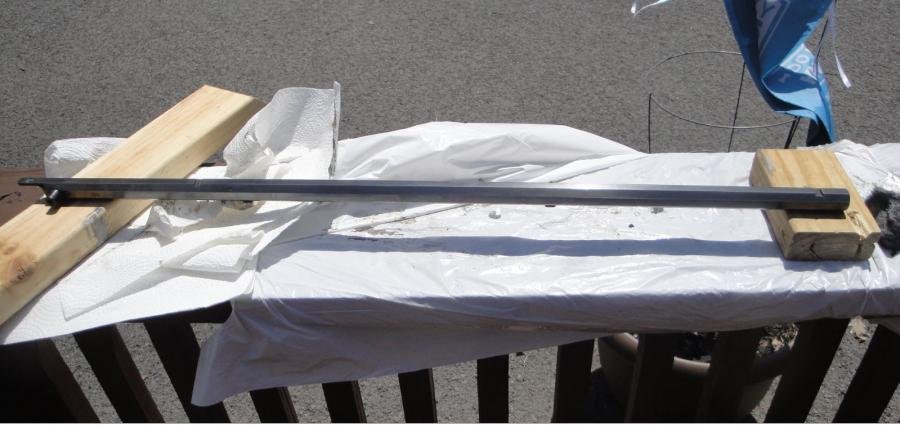
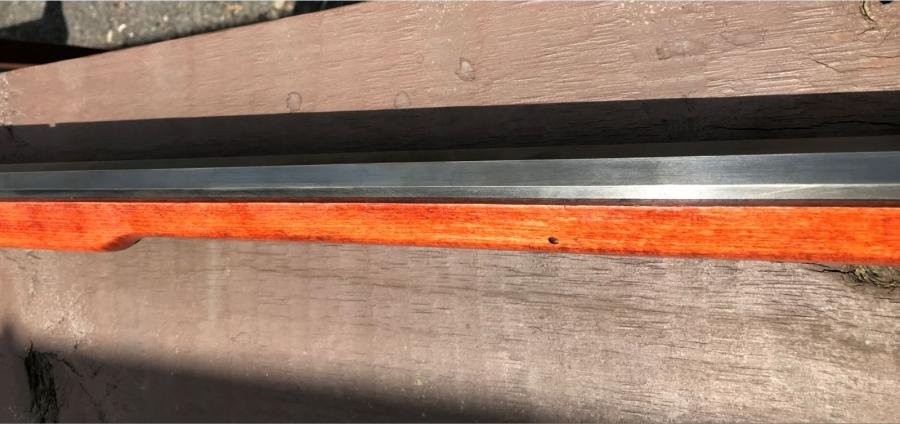
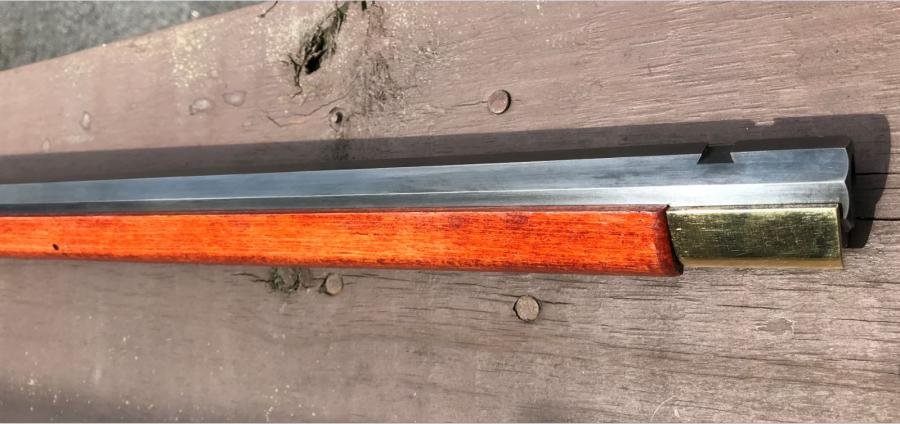
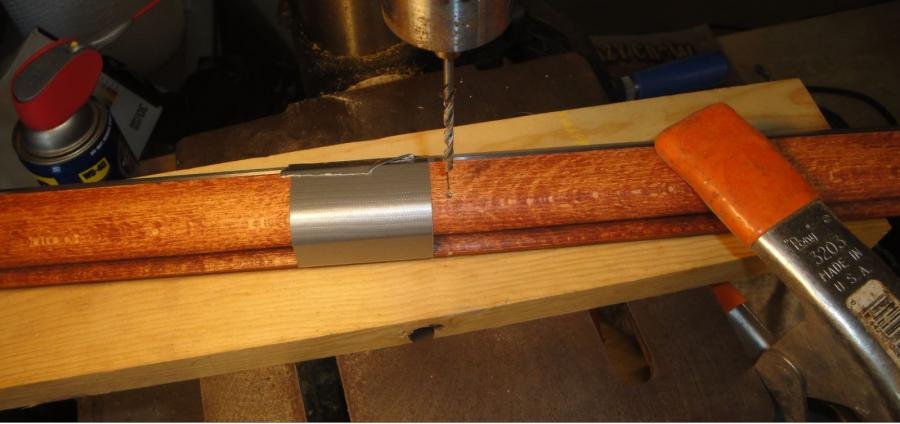
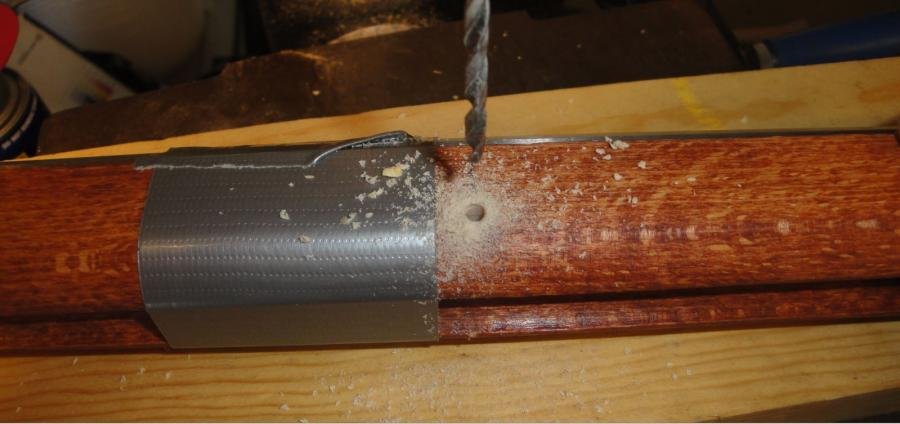
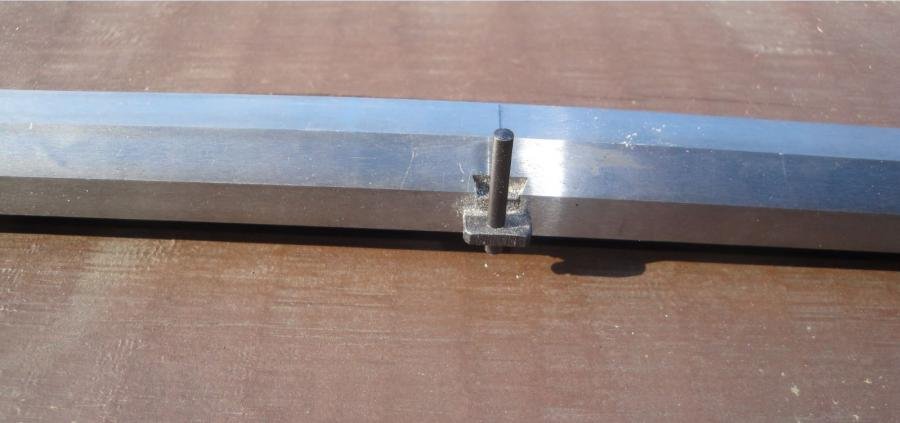
 The concept of "measure twice - cut once" goes into overdrive here. It's more like "measure twenty times - pray - then drill once". There ain't much room for error.
  As a reminder you all probably know: "always drill through wood into a scrap piece behind it". After all this work I sure didn't want to deal with a splintered exit hole...

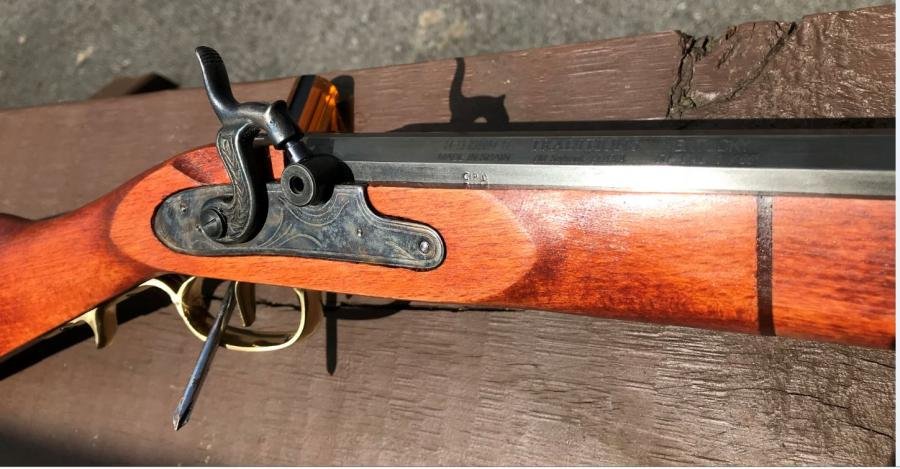
Beautiful Joe. Simply beautiful!
Coming from you that means a lot, my friend. Much appreciated.
We know you'll get to a Hooligan shoot in the not too distant future. And I'll make sure the smoke pole is there so you can see it in person and make it go bang.
Looking forward to that day my friend. Planning a day with Laddertowr and the next day with the Hooligans, hopefully in June. Look for us.