Lyman Great Plains Kit Build - Stock

The #1 community for Gun Owners of the Northeast

Member Benefits:

  • No ad networks!
  • Discuss all aspects of firearm ownership
  • Discuss anti-gun legislation
  • Buy, sell, and trade in the classified section
  • Chat with Local gun shops, ranges, trainers & other businesses
  • Discover free outdoor shooting areas
  • View up to date on firearm-related events
  • Share photos & video with other members
  • ...and so much more!
  • Melnic

    Ultimate Member
    MDS Supporter
    Dec 27, 2012
    15,332
    HoCo
    Lyman Great Plains Kit Build

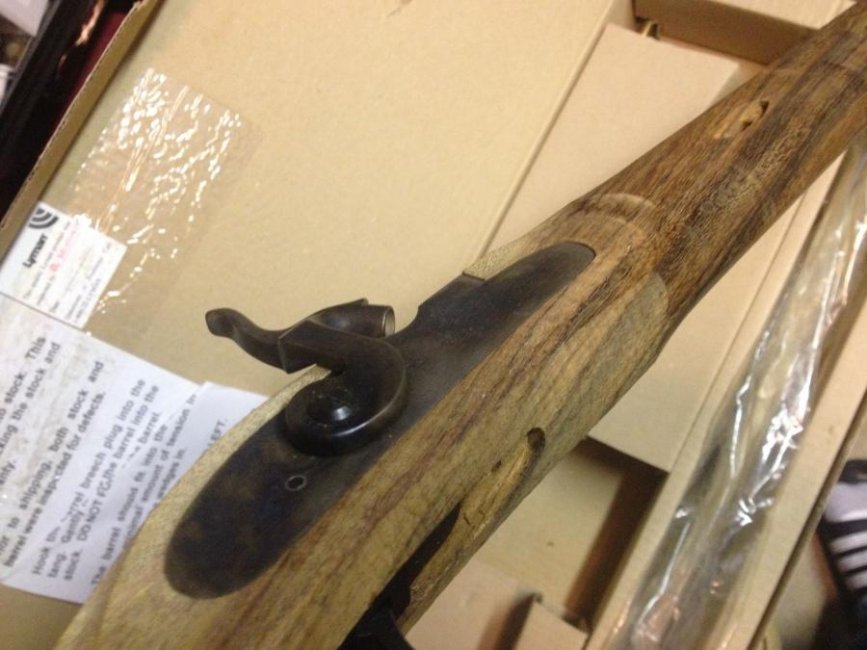
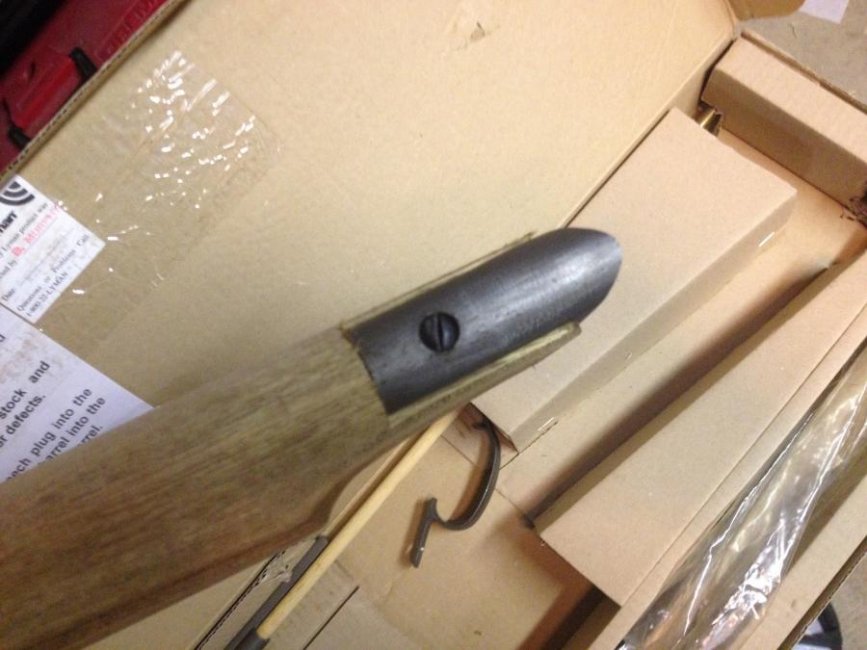
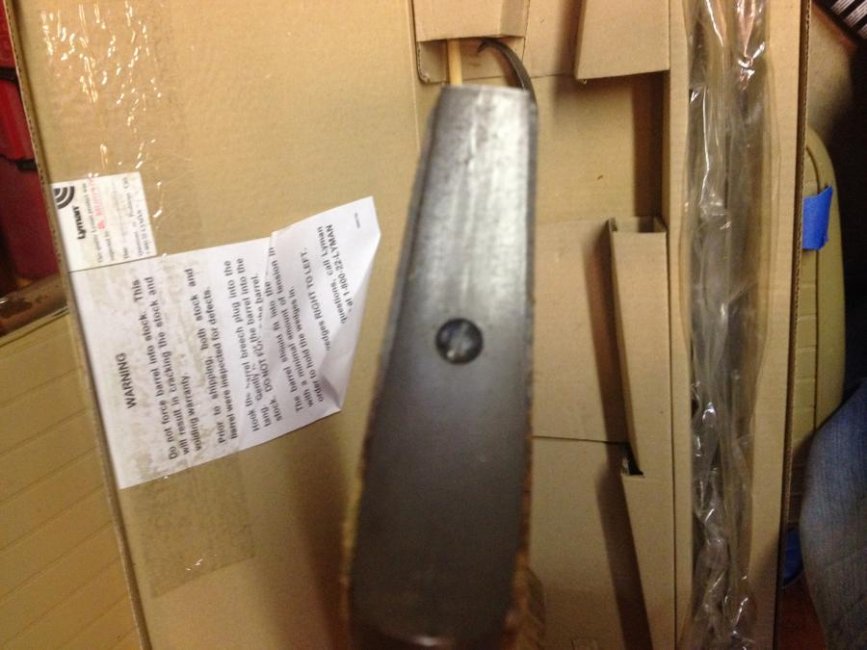
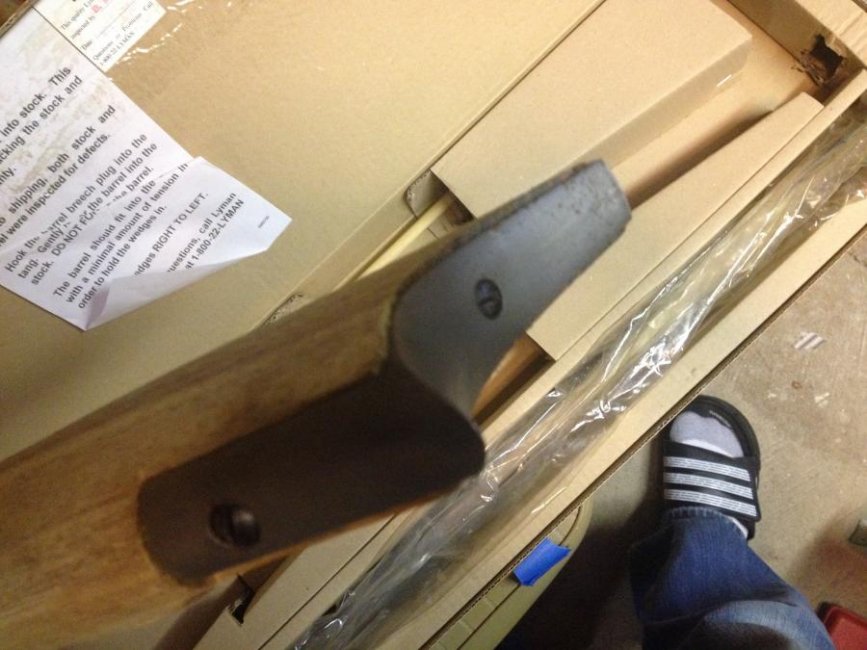
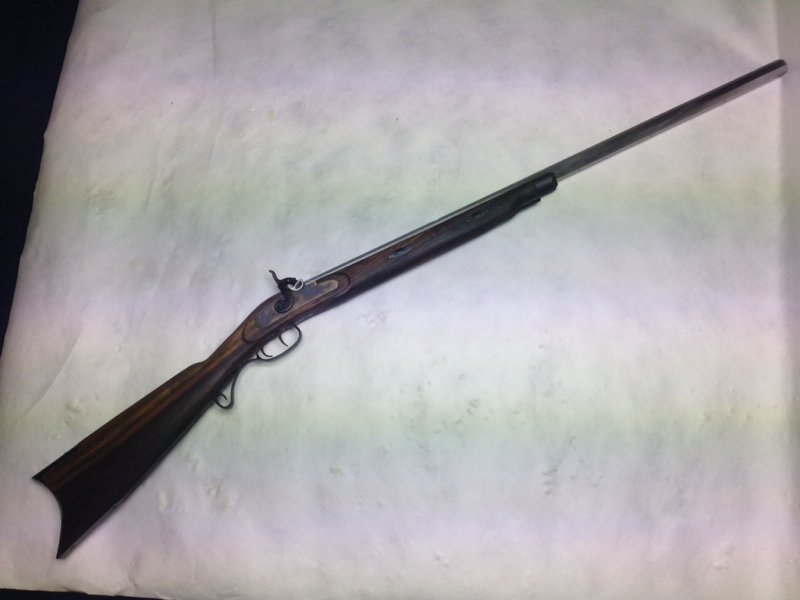
    OK, I have this kit.

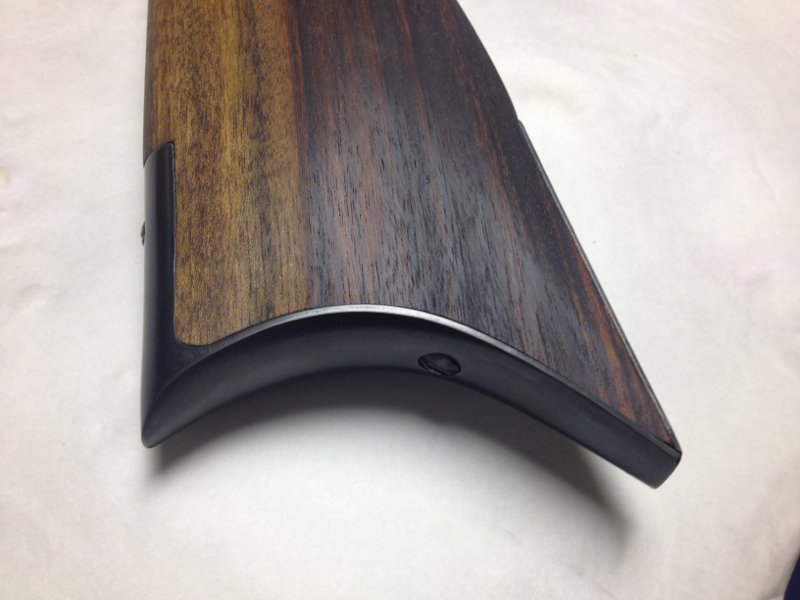
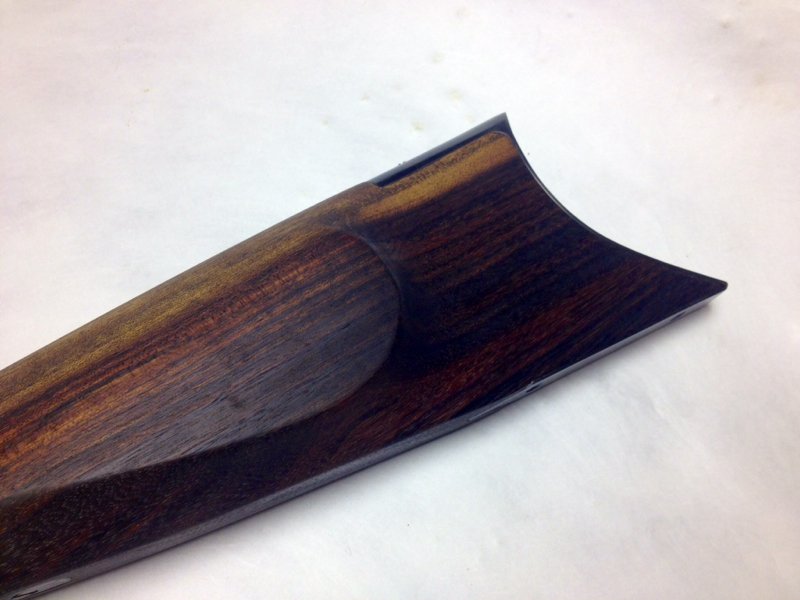
    I have to shape the wood. Do I shape the wood with the butt plate attached then clean up the scars on the plate after shaping the wood?

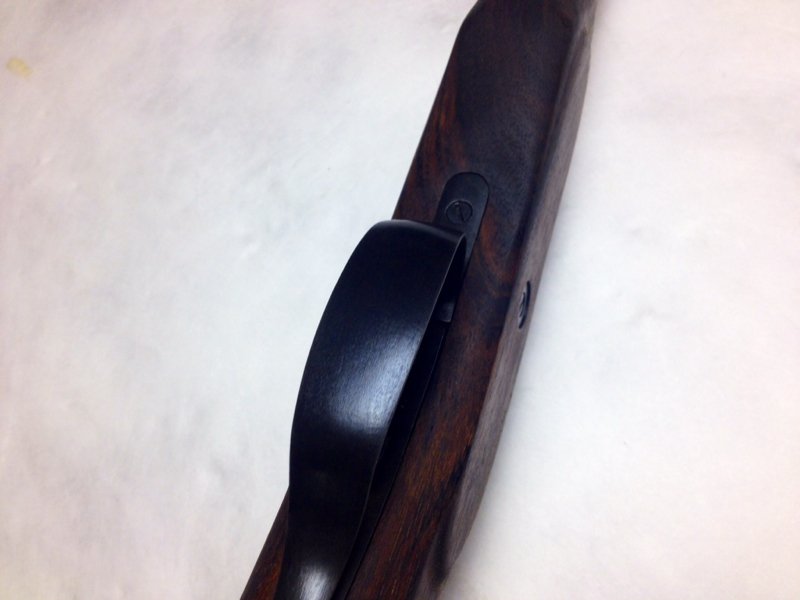
    Where do I get info on how to shape it? Info seems sparse on the net on how to go about cutting the wood down. I do gather I use a rasp then sand paper?

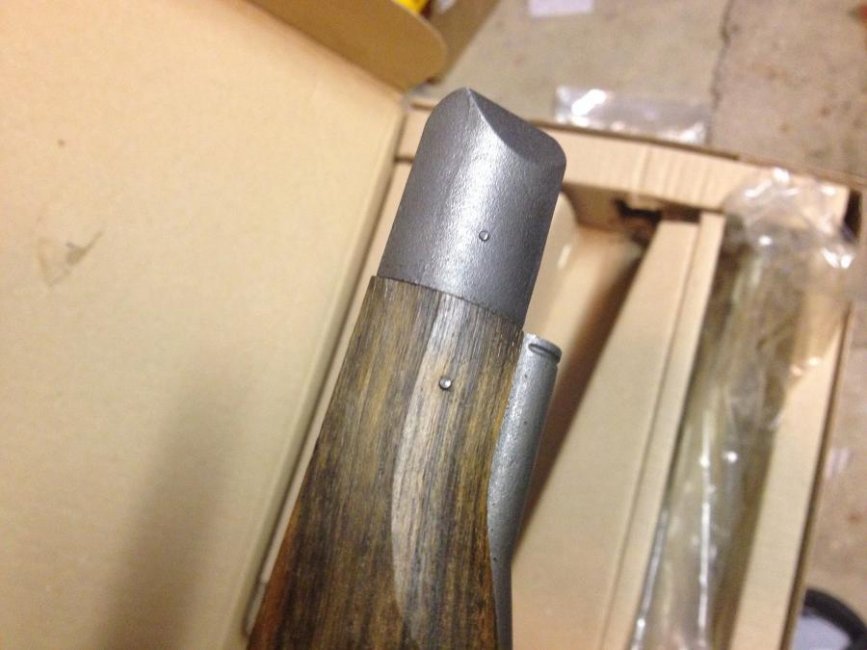
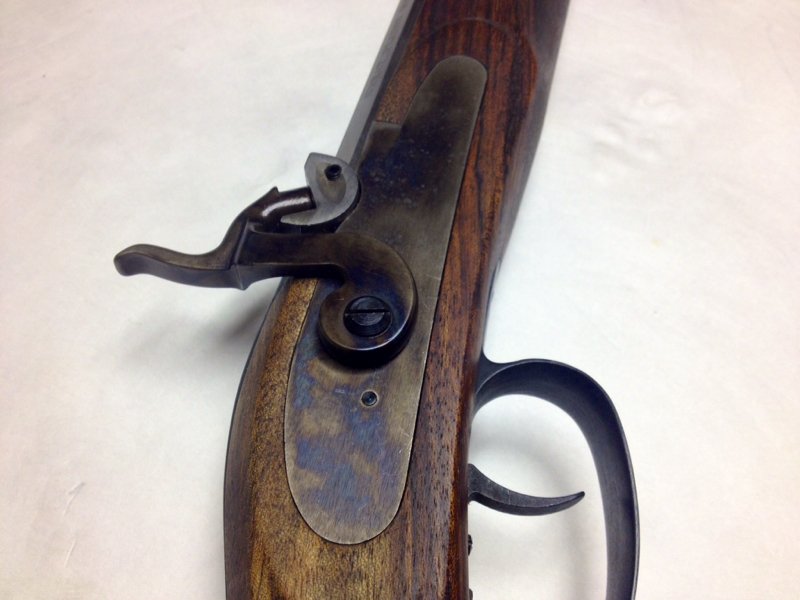
    How about at the nose cap?
     

    Attachments

    • IMG_3476.jpg
      IMG_3476.jpg
      61.4 KB · Views: 514
    • IMG_3477.jpg
      IMG_3477.jpg
      69.3 KB · Views: 533
    • IMG_3478.jpg
      IMG_3478.jpg
      66.6 KB · Views: 508
    • IMG_3479.jpg
      IMG_3479.jpg
      67.1 KB · Views: 493
    • IMG_3480.jpg
      IMG_3480.jpg
      75.5 KB · Views: 504
    • IMG_3481.jpg
      IMG_3481.jpg
      55.6 KB · Views: 514
    Last edited:

    damifinowfish

    Ultimate Member
    Dec 14, 2009
    2,241
    Remulak
    Pencil line around the metal parts for your guide. I borrowed a belt sander to shape the stock on my build. The belt sander was a bench mount and had a narrow belt.
     

    Melnic

    Ultimate Member
    MDS Supporter
    Dec 27, 2012
    15,332
    HoCo
    Getting close to finished.
    Just need to clean all the preservative off the barrel and blue it along with the sights.
    I did 5 coats of Hope'sTung oil over a period of 12 days
    I can see some spots I did not catch when wetting the stock but it's not too bad.
    I did not like the cast mold parting lines on the butt plate and trigger guard so those got sanded down. I shimmed the tang up to get the barrel to sit in the stock without flexing on the wood.
    The included wedges were a tad too small so I got some longer ones from Track of the wolf and they worked out great.
     

    Attachments

    • image-2155606768.jpg
      image-2155606768.jpg
      35.3 KB · Views: 453
    • image-883712961.jpg
      image-883712961.jpg
      44.9 KB · Views: 512
    • image-435966698.jpg
      image-435966698.jpg
      29.9 KB · Views: 427
    • image-2973054855.jpg
      image-2973054855.jpg
      45.2 KB · Views: 429
    • image-123606745.jpg
      image-123606745.jpg
      47.3 KB · Views: 433

    Melnic

    Ultimate Member
    MDS Supporter
    Dec 27, 2012
    15,332
    HoCo
    I found this guy who made a video series on this kit. Even if you don't have this kit but are looking at kit building it is a good series of videos to watch.
    I wish this was available back when I made my kit.

    My favorite line was him talking about sanding down the filing marks and how anyone who enjoys that part, there is something wrong with you :)

    Filing then sanding down the metal be it steel or brass or whatever, is a big part of kit building. Be it a brushed/grained look like I did as well as the video did or more work on a polished brass finish, its a good bit of work.

    He also browns the barrel instead of bluing it so that video is good to watch for doing that as well (update 5 and 6)

    https://www.youtube.com/watch?v=Bw1PQhT1ezo


    Users who are viewing this thread

    Forum statistics

    Threads
    275,339
    Messages
    7,277,540
    Members
    33,436
    Latest member
    DominicM

    Latest threads

    Top Bottom