Doco Overboard
Ultimate Member
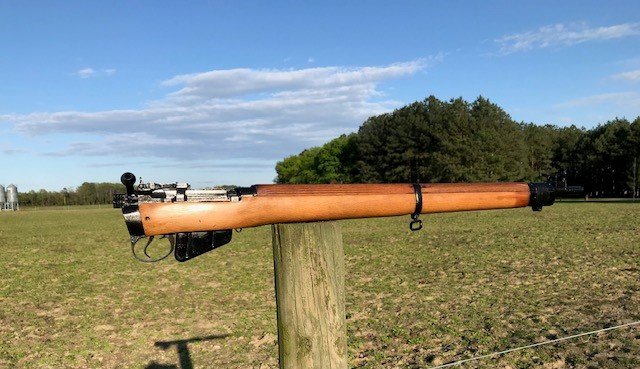
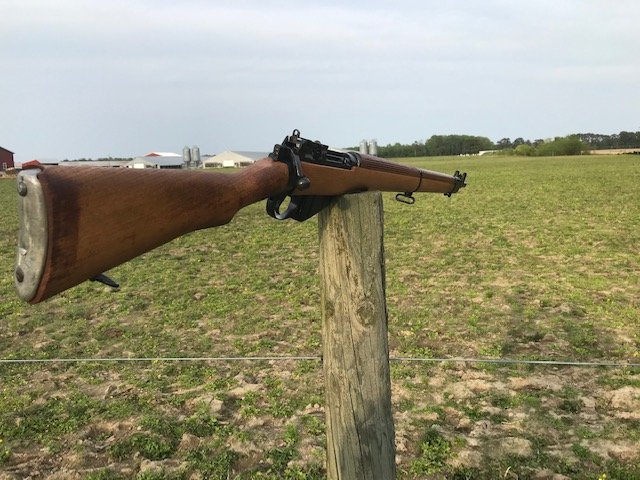
The days of plentiful No 4 parts are coming to a close so drastic measures are sometimes needed to patch a rifle back together.
If your like me, sometimes a cut down stock or one that's been cut and glued back together at the front band..... well, just doesn't cut it.
In the LE series of rifles with very few exceptions, you need to have a decent bearing at the front of the stock that interacts with the draws to get any kind of decent repeatable on target performance that one could count on.
The evolution of the design eventually caught up with the need for some sort of manufacturing expediency to reduce cost in the way of hand fitting associated with the earlier mk's that were built with a complex engineered compensated barrel system intended to work with all lots of ammunition that achieved a well established accuracy standard known as figure of merit with a pencil thin barrel. (beats increasing a powder charge one calorie at a time and then blowing 35 some odd percent of the energy out of the muzzle with the heat captured in the brass case and bullet and dicking around with a powder measure and a few like brass cases all day) Whew!
Anyway,
When the No 4 came along, we were blessed with a heavier barrel profile but still have to rely on particular bearing surfaces that interact with the weapon system to meet acceptable accuracy standards.
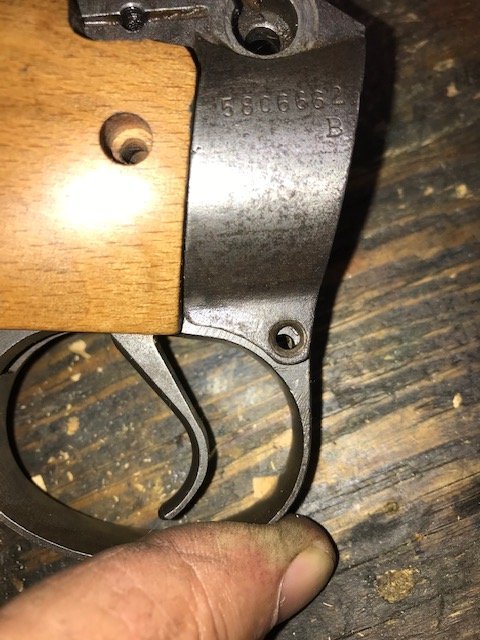
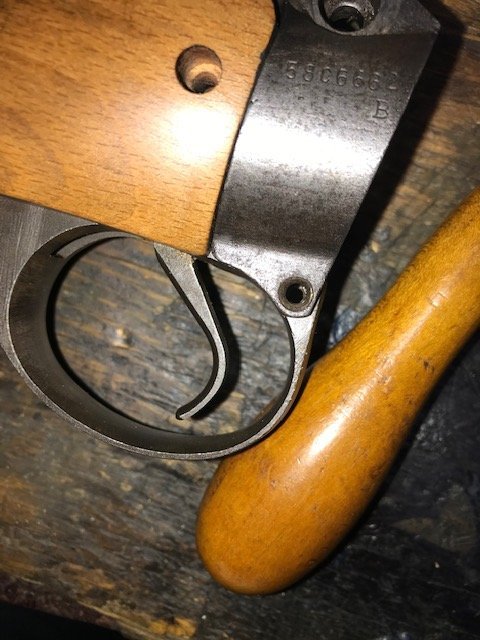
Even later on and towards the end of production, the action body itself was re-engineered to further simplify the design by welding or brazing a lug to the front of the body socket to hang the trigger from the solidly attached lug and further simplify fitting up when rifles were rebuilt for additional service opportunity.
SO what does all this mean? Decent No 4 fore stocks are hard to find these days so an acceptable means of kitting some old junk parts together into a killer rifle is needed.
Lucky for us, spare mk 2 timber for the series can still be found and then repurposed into an earlier mk to get as close as one could get without getting buried in unnecessary cost, and then still being able to settle in hard with a sling without snapping some glue and steel rod joint in half winding up with two pieces.
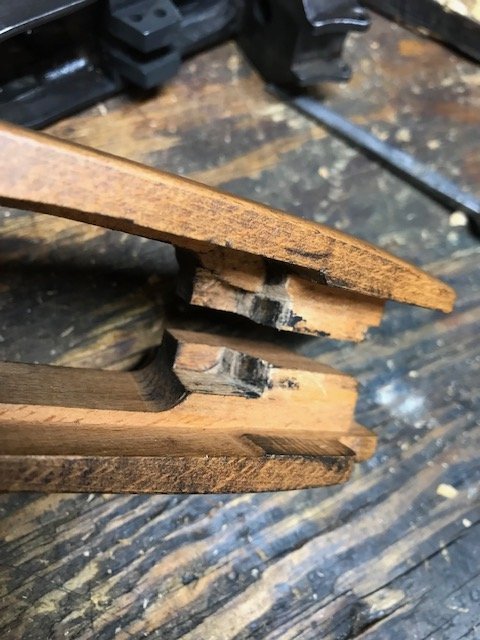
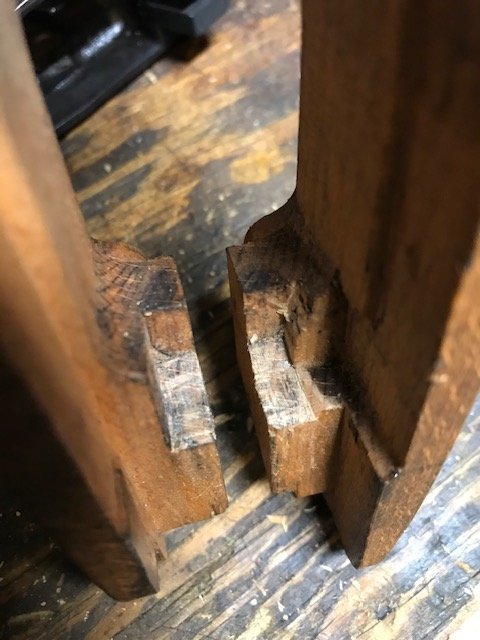
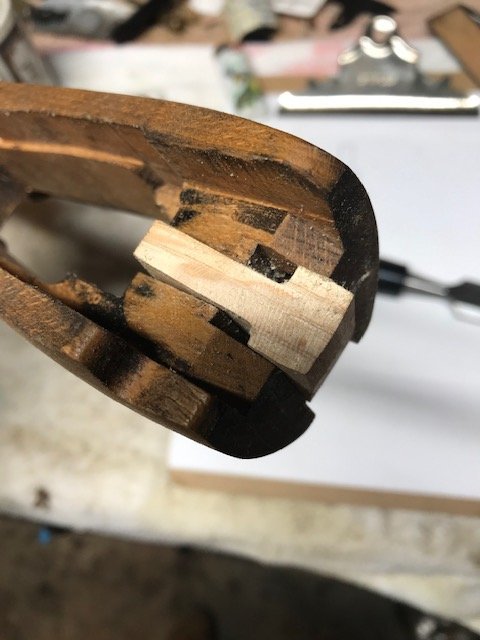
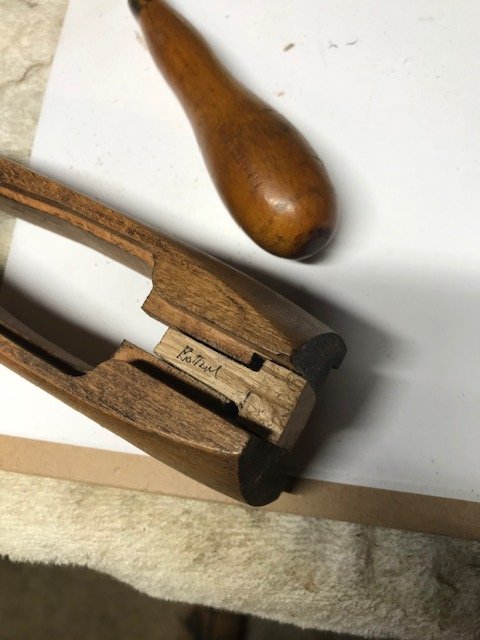
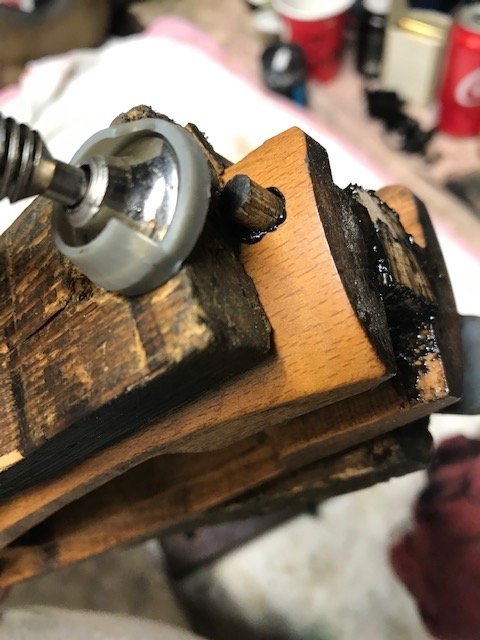
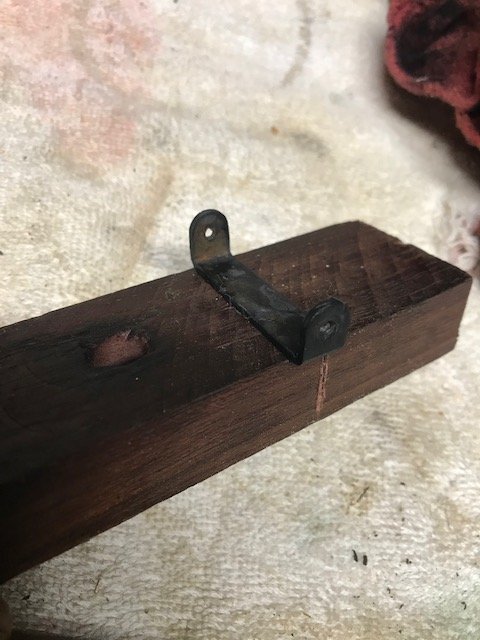
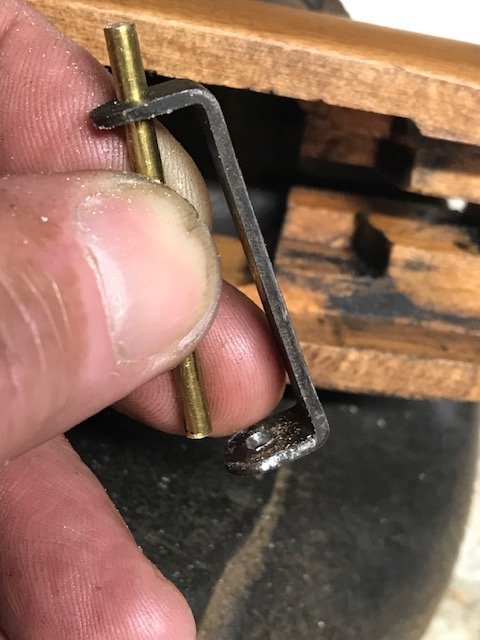
Just patch a piece in at the rear of the timber and do it right with an oak dowel and some animal glue while hiding the patch with a tie strap later on.
But, before you get to all that, with new timber and your rifle in pieces, do some preliminary work to make sure the draws are fitted up tight to the action body and work on the patch at the rear later on in the conservation process.
I put some tips together if you ever wanted to know.
Its a bunch of pictures so it will be in two posts. Im out here in the woods too so you may have to go through the pain of clicking on a attachment to see a picture.
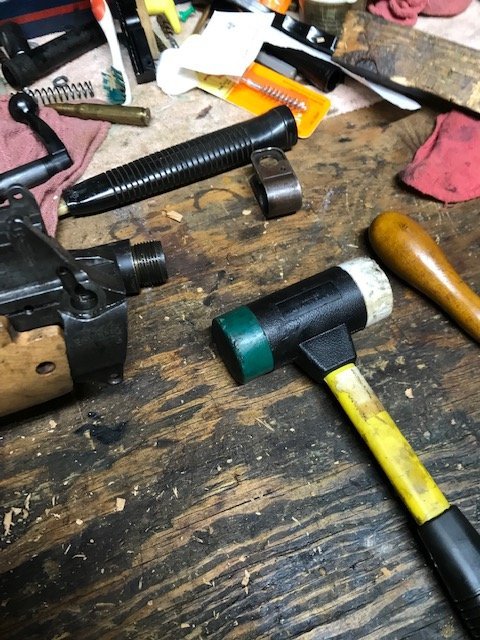
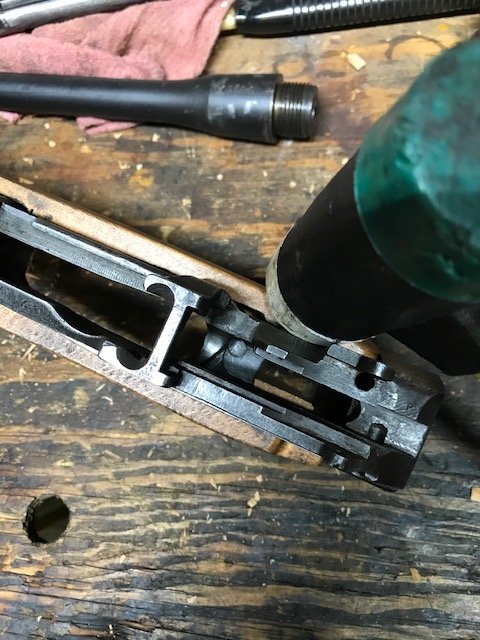
So what one could do is, candle black the sear lugs and tap the body into the in-letting to begin the transfer with a soft faced mallet
View attachment 311416
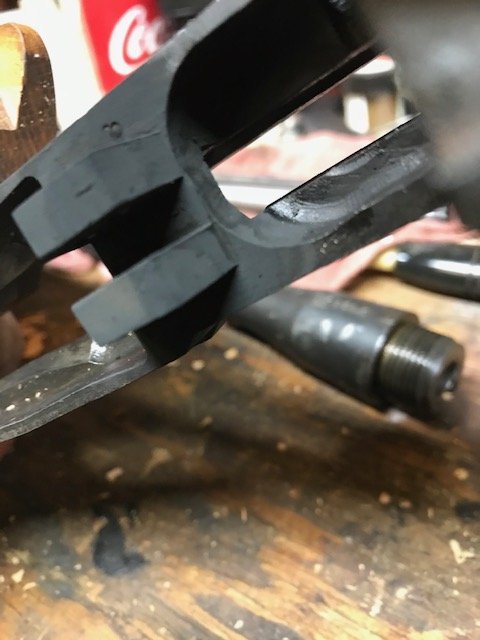
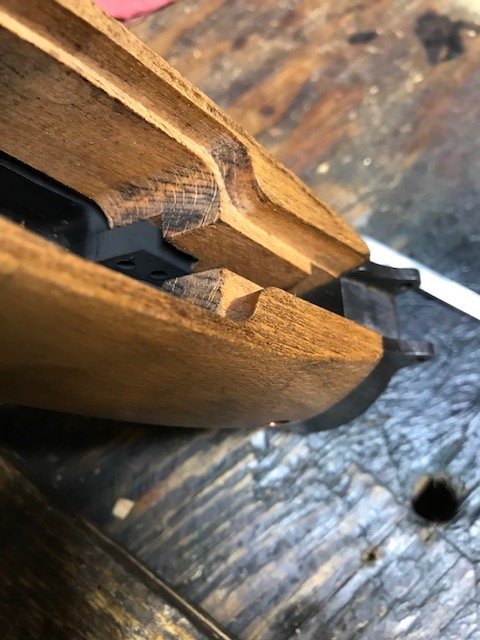
Very carefully, begin to pare down the candle black with a quality sharp chisel to where the sear lugs just begin to enter the stock. If you happen to have a chisel the same with of the draws (recoil surfaces) your in good shape. its very important to understand right from the beginning, that because the lugs on the body are angled, the removal of too much wood will not cause the body to bear at the front bearing surface of the barrel to 4-7 lbs pressure.
Its everything, remember the compensation built into the barrel?
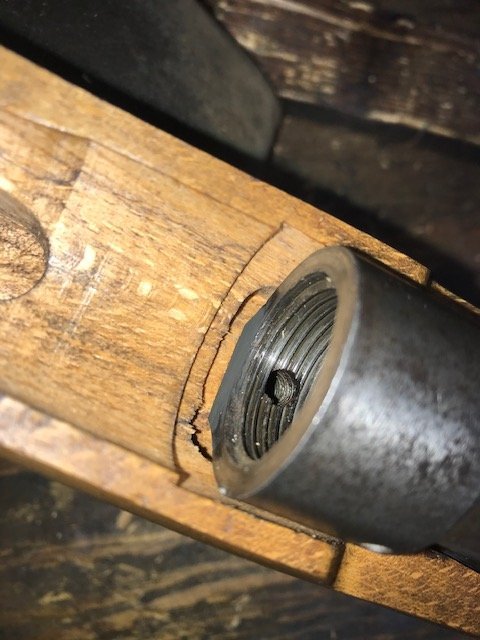
The front of the wrist socket is angled to interact with the flat on at the back of the fore-arm to make the fit very tight, as both the sear lugs and flat face of the body socket front come together with the timber.
View attachment 311417
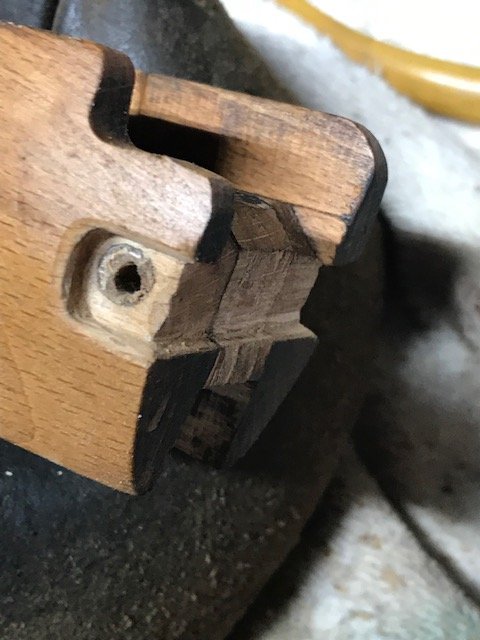
Carefully, clean the draws off with your sharp as the dickens chisel one little slice at a time. SOmetimes you pull it to you to get that little tiny bit like a scraper.
View attachment 311418
Keep re-sooting and go very carefully. Did I say you need a sharp as hell chisel? Leave the dremel to the experts.
View attachment 311419
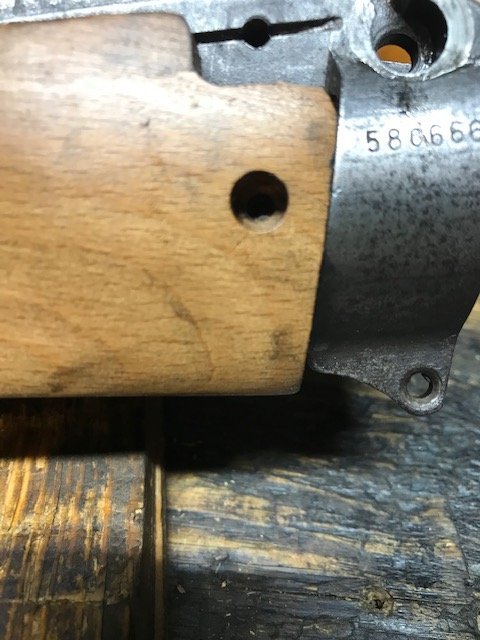
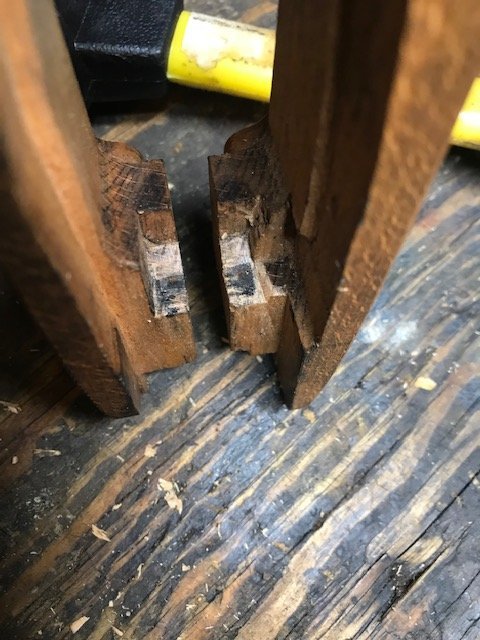
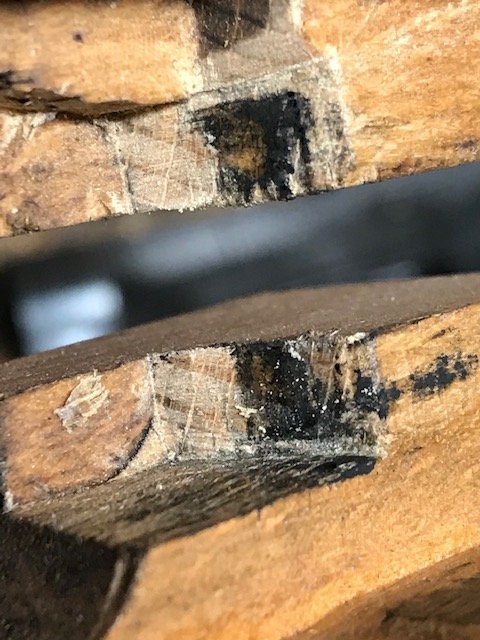
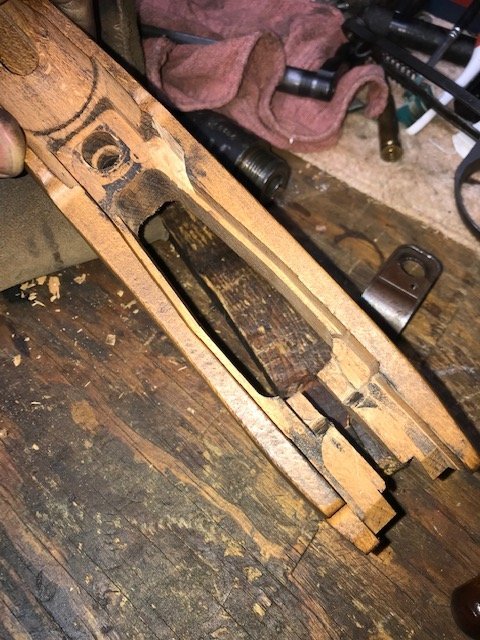
Heres how the end of the stock and socket come together. It'll move then stop, move then stop- yo would think that nothings moving. Chisel blacken chisel-scrape a very small amount of wood evenly from both draws at the same time. Not too fast here or you could blow it by removing too much to fast.
View attachment 311420
Here you can see those beauties coming together above, notice the rear of the sear lugs, how close they are to the draws and the way the stock is oriented for reference. Flat face of the wrist socket is driving the wood into the rear of the metal sear lugs.
View attachment 311421
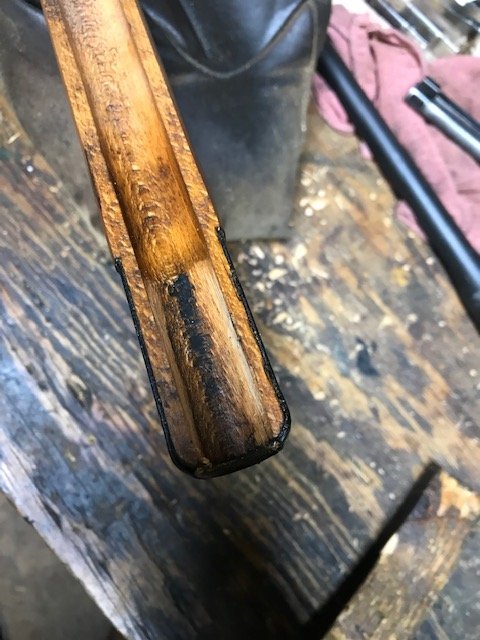
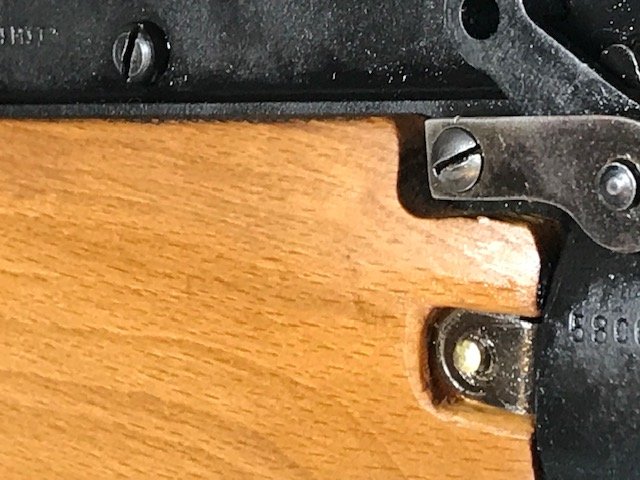
Bearing for the barrel at the front of the stock. When the draws are tightly fit, the stock will snap together at the rear in fell swoop and once the main-screw is tightened, that blackened area should be firmly in contact with the bottom third of the wood pad. Here, I laid the stripped barrel and removed wood at the sides of the stock channel.
View attachment 311422
View attachment 311423
View attachment 311424
Keep blackening the action body and rear of sear lugs, use a mallet to drive the body downwards into the draws so you can see the compression of the wood and the transferred lampblack.
Its very important to know that the lamp black will continue to be transferred to the the top of the wooden draws as the body is lowered one small bit at a time. Resist the urge to make off a bunch of wood at the top of the draws in order to lower the body quicker. What will happen, is the pressure at the front barrel bearing will be reduced, and the ingenious engineering methods used to create the rifle system will be lost.
The forearm should snap in place and be fitted up tight to the rear sear lug area, as well as the front smooth face of the wrist socket.
The angles of the sear lugs and the front of the socket are very slightly different, but because they will eventually meet way above the action body if you drew a straight line between them, they get tighter as both the wooden fore-arm and body are put together as one.
View attachment 311425
See additional post, maybe you wont have to click to see a pic this time


