j8064
Garrett Co Hooligan #1
The M*CARBO trigger spring kits I installed in my TC Compass rifles made a world of difference. When I saw they had trigger upgrade kits for Mosins, I figured for $20 what the hell - give one a try in one of my old relics. So I picked this 1931 Izzy as the guinea pig. ")
Below is a YouTube link to the installation video. I won't bore you with the process. Installation is actually pretty simple.
A few things I learned were:
Here's the link to the installation video:
https://video.search.yahoo.com/sear...8af21a5579afb5eaa83c03962de359f3&action=click
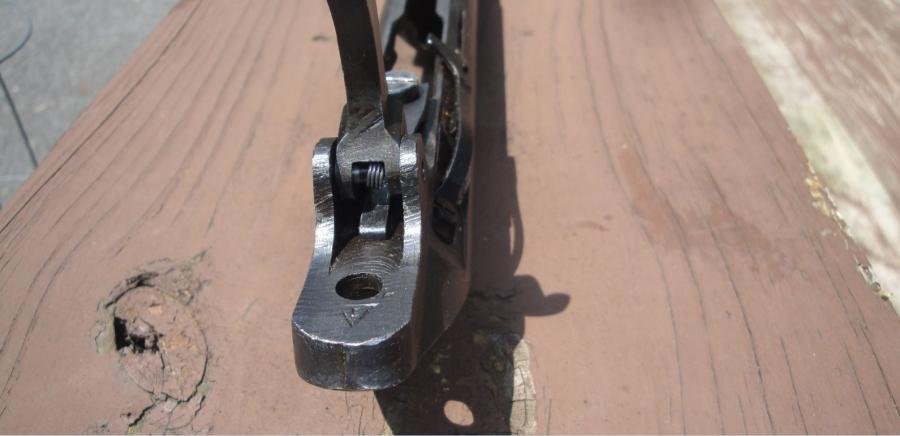
Below are some before and after pics I took at various steps during the installation. This rifle is going back to tomorrow's Hooligan shoot to see what it does at the range.
I think I've become a fan of M*Carbo stuff!

Below is a YouTube link to the installation video. I won't bore you with the process. Installation is actually pretty simple.
A few things I learned were:
- Now I know exactly how the trigger assembly works in my MN rifles.
- I had never thought about the "depression of the cocking piece" pointed out @ about 3:30 in the video. But it occurs in all of my Mosins. It kinda makes sense accuracy would be affected if the bolt is moving around before firing. After I installed the kit, that wobble is gone in this rifle.
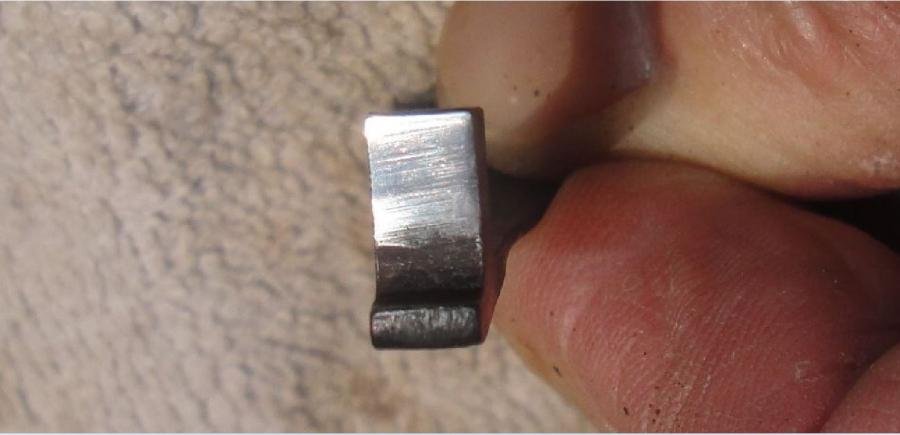
- Sanding and polishing the sear and cocking piece engagement surfaces is simple. I could have done more on my first pass, but the surfaces are much improved.
- Two trigger shims come in the kit. There was so little side-to-side trigger play in this rifle I only used one.
- The trigger return spring installation is easy and does make a difference. This rifle now has what feels like a modern trigger.
- The "before" trigger pull on this rifle was ~ 6 lbs 10 oz. With the work done it's down to ~ 4 lbs 10 oz. And it's a LOT smoother. The kit was a helluva improvement!
Here's the link to the installation video:
https://video.search.yahoo.com/sear...8af21a5579afb5eaa83c03962de359f3&action=click
Below are some before and after pics I took at various steps during the installation. This rifle is going back to tomorrow's Hooligan shoot to see what it does at the range.
I think I've become a fan of M*Carbo stuff!
Attachments
-
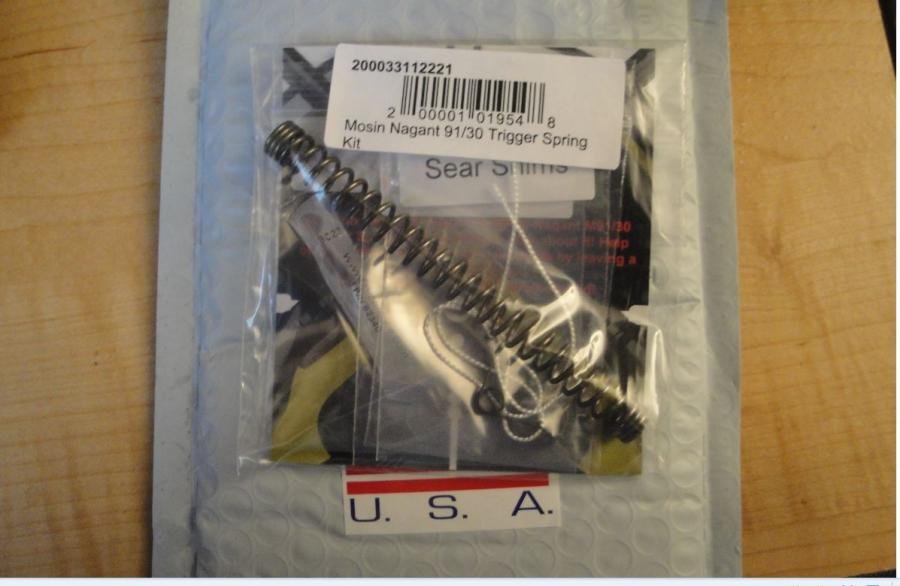 01 MCarbo MN Spring Kit Capture.jpg52.4 KB · Views: 248
 -
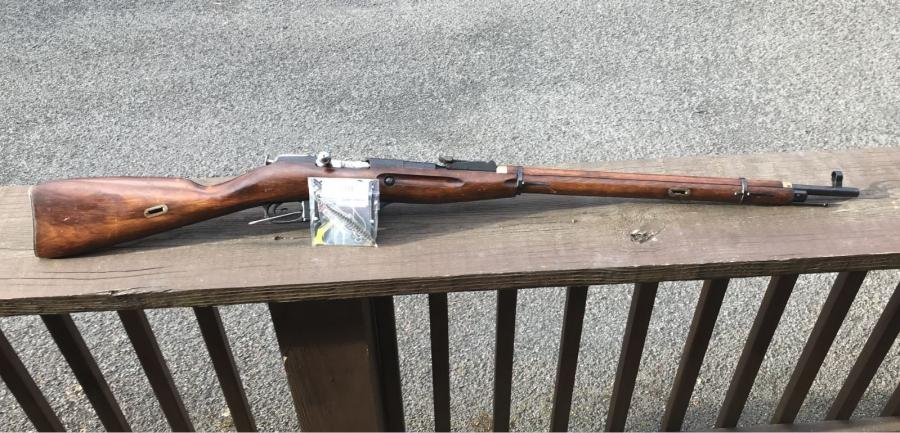 02 IMG_0896 1931 Izzy w M Carbo Kit SNIP.jpg91.5 KB · Views: 297
 -
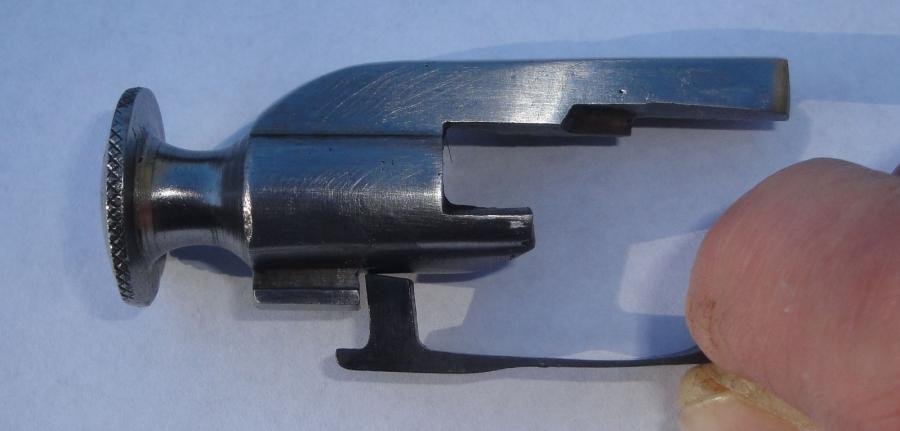 03 DSC01102 Cocking Piece and Sear.jpg31.5 KB · Views: 272
 -
 04 DSC01115 Sear Closeup.jpg27 KB · Views: 245
 -
 05 DSC01107 Cocking Piece Closeup.jpg25.6 KB · Views: 256
 -
 06 DSC01189 Sear Polished Close.jpg34.8 KB · Views: 239
 -
 07 DSC01190 Cocking Piece Polished Close.jpg35.2 KB · Views: 249
 -
 08 DSC01192 Trigger Retun Spring Installed Rear Close.jpg36.7 KB · Views: 259
 -
 09 DSC01194 Trigger Return Spring Front Close.jpg36.1 KB · Views: 274