IndispensableDestiny
Ultimate Member
After reading something here (I think by clandestine), recalling something a gunsmith said to me, and poking around the net, I decided to lap and "bed" the upper on one of my AR's.
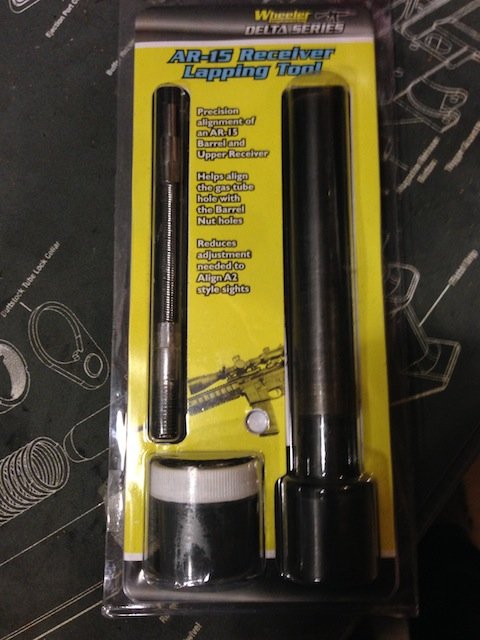
In the first pic, is the Wheeler AR receiver lapping tool. It fits in the upper receiver. The working face is coated with lapping compound and after clamping and lubricating, the thing is spun with a drill. The idea is to remove a small amount of metal to square and true the receiver face where the barrel extension goes in. I tried on a stripped upper I have and it was fairly easy to do. The anodizing on the face came off faster on one side than the other. That tells me that the tool did do some squaring and truing.
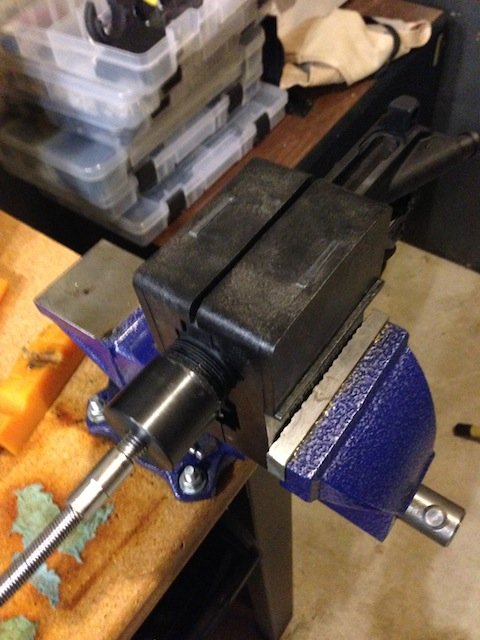
Next I took the upper from my .300 Blackout build, removed the rail, gas, tube, and the match quality barrel. The second pic shows the upper in the receiver clamp and vise, with the lapping tool doing it's thing. Yes, the receiver clamp is upside down. I did it this way so that I could add oil directly to pilot on lapping tool.
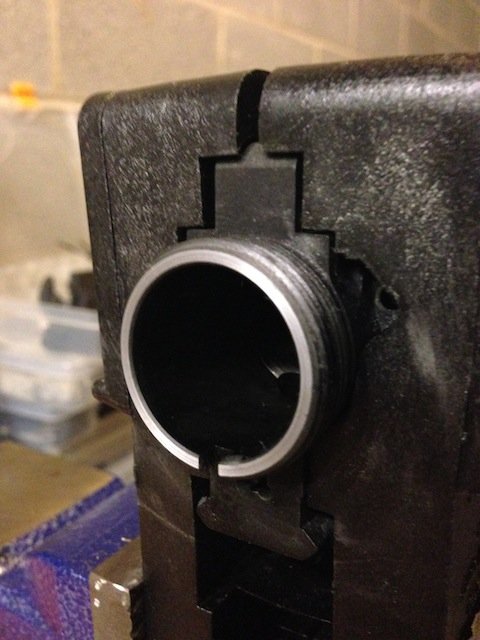
The third pic is the receiver face after lapping. The instructions say to continue lapping until you form a clean ring all the way around. You can also use the tool to remove some material when a barrel nut does not line up with the gas tube hole. With the special nut used by my rail, this was not needed.
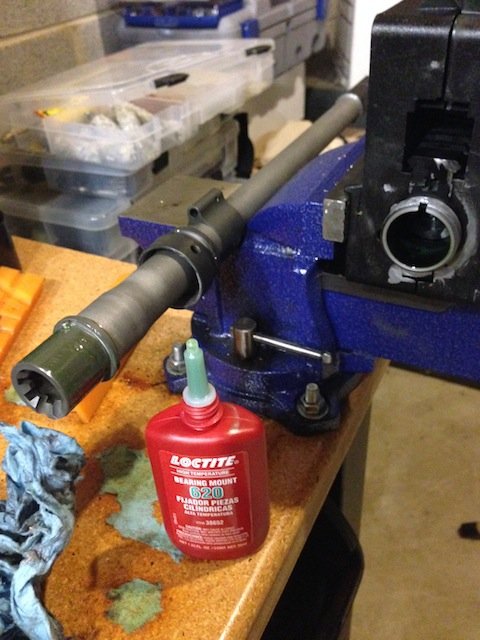
The last pic shows the barrel extension coated with Loctite 620 retaining compound. Per the directions on the bottle, I also coated the first part of the sleeve on the receiver. The stuff is green, but thicker than thread locker. It is supposed to fill any voids between the extension and receiver. I next reassembled the upper and cleaned off the antiseize compound I use on the threads and some Loctite that squeezed out on the inside. The Loctite retaining compound now needs to cure.
I doubt I'll see much improvement with this upper. Next I'll try it on my .223 Special Purpose Rifle Groundhog (SPRG).
In the first pic, is the Wheeler AR receiver lapping tool. It fits in the upper receiver. The working face is coated with lapping compound and after clamping and lubricating, the thing is spun with a drill. The idea is to remove a small amount of metal to square and true the receiver face where the barrel extension goes in. I tried on a stripped upper I have and it was fairly easy to do. The anodizing on the face came off faster on one side than the other. That tells me that the tool did do some squaring and truing.
Next I took the upper from my .300 Blackout build, removed the rail, gas, tube, and the match quality barrel. The second pic shows the upper in the receiver clamp and vise, with the lapping tool doing it's thing. Yes, the receiver clamp is upside down. I did it this way so that I could add oil directly to pilot on lapping tool.
The third pic is the receiver face after lapping. The instructions say to continue lapping until you form a clean ring all the way around. You can also use the tool to remove some material when a barrel nut does not line up with the gas tube hole. With the special nut used by my rail, this was not needed.
The last pic shows the barrel extension coated with Loctite 620 retaining compound. Per the directions on the bottle, I also coated the first part of the sleeve on the receiver. The stuff is green, but thicker than thread locker. It is supposed to fill any voids between the extension and receiver. I next reassembled the upper and cleaned off the antiseize compound I use on the threads and some Loctite that squeezed out on the inside. The Loctite retaining compound now needs to cure.
I doubt I'll see much improvement with this upper. Next I'll try it on my .223 Special Purpose Rifle Groundhog (SPRG).