NFA PPS43C

The #1 community for Gun Owners of the Northeast

Member Benefits:

  • No ad networks!
  • Discuss all aspects of firearm ownership
  • Discuss anti-gun legislation
  • Buy, sell, and trade in the classified section
  • Chat with Local gun shops, ranges, trainers & other businesses
  • Discover free outdoor shooting areas
  • View up to date on firearm-related events
  • Share photos & video with other members
  • ...and so much more!
  • fred333

    Banned
    BANNED!!!
    Dec 20, 2013
    12,340
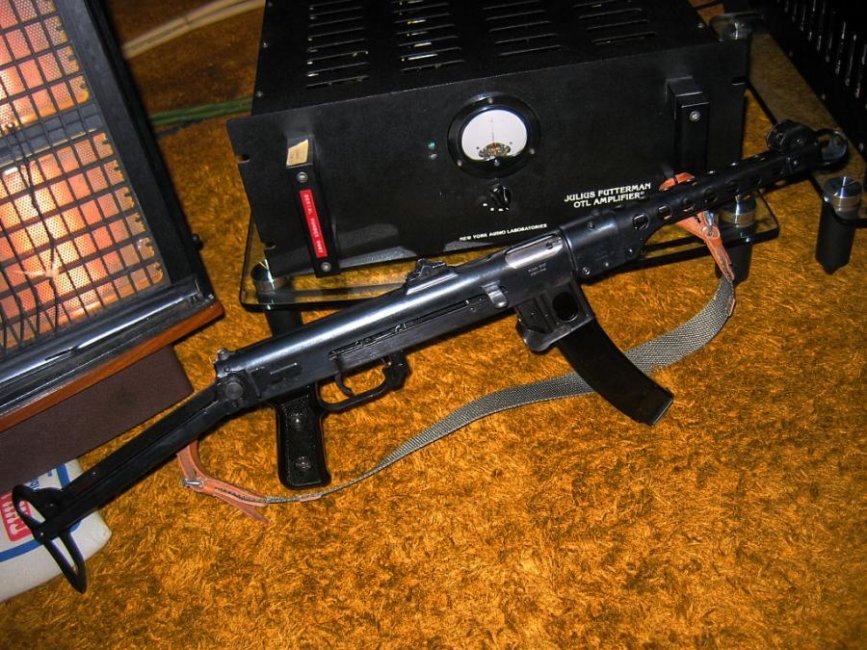
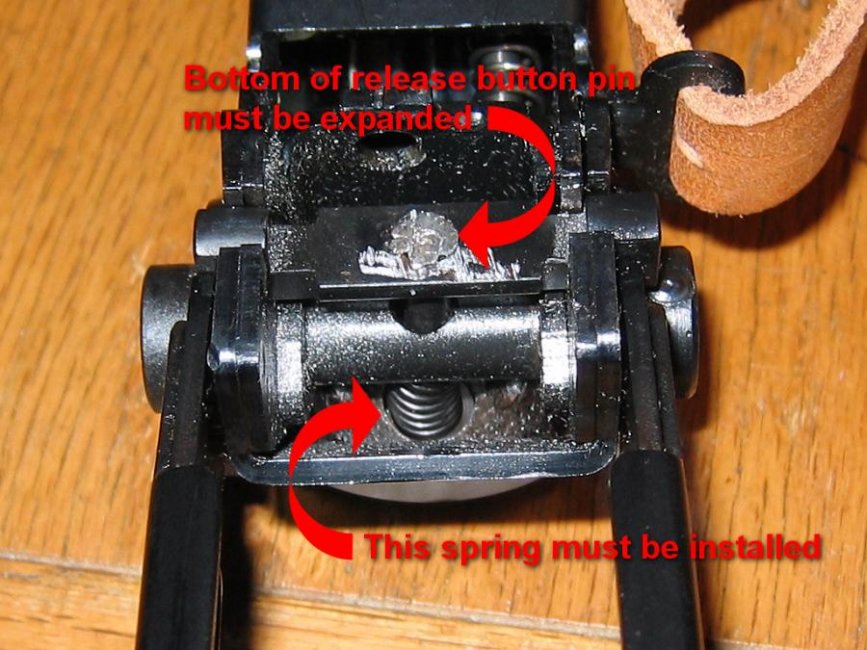
    Now that she's NFA, I thought some might like to see how the PPS' is supposed to look (i.e., with a functioning stock....and, yes, that is shag carpet). Now, I just have to wait 'til I receive my ATF permission slip so I can take her to into VA to [properly] try 'er out at the NRA range:
     

    Attachments

    • PPS43C NFA 019+2__-2_tonemapped.jpg
      PPS43C NFA 019+2__-2_tonemapped.jpg
      134.6 KB · Views: 178

    fred333

    Banned
    BANNED!!!
    Dec 20, 2013
    12,340
    There're (at least) two methods of affixing the stocks to the frame: a single spot weld attaching the butt stock to the frame; or a small spot weld on the anchor pin pivot along with a too-small hole in the dust cover below the release button. In either case, the release spring is also missing, so you'll need to procure a working stock assembly (these're available either separately or included with PPS43 parts kits that're available online for ~$69).

    The stock on this gun was affixed via the second method. So the weld on the anchor pin pivot had to be ground off with a Dremel. Then, you have to grind-off the bottom of the release button's pin where it fits through the lower support piece in the bottom of the upper. This allows removal of the stock assembly.

    Then, you drill out the hole in the dust cover so the release button will fit through it and install the missing spring on the release button shaft and reassemble. The only difficult part is having to flatten/expand the bottom of the release button pin to lock it in place below the support piece. Because I didn't have the tools to (competently) handle that, I had Engage take care of it.
     

    Attachments

    • Underside of upper 001.jpg
      Underside of upper 001.jpg
      101.6 KB · Views: 130

    Users who are viewing this thread

    Latest posts

    Forum statistics

    Threads
    275,417
    Messages
    7,280,806
    Members
    33,450
    Latest member
    angel45z

    Latest threads

    Top Bottom